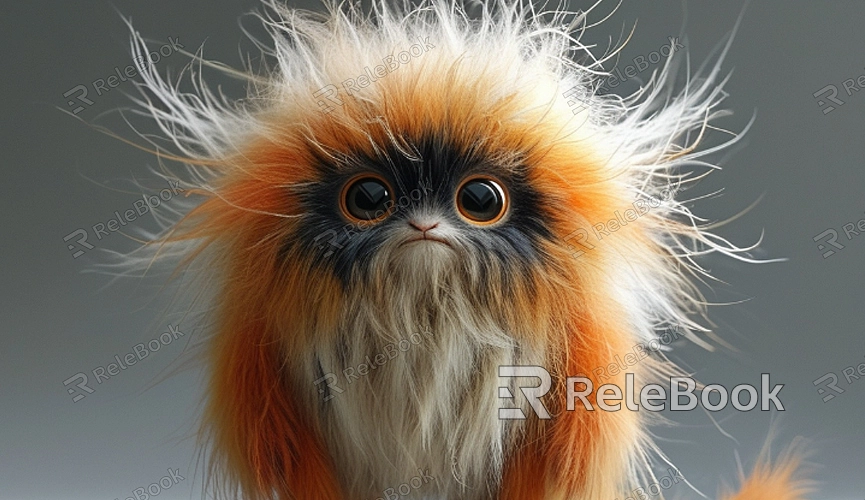
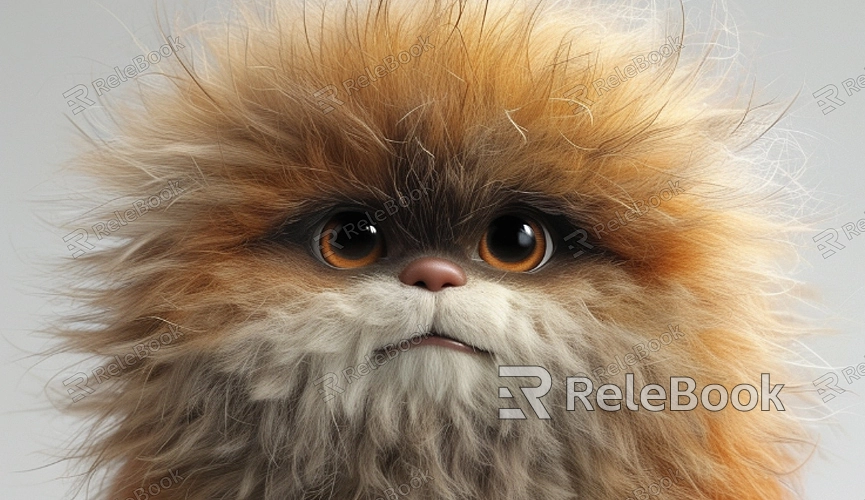
How to Make a Furry Creature Using the Texture Map?
Creating a furry creature in 3D is an exciting challenge requiring texture maps to simulate fur. These maps allow you to add details like color, depth, and shading to your creature, making it look lifelike. Instead of modeling each hair, texture maps let you create the illusion of fur efficiently. This article will guide you through making a furry creature using texture maps, focusing on how to prepare your model, apply the textures, and create realistic fur.

What Are Texture Maps?
Texture maps are images that give 3D models their surface detail. For furry creatures, texture maps are essential to creating the appearance of fur. Several types of texture maps are used to simulate furs, such as diffuse maps, normal maps, specular maps, and displacement maps.
Diffuse Map: This map defines the fur's color and pattern. It is the base texture that covers the fur and gives it its main color.
Normal Map: This map adds surface detail by simulating small bumps and changes in the fur's texture, making it look more realistic.
Specular Map: This map controls how shiny or matte the fur looks when light hits it, adding shine or softness to specific areas.
Displacement Map: This map makes the fur appear more 3D by altering the surface geometry, creating real depth in the fur.
Each map plays an important role in making the fur look believable and dynamic.
Preparing Your 3D Model
Before adding texture maps, your 3D model must be properly prepared. This means ensuring that your model has clean, efficient geometry and a good UV map. The UV map is essential because it tells the software how to wrap the texture maps around the model.
If your model is too complex or has poor geometry, the fur textures might not apply correctly. Focus on creating a smooth and simple base mesh, especially in areas where fur will be applied, like the head, neck, and tail. If your model's UVs are well laid out, applying texture maps later will be much easier and more accurate.

Creating the Diffuse Map
The diffuse map is the most important texture map for fur because it sets the base color and appearance. Fur is rarely one solid color—it often has gradients, with darker tones at the roots and lighter colors at the tips. To create a realistic look, use a high-resolution image that shows these variations.
In many cases, you can create a diffuse map by painting textures or using photos of fur. Pay attention to the direction of the fur’s growth and how it changes across different parts of the body. For example, fur might be longer on the tail and shorter around the face. These subtle differences will make the creature look more natural.
Adding the Normal Map
Once you have your base color, it’s time to add fine details with a normal map. This map doesn't change the fur’s color but gives the fur texture, making it look like individual strands are present. A normal map simulates the bumpy or wavy nature of fur, allowing it to catch light in a way that makes it appear three-dimensional.
You can create a normal map by using software like ZBrush or baking details from high-poly models. These details will create the illusion of depth, even though you haven't added more geometry.
Using the Specular Map
The specular map defines how shiny or matte different parts of the fur should look. Fur isn't uniformly shiny—some areas may reflect more light than others, such as on the back or nose. The specular map helps you control where the fur looks glossy and where it appears more diffuse or soft.
This map is especially important for creatures that live in environments where they interact with light a lot, like those in wet or sunny areas. Use it to add highlights to areas where fur would naturally reflect light.
Fine-Tuning with the Displacement Map
The Displacement Map gives the fur its final, realistic touch by adding real depth to the mesh. Unlike the normal map, which only simulates depth, the displacement map physically changes the model's surface. This map allows the fur to have a more detailed, three-dimensional look by pushing the surface in and out.
To create a displacement map, you can use a high-resolution model to capture subtle depth changes in the fur. Apply this map to give your furry creature an even more lifelike appearance.
Grooming the Fur
After applying the texture maps, you will need to groom the fur. Grooming is the process of defining the length, direction, and density of the fur. This can be done using grooming tools in 3D software such as Maya, Blender, or Houdini.
For example, the fur on the chest might be long and fluffy, while the fur on the limbs could be shorter and finer. You can use brushes and settings in the grooming tool to create different fur lengths, thicknesses, and patterns, ensuring that the fur fits the creature's design.
Rendering and Refining the Final Look
Once you’ve applied the texture maps and groomed the fur, the last step is rendering the model. During rendering, the interaction of the fur with light will become more apparent. You may need to tweak the lighting and material properties to get the perfect look.
Rendering also gives you a chance to check how all the texture maps work together. Adjusting settings for shadows, fur density, and light intensity can help bring out the best qualities in the fur. After this step, your furry creature should look both detailed and dynamic.
Creating a furry creature using texture maps requires attention to detail, but with the right techniques, you can achieve stunning results. By focusing on key texture maps like the diffuse, normal, specular, and displacement maps, you can simulate realistic fur without needing to model every individual strand. It’s essential to ensure your model is well-prepared with good geometry and UV mapping and to fine-tune the fur during the grooming and rendering stages.
For anyone looking to start their furry creature design journey, resources like 3D models and textures from the Relebook website are invaluable. Download high-quality textures and models today to bring your creative projects to life.
FAQ
What types of texture maps should I use for creating fur?
The primary texture maps for fur are the Diffuse Map (for color), Normal Map (for surface detail), Specular Map (for light reflection), and Displacement Map (for depth).
How do I create a realistic diffuse map for fur?
A realistic diffuse map should include color gradients, with darker colors at the roots and lighter colors at the tips. You can paint the map or use high-quality photo references to achieve this effect.
What is the difference between a normal map and a displacement map?
A normal map simulates depth and surface details without changing the actual geometry, while a displacement map physically alters the geometry to create real depth in the model.
Can I make fur without grooming software?
While grooming software helps automate fur creation, you can simulate fur using texture maps and shaders. However, grooming tools provide more flexibility for adjusting fur length, direction, and density.
Where can I find high-quality 3D models and textures?
You can find high-quality 3D models and textures for furry creatures on the Relebook website, which offers a variety of resources for digital artists and designers.

