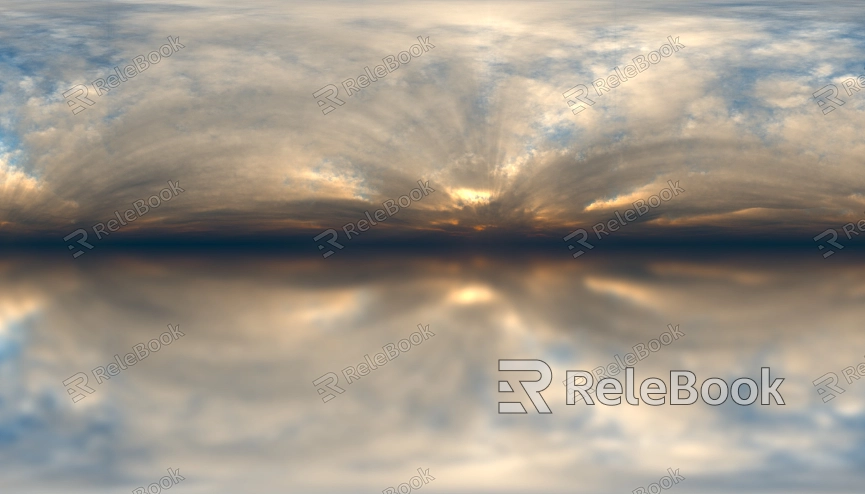
How to Fix Blurry HDR Sky Textures in 3ds Max
HDR sky textures are widely used to create realistic outdoor environments, especially in architectural visualization, game design, and film effects. However, many designers encounter a common issue when using HDR sky textures—the textures appear blurry, lacking the desired detail and lighting effects. This often occurs due to low resolution, improper settings, or unoptimized rendering parameters. The problem not only reduces the realism of the final render but also makes the overall scene appear less professional. This article will guide you on how to fix blurry HDR sky textures in 3ds Max and provide optimization tips to help designers address this issue with ease.

1. Check the Resolution of Your HDR Sky Texture
High-quality HDR sky textures typically have a high resolution to ensure the details of the sky are well-represented. However, using a low-resolution HDR image can lead to blurry textures. In 3ds Max, the first step is to ensure the HDR texture you’re using has sufficient resolution for your project needs.
Resolution Requirements: Generally, an HDR image should have a resolution of 4000x2000 pixels or higher to prevent distortion in large scenes. Make sure the resolution of your HDR texture matches the level of detail required, especially for wide sky environments.
HDR Texture Sources: Choosing high-quality HDR textures is also crucial. If you're struggling to find good HDR textures, visit Relebook at https://textures.relebook.com to download premium HDR textures and other resources.
2. Properly Configure UVW Mapping Coordinates
Even if the HDR texture resolution is high enough, improper UVW mapping can cause the texture to appear blurry or distorted. Ensuring that your HDR texture’s mapping coordinates align correctly with the scene is critical in 3ds Max.
Use a Mapping Modifier: Applying a UVW Mapping Modifier to the sky object can help adjust the texture’s size and proportions accurately, preventing distortion or stretching.
Adjust Texture Scale: You can fine-tune the placement and scale of the HDR texture on the sky object using the modifier’s parameters to ensure the texture covers the entire scene correctly.
3. Adjust Exposure Control Settings
The brightness and exposure control of HDR images in 3ds Max directly impact the final rendering. If exposure settings are incorrect, the HDR sky texture may appear overly bright or too dark, resulting in lost detail and a blurry appearance.
Enable Exposure Control: In the “Render Setup,” enable and adjust exposure control to ensure the HDR texture’s lighting matches the overall scene’s illumination.
Manually Adjust Exposure: By tweaking the exposure values, you can ensure both the highlights and shadows of the HDR texture are properly displayed, enhancing the clarity of the texture.
4. Enable Subdivisions for Reflections and Refractions
In 3ds Max, enabling subdivisions for reflections and refractions can make HDR sky textures look more realistic, especially when interacting with transparent objects or reflective materials.
Increase Sampling: By increasing the number of samples for reflections and refractions, you can reduce noise and improve the texture’s clarity. This is particularly effective when global illumination (GI) is enabled, as it significantly boosts the HDR texture's performance in the scene.
Optimize Reflection Settings: Adjust the reflection parameters appropriately to ensure the HDR sky texture interacts with surface reflections in a crisp and detailed manner, avoiding any blurriness.

5. Tweak Anti-Aliasing Settings in Render Setup
Anti-aliasing settings play a key role in fixing blurry HDR textures. Low-quality anti-aliasing can cause blurry edges and obscure details. Optimizing the anti-aliasing options in 3ds Max can greatly improve the clarity of your HDR textures.
Choose a High-Quality Anti-Aliasing Mode: In the render settings, selecting “high quality” or “enhanced” anti-aliasing modes can help reduce edge blurring and sharpen HDR sky textures.
Adjust Anti-Aliasing Filters: Different anti-aliasing filters, such as Catmull-Rom or Mitchell-Netravali, can have varying effects on the sharpness of an image. Choose the filter that best suits your scene to ensure the HDR sky texture is rendered with maximum clarity.
6. Enhance Detail with Global Illumination
Global Illumination (GI) can significantly improve the realism and detail of HDR sky textures. Enabling GI in 3ds Max not only enhances lighting effects but also brings out more texture detail through indirect lighting.
Optimize GI Parameters: In the render setup, fine-tune GI settings such as sampling rate, light intensity, and bounce count to ensure the HDR texture appears natural and crisp under the influence of global lighting.
Test Different GI Settings: Through multiple test renders, adjust GI parameters to find the most suitable setup for your scene, ensuring the HDR sky texture complements the lighting without appearing washed out or blurry.
7. Avoid Excessive Compression of HDR Textures
Some designers might compress HDR textures to save on file size, but excessive compression can lead to a loss of detail, resulting in a blurry texture. Be cautious about compressing HDR textures to ensure their quality remains intact.
Use Lossless Compression: If compression is necessary, opt for lossless formats that retain all the texture’s details.
8. Test Renders and Optimize Settings
After making adjustments to the HDR sky texture settings, it's essential to perform several test renders. This process helps you fine-tune the rendering parameters and ensure the final HDR sky texture appears sharp, natural, and well-integrated into the scene.
By following these steps, designers can effectively resolve blurry HDR sky textures in 3ds Max and enhance the overall quality of their renders. If you’re looking for high-quality HDR sky textures and other 3D assets, Relebook offers a vast library of resources, including various HDR images and 3D models, to help you effortlessly create stunning scenes.

