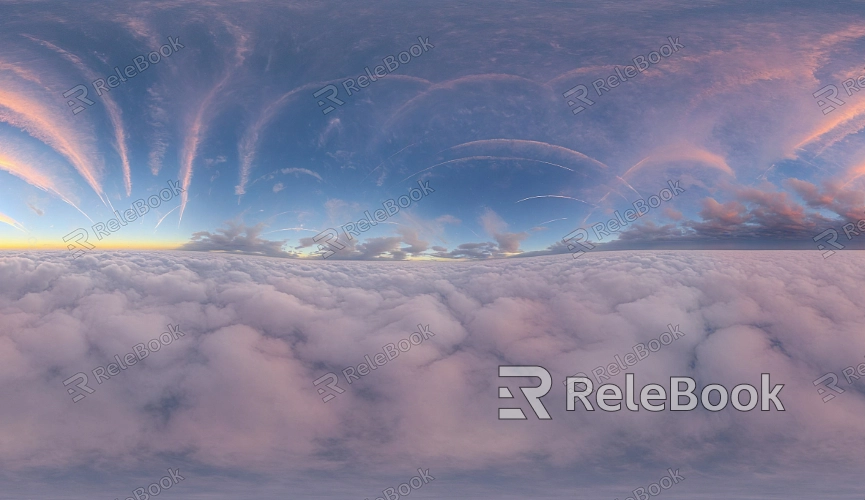
How to Adjust the Brightness and Exposure of HDR Sky Textures in V-Ray
In architectural visualization and environmental simulation, using HDR sky textures can significantly enhance the natural lighting and realism of your design. This is particularly true when working with the V-Ray rendering engine, where fine-tuning these parameters can noticeably improve the quality of your renders. However, many designers encounter issues such as overly bright or dark images, or uneven lighting when adjusting the brightness and exposure of HDR skies. These problems commonly arise in popular 3D software like 3ds Max, SketchUp, and Blender. This guide will walk you through how to effectively adjust HDR sky brightness and exposure in V-Ray to ensure your renders meet your expectations.

1. Adjusting HDR Exposure Settings
HDR image exposure directly affects the lighting intensity in your V-Ray renders. Here’s how you can modify exposure settings to manage brightness:
Initial Setup: After loading the HDR image in V-Ray’s "Environment and Effects" panel, you may notice that the default exposure values are often too high or too low. Adjusting these values helps sync the HDR image with your scene’s overall lighting.
Exposure Control: V-Ray provides exposure control options such as "Camera Exposure" or "Light Exposure." Manually tweaking these settings allows the HDR image to better fit the scene’s brightness requirements.
Dynamic Adjustments: Try varying the exposure values under different lighting conditions to see how the adjustments affect the scene. This method can help you find the best exposure for your specific environment.
2. Tweaking HDR Sky Texture Brightness
Brightness is another key parameter in HDR textures that influences not just the overall lighting but also how reflections and shadows behave. Here’s how to adjust brightness in V-Ray:
Modify HDR Map Brightness: In V-Ray, you can alter the brightness of the HDR map by adjusting its "Multiplier" value in the material editor. This directly impacts the overall lighting.
Scene Testing: Testing different brightness levels is essential. After making adjustments, render previews at various times of day (e.g., noon, dusk) to ensure the HDR sky looks natural under all lighting conditions.
3. Combining V-Ray Sun and HDR Sky for Optimal Lighting
Using V-Ray’s Sun system in conjunction with HDR sky textures can produce smoother transitions in lighting. Here’s how you can optimize brightness and exposure using both:
Activate V-Ray Sun: Enabling the V-Ray Sun system adds better control over the light’s direction and intensity. It provides realistic sunlight effects, especially in scenes that require direct sunlight.
Balance Light and HDR: When using V-Ray Sun, adjust its intensity to balance with the HDR sky brightness. This helps avoid overexposure or uneven lighting across the scene.

4. Adjusting Brightness and Exposure with Tone Mapping
Tone mapping is a powerful tool in V-Ray for controlling brightness and exposure in the final render. V-Ray offers various tone mapping options to help you achieve the desired lighting effects:
Linear Tone Mapping: If you want to maintain consistent lighting ratios, linear tone mapping provides a realistic light representation. You can tweak the exposure and brightness multipliers to fine-tune the result.
Exponential Tone Mapping: For scenes that need softer light transitions, exponential tone mapping compresses the brightness in highlight areas, helping prevent overexposure.
5. Fine-Tuning HDR Textures in the Material Editor
V-Ray’s material editor offers advanced controls for further refining HDR sky textures:
Reflection and Refraction Control: By adjusting the reflection and refraction settings in the material editor, you can control how HDR skies appear on different surfaces. For instance, increasing reflection intensity on smooth surfaces can emphasize the HDR texture.
Color Correction: Use the color correction node to fine-tune the hue and saturation of the HDR image. This allows you to match the lighting conditions more closely to the desired scene atmosphere.
6. Using Global Illumination for Scene Testing
Global Illumination (GI) in V-Ray plays a vital role in simulating how light bounces around a scene. It’s a valuable feature for testing the performance of HDR textures under various lighting conditions:
Enable Global Illumination: Activating GI helps simulate more realistic light interaction, as it considers how light bounces off surfaces. During testing, you can incrementally adjust light source intensities and observe how the HDR sky reacts.
Fine-Tune Light Source Strength: By balancing the HDR texture and GI settings, you can achieve an even distribution of light across the scene, creating more natural illumination.
7. Post-Processing Exposure Adjustments
Once rendering is complete, you can further refine the exposure and brightness of the HDR sky texture during post-production:
Use Photoshop or Similar Software: Import the final render into Photoshop or similar post-processing software to adjust exposure and brightness using tools like curves or levels. This can help correct any issues that were difficult to manage during rendering.
Enhance Details: Post-processing can also help improve the finer details of the image, such as adding depth to the sky or emphasizing the light and shadows on architecture.
By following these steps, designers can have precise control over the brightness and exposure of HDR sky textures in V-Ray, ensuring more realistic lighting for architectural renderings. If you're looking for high-quality HDR textures or additional 3D models and design assets, Relebook offers a vast library of resources to help enhance your rendering projects and take your designs to the next level.

