How to Use HDR Forest Textures in Blender
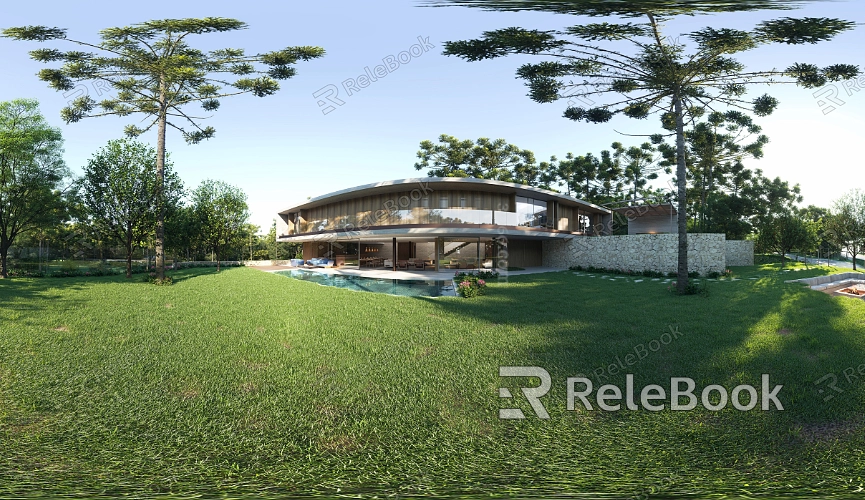
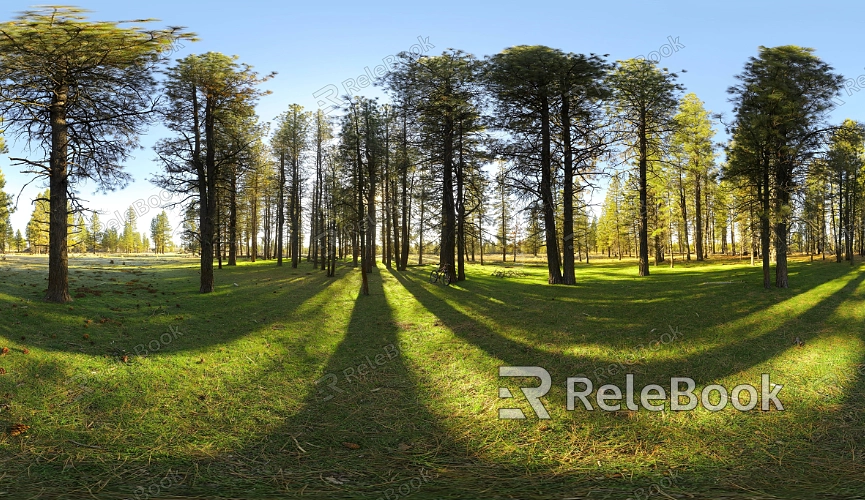
When creating forest or natural environments, HDR forest textures can significantly enhance lighting and color representation, making your work more immersive and detailed. In 3D software like Blender, 3ds Max, and Cinema 4D, HDR textures are widely used for scene lighting, skyboxes, and environmental reflections, helping designers craft impressive outdoor settings. This guide will outline the steps for using HDR forest textures in Blender and explain how to optimize them for the best results in real-world projects.

1.Importing HDR Forest Textures
The first step is importing HDR textures into Blender. The software supports various HDR file formats, such as HDR and EXR. Before importing, you can find suitable HDR forest texture files online, ensuring they have sufficient resolution for your rendering needs.
Selecting the Right HDR File: Ensure the file has a high enough resolution—ideally 4K or higher—so it retains more detail in large scenes.
Sourcing HDR Textures: If finding high-quality HDR forest textures feels time-consuming or challenging, you can visit Relebook to download HDR texture resources from https://textures.relebook.com.
Importing Process: In Blender, go to the "World" properties panel, select the “Background” type, and click "Use Nodes." Then, use the "Environment Texture" node to load your HDR forest texture file.
2.Adjusting HDR Exposure and Brightness
HDR textures control the overall light intensity in a scene. For forest environments, lighting typically needs to be soft to ensure a natural transition. By adjusting these parameters, you can fine-tune how light interacts with objects in your scene.
Exposure Control: Adjusting the exposure allows you to increase or decrease the light intensity. In Blender, this is controlled through the "Strength" parameter in the "World" panel.
Brightness Tuning: Properly adjust brightness so that the contrast between light and dark areas appears natural, avoiding overexposure or dim lighting.
3.Using HDR Textures as Environmental Lighting
In Blender, HDR textures can not only serve as background images but also as an environmental light source. This means they affect all objects in the scene, particularly enhancing realism in reflections, shadows, and highlights.
Setting It as a Light Source: In the "World" panel, ensure the HDR texture is set as the environment light, and adjust the "Strength" value to fine-tune the lighting.
Optimizing Lighting: To prevent the HDR light source from being too bright or too dark, it's helpful to preview the render in real-time and adjust the light strength accordingly.
4.Optimizing Texture Details and Colors
When working with HDR forest textures, fine-tuning color balance and texture details is crucial for making the scene more visually appealing. You can enhance the texture’s look by increasing contrast, adjusting saturation, or applying color correction tools.
Color Correction: In Blender’s “Compositing” nodes, add a color correction node to make slight adjustments to the colors of the HDR texture.
Contrast and Saturation: Depending on your scene’s needs, you can increase or decrease the contrast and saturation of the HDR texture, ensuring a natural feel while amplifying visual impact.

5.Using HDR Forest Textures for Reflections
HDR textures can also be utilized in material reflection channels. By applying HDR textures to reflection nodes of objects, you can achieve more natural environmental reflections, especially for surfaces like water, glass, or metal, where realism is key.
Adding Reflection Nodes: In the material editor, add a "Reflection" node to the object's material and link it to your HDR forest texture.
Optimizing Reflections: Adjust the reflection intensity and blur to prevent overly sharp reflections while maintaining sufficient detail.
6.Render Settings and Sampling Optimization
When rendering, Blender’s settings directly impact how well HDR textures appear. By optimizing sampling and adjusting reflection and refraction settings, you can achieve higher-quality outputs.
Sampling Settings: In the “Render” options, increase the sample count to get cleaner renders. In HDR scenes, higher samples help reduce noise and enhance image quality.
Ray Tracing Settings: For complex reflection and refraction scenarios, adjust the ray tracing depth to capture more detail in HDR forest textures.
7.Testing Different HDR Files
Each HDR file provides unique lighting effects, so testing multiple HDR forest textures at the start of your project can help you find the best lighting solution for your scene.
Test Multiple HDRs: Import different HDR textures and observe how each affects lighting and reflections, selecting the one that best suits your project’s requirements.
8.Exporting and File Optimization
Once your render is complete, the quality of the exported image will depend on your chosen output format and resolution. Ensure your HDR file is compressed and optimized to reduce processing load during rendering.
File Format Choice: It’s recommended to export in EXR or TIFF format to maintain the high dynamic range of HDR textures and make post-processing easier.
Using HDR forest textures in Blender can significantly enhance the realism of your scene, especially in complex outdoor environments. By adjusting exposure, brightness, reflections, and other parameters, designers can create stunning natural lighting effects that elevate the visual impact of their work. Mastering these techniques will allow you to better handle different lighting needs in 3D modeling and rendering, bringing more creativity and vibrancy to your projects.
If you're looking for high-quality HDR image resources, 3D textures, Sketchup models, or 3ds Max models to build your virtual scenes, Relebook offers a vast selection to help you achieve outstanding visual results in your projects.

