How to render roblox people using blender
Roblox is a popular gaming platform that allows players to create and customize their own characters. Many developers and designers want to import these characters into Blender for advanced rendering and animation. Blender is a powerful 3D modeling and rendering tool that can help you present Roblox characters in a more vibrant and professional way. This guide will walk you through the entire process of rendering Roblox characters in Blender, from importing to rendering, and provide some useful tips and advice.
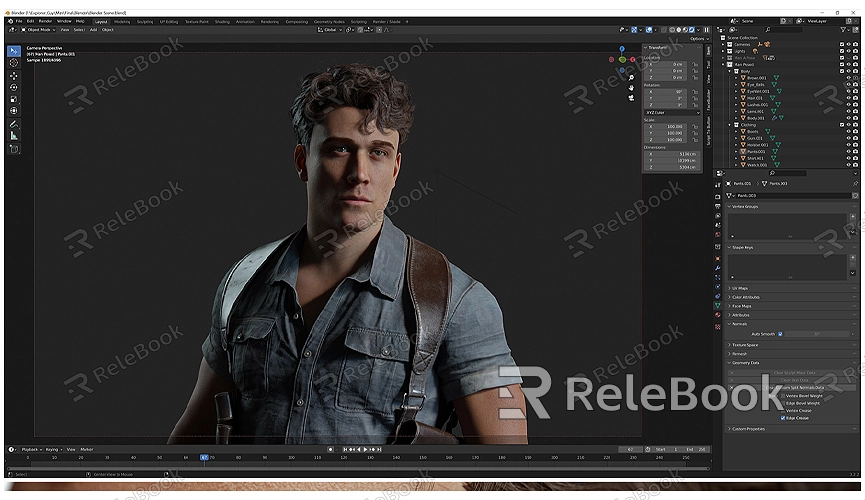
Importing Roblox Characters into Blender
First, you need to import the Roblox character into Blender. This step involves the following:
1. Export Roblox Character: In Roblox, you need to export the character in a format that Blender can recognize. Typically, you can use plugins in Roblox Studio or third-party tools to export the character as FBX, OBJ, or other formats. Make sure to select the option that includes all necessary textures and materials.
2. Open Blender: Launch Blender and create a new project. In Blender’s main menu, go to “File” > “Import” and select the file format you exported (e.g., FBX or OBJ). Choose the file and click the “Import” button. Blender will load your Roblox character.
3. Adjust the Model: The imported model may need some adjustments. Check the model’s position, scale, and whether the textures and materials are correctly imported. Adjust the model’s scaling and positioning as needed to fit into Blender’s scene.
Configuring Materials and Textures
To ensure that your Roblox character looks as realistic and detailed as possible in Blender, you need to configure materials and textures:
1. Apply Materials: In Blender’s “Materials” panel, create or adjust materials for the model. Click the “New” button and name the material. Then, apply the material to different parts of the model.
2. Add Textures: In the “Materials” panel, find the “Textures” option, click “New” to add a texture. Select your exported texture files and apply them to the material. Ensure the textures are correctly mapped to the model’s surface.
3. Adjust Material Settings: Adjust material settings as needed, such as color, reflectivity, and transparency. Use Blender’s “Shader Editor” for further adjustments to the material effects and to optimize the model’s appearance.
4. Check UV Mapping: Ensure that the model’s UV mapping is correct. In Blender’s “UV Editor,” check the UV layout of the model to make sure textures are not distorted or misaligned. Make adjustments as necessary for the best results.
Setting Up Lighting and Camera
Proper lighting and camera setup are crucial for rendering:
1. Add Lighting: In Blender, you can use different types of light sources, such as point lights, spotlights, or area lights. Choose the type of lighting that suits your scene and adjust its intensity, color, and position. Good lighting can enhance the model’s details and textures.
2. Configure the Camera: Set the camera’s position and angle to achieve the best view. Use Blender’s camera view feature to adjust the camera’s focal length and field of view, ensuring the model looks good in the frame.
3. Adjust the Scene: Create background and other scene elements in Blender as needed. Adding appropriate background objects and environment elements can enhance the overall render and make the character more engaging.
Rendering and Post-Processing
Once all the setup is complete, you can render and perform post-processing:
1. Choose a Rendering Engine: Blender offers multiple rendering engines, such as Cycles and Eevee. Cycles is suitable for high-quality rendering, while Eevee is ideal for real-time rendering. Choose the rendering engine that fits your needs and adjust the settings accordingly.
2. Set Rendering Parameters: In Blender’s “Render” panel, adjust parameters like resolution and sampling rate. Higher resolution and sampling rates improve image quality but also increase rendering time.
3. Render the Model: Click the “Render” button, and Blender will generate an image of your Roblox character. During rendering, you can monitor the progress and make adjustments as needed.
4. Perform Post-Processing: Use Blender’s “Compositing” features for post-processing. You can adjust colors, contrast, brightness, and other settings to enhance the final image quality.
Practical Applications
Rendering Roblox characters in Blender allows you to create high-quality images and animations for various projects, such as game covers, character showcases, or animation shorts. Blender’s powerful tools can help you present characters in a more professional and vivid manner.
The process of rendering Roblox characters in Blender involves importing, configuring materials and textures, setting up lighting and camera, and performing rendering and post-processing. Mastering these techniques will help you better utilize Blender’s capabilities and improve your 3D creation quality. If you need high-quality 3D textures and HDRI for your projects, you can download them for free from [Relebook](https://textures.relebook.com/). For exquisite 3D models, visit [Relebook](https://3dmodels.relebook.com/). Relebook offers a wide range of premium 3D resources that can further enhance your design and rendering quality, making your projects stand out. We hope this guide helps you understand how to render Roblox characters in Blender and elevate your creative work.
