How to Adjust Model Height in SketchUp?
SketchUp is a powerful 3D modeling tool widely used in architecture, interior design, landscaping, and more. Often, you'll need to adjust the height of a model to better fit design requirements or make detailed changes. This article will guide you through the process of adjusting model height in SketchUp, helping you enhance your modeling efficiency and create more precise 3D models.
Adjusting Height with the Move Tool
In SketchUp, the "Move" tool is a simple yet effective method for adjusting the height of a model. With this tool, you can move selected objects vertically to achieve the desired height.
1. First, select the part of the model you need to adjust. This could be the entire model or just a section.
2. Click on the "Move" tool in the toolbar or press the shortcut key "M.".
3. Click on the selected part of the model and drag it to the desired height. You can use reference lines or input specific values to help with precise placement.
This method allows for quick height adjustments, but be mindful not to affect the layout of other parts during the move.
Changing Height with the Push/Pull Tool
The "Push/Pull" tool in SketchUp can also be used to change the height of a model. While it's primarily used for adjusting the thickness of planar objects, it can also modify vertical height.
1. Select the face or planar area of the model you want to adjust.
2. Choose the "Push/Pull" tool or press the shortcut key "P.".
3. Click and drag the selected face to pull it up or push it down to change the height. You can see the height change in real time and enter precise values for accuracy.
This method is useful for simple geometric shapes or when you need to add or reduce thickness in the model.
Modifying the Height of Components or Groups
If your model contains multiple components or groups, you may need to adjust the height of these individual parts to maintain overall design consistency.
1. Select the component or group you need to adjust.
2. Right-click and choose "Edit Component" or "Edit Group" to enter editing mode.
3. Use the "move" tool or the "push/pull" tool to adjust the height.
4. After making adjustments, click outside the area to exit editing mode and save your changes.
This approach ensures that only the specific parts you want to adjust are affected without altering other parts of the model.
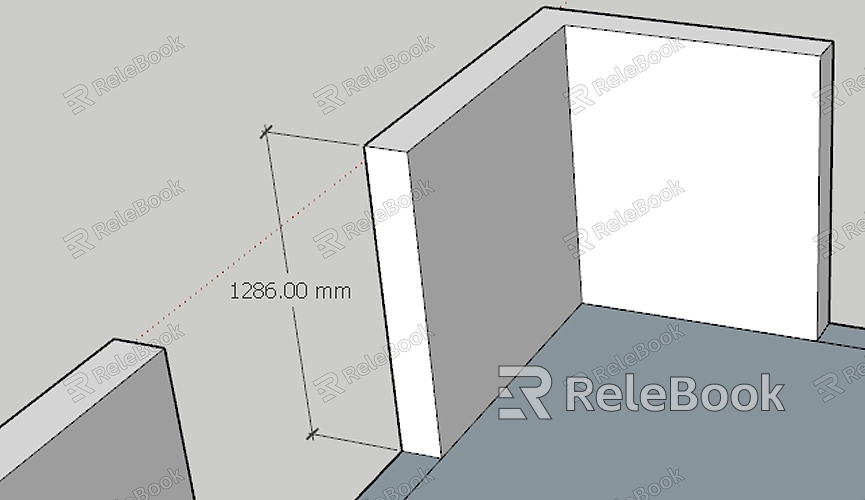
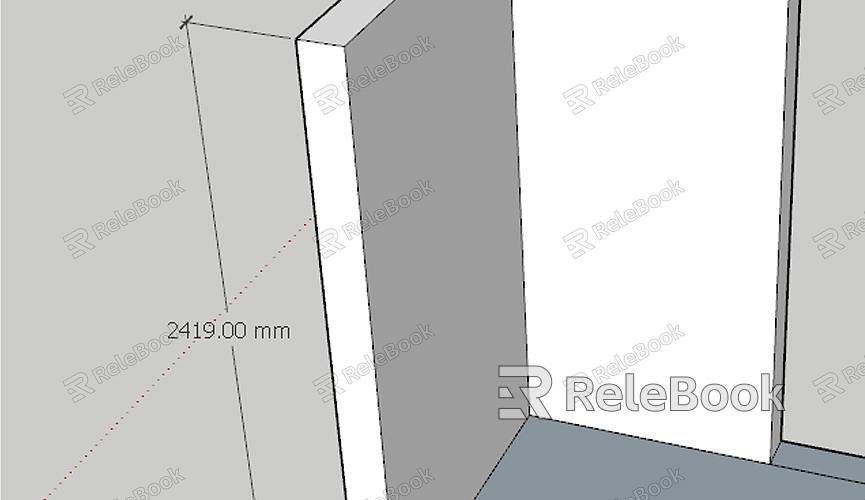
Using the Measurement Tool for Precise Height Adjustments
When precise control over model height is required, the measurement tool becomes essential. It allows you to set and adjust the height of your model accurately.
1. Select the "Tape Measure" tool or press the shortcut key "T.".
2. Click to create a measurement line in the model, from start point to end point, to gauge the height.
3. Input precise values to adjust the model height and ensure it meets design specifications.
This method is ideal for situations where strict height control is necessary, especially when adjusting according to specific dimensions.
Adjusting Building Model Heights
For building models, adjusting height involves not just modifying the model but also considering the building's proportions and its environment. Here are some tips for adjusting building model heights:
1. Before adjusting, determine the design requirements and the proportion to the surrounding environment.
2. Use the "move" or "push/pull" tools for initial height adjustments.
3. Check if the adjusted height meets actual requirements, making detailed corrections if needed.
Ensure that the adjusted building model aligns with design standards and integrates well with the surrounding context.
With the guidance provided in this article, you should now have a clearer understanding of how to adjust model height in SketchUp. Whether using the "Move" tool, "Push/Pull" tool, or other methods, you can effectively meet your design goals. For more high-quality 3D models and textures, visit the Relebook website to download the resources you need and enhance your modeling experience.
FAQ
How can I adjust the model height without affecting other parts?
When using the "Move" tool, make sure to select only the parts you want to adjust. If you need to adjust the entire model, select the whole model and move it. With the "Push/Pull" tool, work only on the selected face.
How can I ensure the accuracy of height adjustments?
Use the "Tape Measure" tool to set and verify the model height, ensuring that adjustments meet design requirements. You can also enter specific values to control height changes precisely.
How can I avoid proportional imbalance when adjusting building model heights?
Refer to design requirements and the surrounding environment when adjusting building model heights. After making adjustments, verify that the model maintains proper proportions and meets practical needs.
How do I handle detail issues after adjusting model height?
After adjusting the height, review the model's details, especially connections with other components or groups. Make additional adjustments and fixes as needed to ensure overall model coherence.
