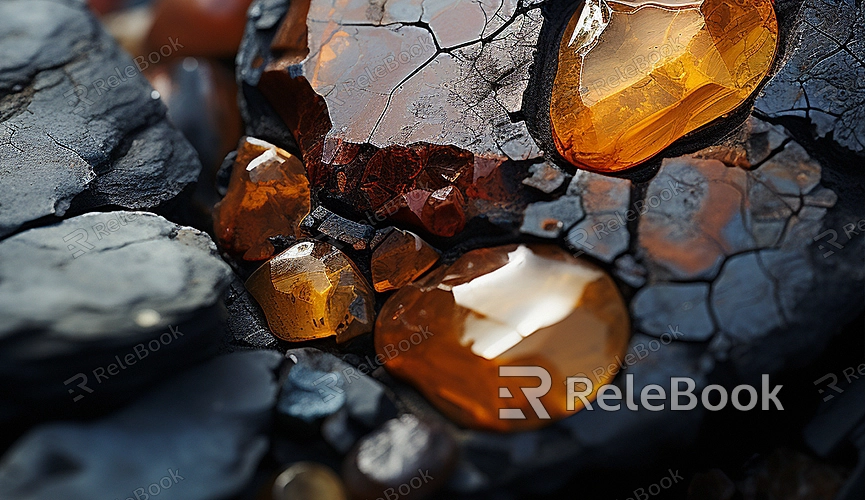
Creating Realistic Rock Models in Blender
Creating 3D rock models in Blender is a widely used operation, and achieving realistic results presents a challenging task. Crafting a lifelike rock model in Blender involves attention to various details, including modeling, sculpting, texture painting, and rendering.

1. The Importance of Reference Materials
Before getting started, gather real-world photos and images of rocks as reference materials. These resources will provide essential guidance on the shape, texture, and details of rocks, aiding in the accurate simulation of realism.
2. Utilizing Blender's Basic Modeling Tools
Blender offers a powerful set of basic modeling tools such as cubes, cones, and spheres, suitable for the initial modeling of rocks. Combine these basic shapes to create the rough shape of a rock, maintaining proportions and symmetry. As rock shapes are typically irregular, you can choose basic shapes like cubes or spheres as a starting point and then use deformation to simulate the natural form of rocks.
3. Sculpting Details
Blender's sculpting tools are crucial for shaping rock details. Using sculpting brushes, simulate the surface irregularities, cracks, and textures of rocks. Adjust the brush strength and size to gradually sculpt the unique form of the rock, making it appear more natural.
4. Adding Noise and Deformation
Simulating surface noise and deformation resembling real rocks is key. Use tools like the Displace Modifier or Noise Texture to introduce subtle irregularities to the rock surface, enhancing its realism and texture.
5. Texture Painting and Mapping
Choose or create suitable rock texture images and apply them to the model's surface. Use Blender's UV mapping tools to ensure the texture is correctly mapped to each part. Adjust the mapping to coordinate the texture with the model surface, achieving a realistic effect.
6. Multi-layered Texture Mapping
To enhance the realism of the rock, consider using multi-layered texture mapping. Combine different textures such as color variations, moss or lichen textures to create a more intricate and detailed appearance. Download high-quality 3D texture maps from Relebook and import them into Blender for use.
7. Adjusting Material and Reflectivity
In Blender's material editor, adjust the material properties of the rock, including color, glossiness, and reflectivity. Simulate light reflection on different parts to make the rock look more realistic.
8. Fine-tuning Rendering Settings
Before the final rendering, ensure proper lighting effects and rendering settings are in place. Consider using High Dynamic Range (HDR) environment maps to enhance rendering quality and realism. High-quality HDRIs are also available on Relebook.

