How to Apply Grass Texture HDR in Blender
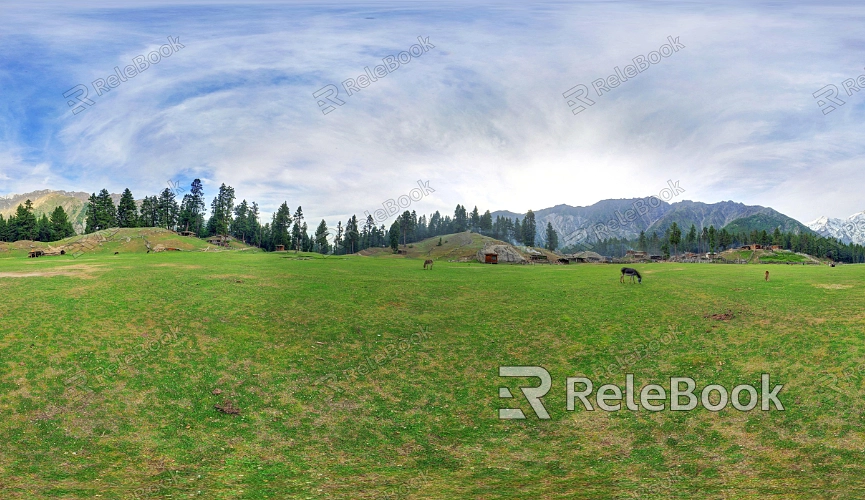
Grass is a common element when creating outdoor scenes, and to achieve realistic visual effects, designers often use HDR textures to enhance the appearance of grass. In popular 3D software like Blender, 3ds Max, and Maya, HDR grass textures are widely applied, especially for rendering outdoor environments or architectural settings. This article will detail how to apply grass texture HDR in Blender, guiding designers on improving the quality of their projects through this technique.
1. Obtaining and Importing HDR Grass Textures
To apply grass HDR textures in Blender, the first step is to acquire high-quality HDR textures. Designers can download these texture files from various online resources, with some websites offering free, high-resolution HDR textures suitable for beginners or budget-conscious projects.
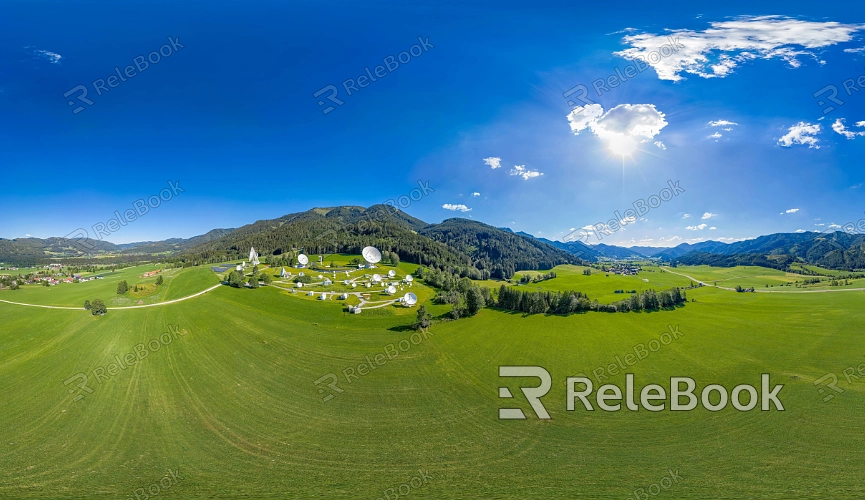
Download Resources: If you're finding it too time-consuming or complex to locate high-quality HDR grass textures or are unsure how to create them, you can visit Relebook for a streamlined experience. Their website, textures.relebook.com, offers a wide range of HDR textures, where you can select grass textures tailored to your needs.
Importing into Blender: Once you've downloaded the HDR file, open Blender and switch to the Shading workspace. In the node editor, import the HDR file using the “Image Texture” node. Use UV mapping to adjust the texture’s position and scale, ensuring the grass texture properly covers the scene.
2. Setting Up Environmental Lighting
HDR grass textures can serve not only as surface materials but also play a key role in lighting the scene. In Blender, HDR images can provide natural global illumination, increasing realistic reflections and light scattering effects.
Adding HDR Lighting: Navigate to the World settings and load the HDR file through the Environment Texture option. This impacts the overall lighting of the scene, particularly in outdoor environments, mimicking natural sunlight.
Adjusting Exposure and Intensity: Use the “Strength” parameter to fine-tune the HDR light intensity, ensuring the lighting complements the other elements in the scene.
3. Creating and Applying Material to the Grass
Next, you’ll need to create a material for the grass and apply the HDR texture to it. Blender’s material system is incredibly flexible, allowing users to build complex node networks to control the exact appearance of the grass.
Create New Material: In the Material panel, create a new material for the grass model. In the node editor, add a “Principled BSDF” node as the base shader.
Load the HDR Texture: Import the HDR grass texture using the “Image Texture” node, then connect it to the “Base Color” input of the “Principled BSDF.”
Adjust Roughness and Normal Maps: To achieve a more realistic look, you can further enhance the material by adding roughness and normal maps, which will give the grass more texture and detail.
4. Adjusting the Grass Texture UV Mapping
For the grass HDR texture to fit your 3D model correctly, you’ll often need to adjust the UV mapping. UV mapping determines how the texture wraps around the 3D surface, so getting it right is essential for achieving a seamless appearance.
Check the UV Map: Switch to the UV Editing workspace in Blender to review the grass model’s UV layout, ensuring there are no distortions or misalignments.
Adjust Texture Scale: Use the UV Scale tool to modify the HDR texture’s scale, ensuring it appears evenly and naturally on the model’s surface.
5. Optimizing Render Settings
Once the grass HDR texture is applied, optimizing the render settings is key to achieving efficient and realistic results. Different render settings can drastically impact the final image quality and rendering time.
Adjust Sampling Settings: In the Render panel, increasing the sample count will enhance the level of detail in the grass texture, though it will also lengthen render times. Find a balance between speed and quality for your project.
Enable Ray Tracing: Blender’s Cycles renderer supports ray tracing technology. Enabling this feature will help bring out more realistic light and shadow interactions with the grass HDR texture.
Enable Indirect Lighting and Reflections: To further enhance the light interaction with the grass, activate indirect lighting and reflection settings for added realism.
6. Fine-Tuning HDR Texture Details
To make the grass HDR texture more vibrant in the final render, you can optimize its details. Enhancing the texture’s details will not only make it look more realistic but can also save time by reducing the need for revisions.
Use Normal Maps: By adding a normal map, you can give the grass texture more depth, making it look more lifelike when illuminated.
Add Displacement Maps: For higher detail, you can also use displacement maps, which affect the geometry of the grass model, creating a more uneven surface and adding a greater sense of realism.
7. Integrating HDR Textures with Other Scene Elements
Finally, to ensure that the grass HDR texture blends well with other elements in the scene, it's important to properly integrate it into the overall environment.
Control Lighting and Shadows: Grass often interacts with other objects like trees or buildings. Ensure that the lighting and shadows are consistent across the scene to improve the overall cohesion.
Apply Depth of Field Effects: In the camera settings, you can add depth of field effects to bring attention to the grass details while allowing distant parts of the scene to blur, creating a more immersive sense of space.
By following these steps, 3D modeling designers can master the application of HDR grass textures in Blender. From acquiring high-quality textures, setting up environmental lighting, adjusting materials, to optimizing render settings, each step helps designers boost productivity and achieve more realistic render results. For your next project, try incorporating these techniques into your outdoor scenes and see how much they can enhance your work.
If you’re looking for high-quality HDR images, 3D textures, SketchUp models, or 3ds Max models to create virtual environments, Relebook offers a vast collection of resources to help you achieve stunning visual effects in your projects.
