How to Create Realistic Grass Texture HDR for Rendering
Grass is a key element in building realistic outdoor environments. Whether in architectural visualization, game development, or animation production, designers often aim to enhance the realism of their scenes by using highly detailed grass effects. This article explores how to create realistic grass HDR textures, from sourcing materials to optimizing the final rendered output, to help designers elevate the quality of their work.
1. Sourcing High-Quality HDR Grass Textures
To create realistic grass effects, the first step is finding high-quality HDR textures. HDR textures capture a wide range of lighting information, allowing them to deliver rich variations in light and shadow, making the grass appear more lifelike.
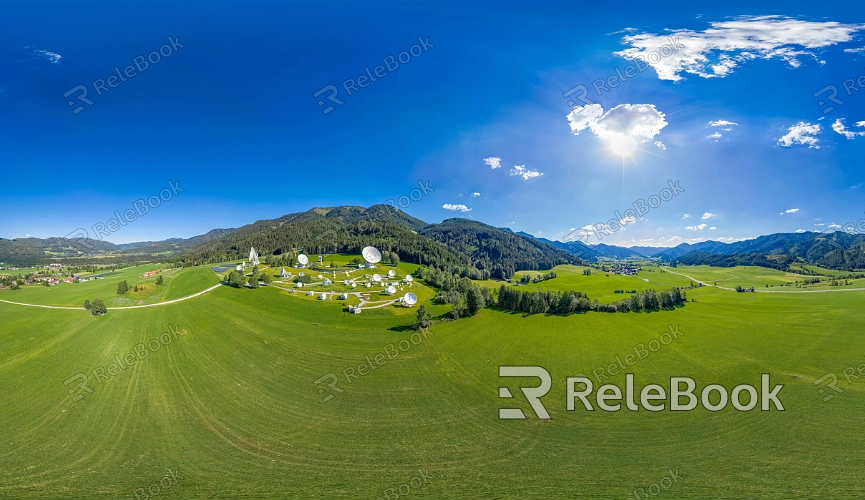
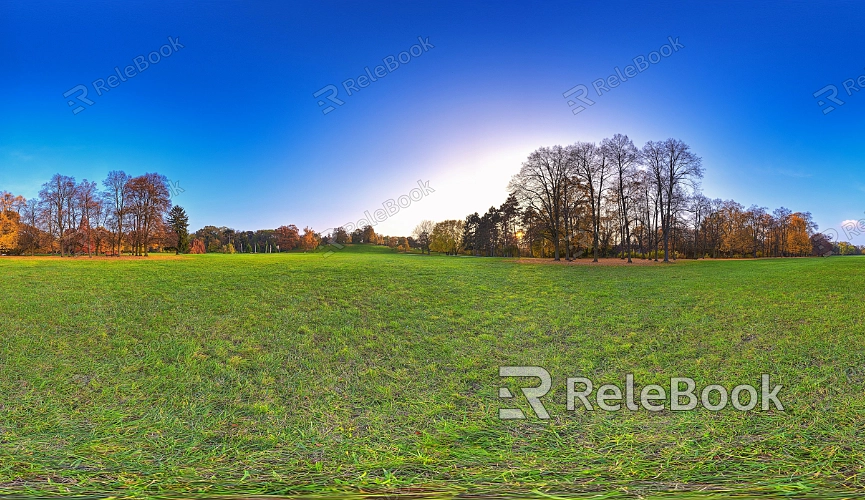
Explore Online Resources: Designers can find HDR texture files from various online platforms. For example, Relebook offers a variety of HDR textures that can enhance the lighting effects in grass scenes.
Select Appropriate Textures: When choosing HDR grass textures, consider the environment type. For example, is the scene set on a sunny day, under cloudy skies, or during sunset? Matching the lighting conditions of the texture with your scene is essential for achieving realistic results.
2. Preparing and Importing HDR Textures into 3D Software
Once you've acquired the right HDR grass texture, the next step is to import it into your 3D design software for material creation.
Importing into Blender: In Blender, use the “Shading” workspace to access the node editor. Import the downloaded HDR file by using the “Image Texture” node. Be sure to adjust the “UV Mapping” to control the scale and placement of the texture, ensuring it covers the scene correctly.
Importing into 3ds Max: In 3ds Max, use the “Material Editor” to import the HDR grass texture and adjust the UVW mapping settings to control its application on the surface of the model.
3. Adjusting the Lighting Effects of HDR Textures
Grass HDR textures not only serve as surface materials but can also provide natural lighting effects for the entire scene. Setting up the right HDR lighting in 3D software can enhance the realism of your scene.
Environmental Lighting Setup: In Blender or 3ds Max, access the “World” or “Environment” settings and use the “Environment Texture” node to load the HDR grass texture as a light source. This helps create realistic global illumination for the scene.
Fine-Tuning Exposure and Intensity: Adjust the exposure and light intensity to ensure the HDR light source is neither too bright nor too dim, creating balance with other elements in the scene.
4. Creating Grass Materials and Applying HDR Textures
Next, you’ll need to create a base material for the grass and apply the HDR texture to it.
Creating a Material in Blender: Use the “Principled BSDF” shader to create a base material for the grass. Connect the imported HDR texture to the “Base Color” input, ensuring that the grass surface's color and texture details are displayed vividly.
Using Normal and Roughness Maps: To enhance the details of the grass, add normal maps and roughness maps. These maps will give the grass more texture, improving the interaction between light and shadow on the surface.
5. Optimizing UV Mapping for the Grass
To ensure the grass texture fits perfectly on the model, it’s important to fine-tune the UV mapping. UV mapping determines how the texture is laid out across the model's surface.
Check the UV Layout: In the UV editor, review the UV layout to ensure there are no stretches or distortions. Manually adjust the UVs if needed to make sure the grass texture appears evenly and naturally across the surface.
Adjusting Texture Scale: By tweaking the UV scale, you can control the distribution of grass texture details, avoiding overly large scaling that may cause the texture to lose finer details.
6. Tweaking Render Settings for Better Results
After setting up the grass HDR texture, optimizing your render settings can significantly improve the quality and efficiency of the final output.
Increase Sample Count: Increasing the sample count in your rendering settings will help bring out more detail in the grass. However, a high sample count can also increase render times, so finding a balance between quality and speed is key.
Enable Ray Tracing: Ray tracing technology can enhance the interaction of light and shadow within the HDR grass texture, especially when there’s a lot of indirect lighting in the scene.
7. Adding Extra Details to Enhance the Grass Texture
To make the grass look even more dynamic, designers can add additional details to optimize the HDR texture before rendering.
Normal and Displacement Maps: Using normal and displacement maps adds depth to the grass, making it appear more three-dimensional. Displacement maps, in particular, can alter the geometry of the surface, giving the grass a more irregular, natural look.
Incorporate Depth of Field: Enabling depth of field in your camera settings can make the foreground of the grass sharp and detailed while gradually blurring the background, creating a stronger sense of depth in your scene.
By following these steps, designers can effectively create and apply realistic grass HDR textures. Whether it’s acquiring high-quality HDR resources, fine-tuning materials and lighting, or optimizing rendering settings, these techniques can greatly improve the visual quality of your work. If you’re looking for high-quality HDR resources, 3D textures, or other design materials, Relebook offers a wide range of options to help you achieve stunning render results in your projects.
