How to Apply HDR Space Textures in Blender
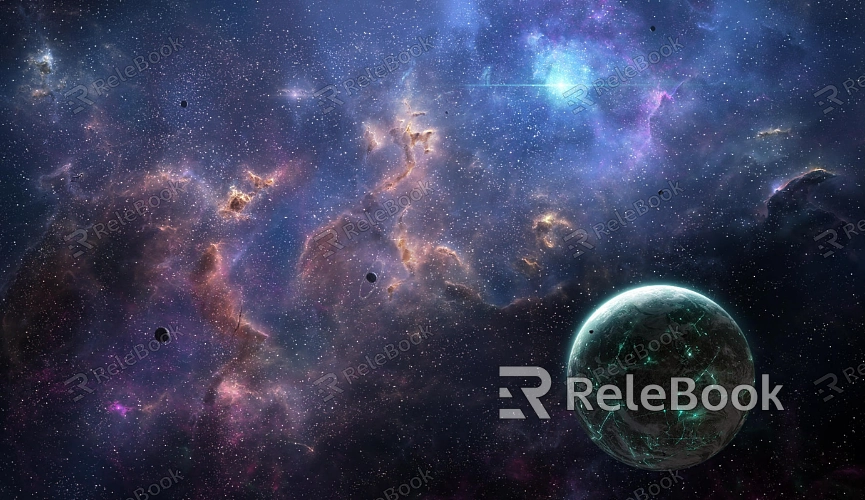
HDR textures are an essential asset, especially when aiming to represent complex lighting and environmental details, such as those found in space scenes. Space environments often feature sharp contrasts and dynamic light changes, making HDR space textures an excellent choice for enhancing realism. This article will guide you through applying HDR space textures in Blender, from importing the textures to adjusting the settings, making it easier for designers to create stunning space scenes.
1. Obtaining and Importing HDR Space Textures
To use HDR space textures in Blender, the first step is ensuring you have the right texture resources. The resolution and dynamic range of HDR images determine the final rendering quality, so choosing high-quality textures is crucial.
Finding Resources: If you find it challenging to search for high-quality HDR space textures or don't know how to create them, you can visit Relebook to download excellent HDR textures with ease.
Importing the Texture: In Blender, you can import HDR files by selecting the "Environment Texture" option. In the Shader Editor, switch to the "World" node, add an "Environment Texture" node, and load your HDR file.
2. Setting Up Blender's Environmental Lighting
HDR space textures are often used to simulate the global illumination of a scene, helping to naturally reflect dynamic lighting effects. Blender’s "World" settings allow you to create this effect effortlessly.
Enable Environmental Lighting: In Blender, open the "World" panel and select "Use Nodes." Then, set the "Color" option to "Environment Texture." This allows your HDR space texture to influence the lighting of the entire scene.
Adjust Lighting Intensity: Depending on your scene’s requirements, you may want to adjust the strength of the HDR texture to control the brightness. This can be done by increasing or decreasing the value in the "Strength" parameter.
3. Adjusting the Angle of the HDR Texture
Once the HDR texture is applied, adjusting its rotation can change the light source’s direction, helping you control how light spreads through your scene.
Rotate the HDR Texture: In the Shader Editor, you can add a "Mapping" node and connect it to the "Environment Texture" via the "Vector" input. Use the "Mapping" node’s rotation controls to adjust the direction of the HDR texture, ensuring the light source comes from the desired angle.
Test Different Angles: To find the best lighting, preview the scene in real-time rendering mode and test different rotation angles until the lighting direction meets your expectations.
4. Adjusting Exposure and Contrast
Lighting in space scenes tends to be extreme, and sometimes you’ll need to adjust the exposure and contrast of the HDR texture to balance overly bright or dark areas.
Tweak Exposure: Use the "Strength" parameter in the World settings to fine-tune exposure, ensuring the scene isn't overexposed or too dim. You can also use additional nodes in the Compositor to adjust the overall image’s exposure.
Increase Contrast: In some cases, boosting the contrast will make the lighting in the space environment more dramatic. In the Shader Editor, you can use the "Color Correction" or "Contrast" nodes to tweak the contrast and add depth to the image.
5. Combining HDR with Other Materials and Textures
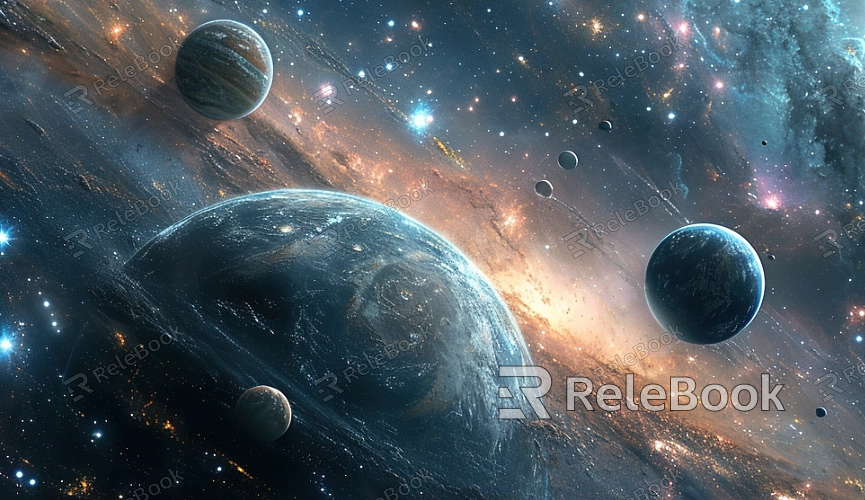
To add more realism to your space scene, combine HDR textures with other materials. For instance, use HDR for background lighting while adding custom textures for planets or spaceships.
Mixing Materials: In the Shader Editor, use the "Mix Shader" node to blend HDR lighting with other textures, creating more complex lighting effects.
Adding Detail Textures: For objects in the scene, apply additional textures, such as reflective surfaces on metal or terrain details on planets. This will enhance the overall richness of the scene.
6. Rendering and Optimization
Once you’ve applied the HDR space texture, the next step is rendering. Blender’s Cycles or Eevee render engines each offer unique advantages.
Using the Cycles Renderer: Cycles is Blender's physically accurate path-tracing engine, capable of simulating light paths in high-quality space scenes.
Using the Eevee Renderer: For faster previews or real-time rendering, Eevee is a great choice. However, some lighting details may not be as accurate as with Cycles.
Optimizing Render Settings: For large scenes, HDR textures can increase render times. You can optimize render time by lowering the sample count or reducing the number of light bounces.
7. Balancing Performance and Quality
When using high-resolution HDR textures, rendering quality often comes at the cost of higher computational demands. To maintain quality without sacrificing speed, you'll need to make some trade-offs.
Adjusting Resolution: Choose an appropriate HDR resolution based on your scene’s needs. For backgrounds that aren’t highly visible, consider lowering the texture resolution.
Using Cache: If your scene is complex, enable Blender’s texture caching to reduce memory usage and improve rendering efficiency.
By applying HDR space textures in Blender, you can significantly enhance the realism of space scenes, particularly in terms of lighting and environmental details. By carefully selecting, importing, adjusting, and optimizing HDR textures, designers can create awe-inspiring space environments with ease. This article has provided a step-by-step guide to help you manage the complex lighting demands of space scenes.
If you're looking for high-quality HDR textures, 3D textures, or models for SketchUp or 3ds Max, Relebook offers a wide variety of resources to help you achieve stunning visual effects in your projects.
