How Do I Apply Overcast HDR Textures in Blender
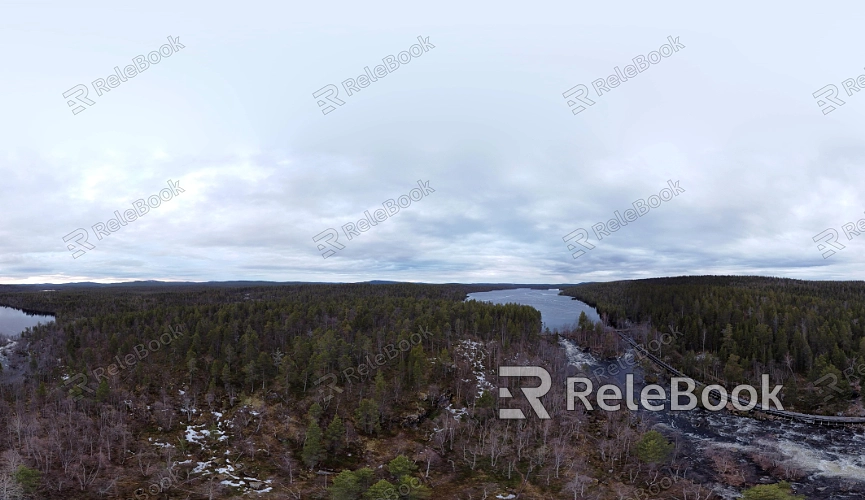
Overcast HDR textures are often used to simulate natural environments, particularly in outdoor scenes, due to their soft lighting and even illumination. Blender, as a powerful open-source software, supports the use of HDR textures, providing designers with a broad canvas for creativity. In the following sections, we'll explore how to apply overcast HDR textures in Blender to enhance your rendering results.
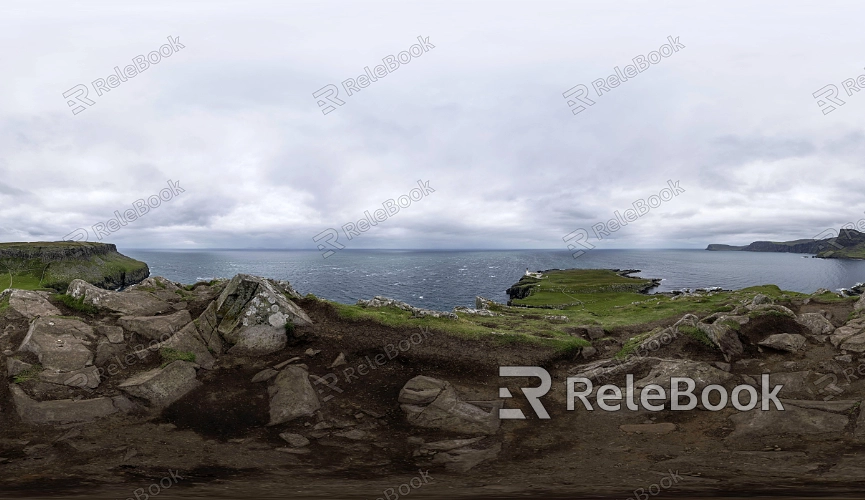
Choose the Right HDR Texture
Start by ensuring that the HDR texture you select meets the needs of your project. Overcast HDR typically features soft light and minimal shadows. If you find sourcing high-quality overcast HDR textures too complicated or time-consuming, you can directly visit Relebook at https://textures.relebook.com/ to download beautiful HDR resources. Opt for high-resolution textures to maintain clarity in larger scenes.
Import the HDR Texture
Open your project in Blender, then create a new environment texture node in the Shader Editor. Click on the node and select the "Open" button to import your chosen HDR file. Make sure the file format is .hdr or .exr to support high dynamic range.
Set Up the Scene Background
In the render settings, change the background type to "Environment Texture." This allows Blender to use the imported HDR texture as the background light source for your scene. Adjust the environment strength to find the most suitable brightness for your scene, typically between 1.0 and 2.0.
Adjust World Settings
Navigate to the World Properties tab to further adjust the color and intensity of the ambient light. For an overcast effect, it's advisable to use a slightly bluish hue to simulate the cool light from cloudy skies. You can tweak the background strength to mimic different weather conditions, enhancing the realism of your scene.
Apply Shadows and Reflections
HDR textures not only influence ambient light but also affect the shadows and reflections of objects. Ensure that the materials in your scene are properly set up to reflect ambient light accurately. Utilize transparent and glossy materials to increase realism, allowing objects to interact better with their environment.
Optimize Render Settings
In the render settings, make sure to use the Cycles rendering engine, as it offers more refined handling of lighting and reflections, maximizing the effects of HDR textures. Adjust the sampling rate, increasing the sample count as needed to reduce noise and enhance the final render quality.
Use Light Sources to Enhance Effects
Adding additional light sources in the scene, such as area lights or point lights, can further deepen the overcast effect and add details. Ensure that these light sources' intensity aligns with the HDR texture to avoid unnatural brightness contrasts.
Post-Processing
Once rendering is complete, utilize Blender's compositing tools for post-processing. You can adjust contrast, saturation, and color balance to further refine your render. Maintaining tonal consistency across the overcast scene is crucial to enhancing the overall visual coherence.
Applying overcast HDR textures in Blender not only boosts the realism of your scenes but also provides designers with greater creative freedom. By selecting the right textures, adjusting settings effectively, and performing suitable post-processing, designers can significantly enhance the quality and depth of their renderings. I hope this guide inspires and assists you in your work.
If you're looking for high-quality HDR image resources, 3D textures, SketchUp models, or 3ds Max models to create impressive models and virtual scenes, Relebook offers a wealth of options to help you achieve outstanding visual results in your projects.
