How to Create 3D Fruit Models?
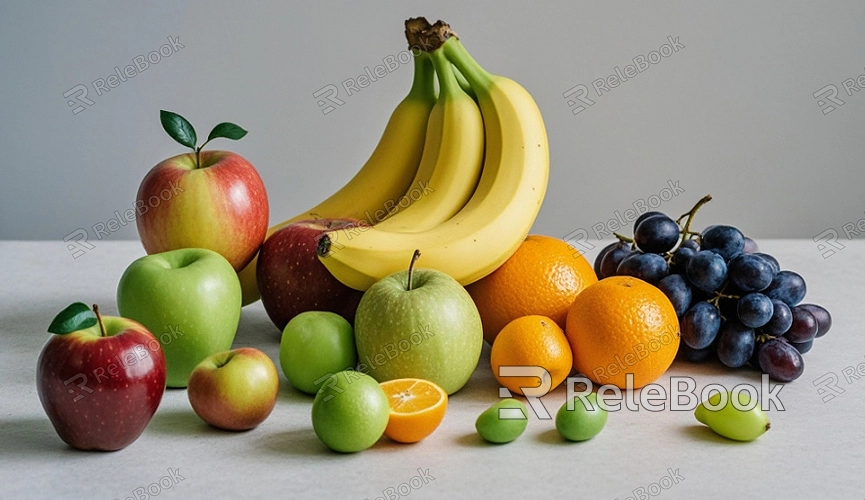
Creating 3D fruit models is not only a great way to improve your modeling skills but also adds vibrant visual elements to your projects. Fruit, with their diverse shapes and rich colors, are a popular choice for many designers. This article will guide you through the process of creating 3D fruit models, from choosing the right modeling software and building the model to creating textures and rendering techniques, helping you gain a deeper understanding of the entire workflow.
Choosing the Right Modeling Software
Choosing the right modeling software is the first step to successfully creating a 3D fruit model. There are several software options available, each with its own unique features and applications.
1. Blender
Blender is a powerful open-source and free 3D modeling software suitable for both beginners and professionals. It offers a comprehensive set of modeling, sculpting, rendering, and animation tools, making it ideal for creating fruit models.
2. 3D Max
3ds Max is widely used in the 3D modeling and animation industry, especially in gaming and film production. Its robust and flexible modeling tools are perfect for creating complex fruit models with precision.
3. Maya
Maya is another professional 3D modeling software commonly used in animation and film production. With advanced modeling, animation, and rendering features, it’s well-suited for creating high-quality fruit models.
4. ZBrush
ZBrush specializes in sculpting and adding fine details, making it ideal for creating organic shapes like fruit. It allows for highly detailed surface textures that make the model appear more lifelike.
Once you’ve chosen the software that fits your needs and skill level, you can begin the fruit modeling process.
Research and Preparation
Before diving into modeling, proper research and preparation are essential. This stage involves gathering reference materials and creating a clear plan.
1. Gathering Reference Materials
Collecting reference materials is crucial when making 3D fruit models. You can search for images of various fruits online, observing their shapes, colors, textures, and how light interacts with their surfaces. Understanding these details will provide a solid foundation for the modeling process.
2. Planning Your Model
Creating a detailed plan will help you work more efficiently. Start by deciding which type of fruit you want to model, such as an apple, banana, or orange. Then break down the modeling process into steps, such as creating the base shape, sculpting details, and making textures.
The Modeling Process
Modeling is the core step in creating a 3D fruit model. This process involves continuously refining the shape and details to achieve the desired result.
1. Creating the Base Shape
Begin by creating the basic shape of the fruit in your chosen software. For example, you could start with a sphere to create the base for an apple or orange. Use scaling and deformation tools to adjust the shape until it resembles the real fruit.
2. Sculpting Details
Once the base shape is ready, move on to the sculpting phase to add surface details. You can use sculpting tools to create textures like the rough surface of an orange peel or the smooth surface of an apple. Carefully observe your reference images and adjust the model accordingly to make it more realistic.
3. Refining the Model
After sculpting the details, check the overall shape and proportions of your model, ensuring that there are no unnecessary imperfections. At this point, you can use smoothing and refinement tools to make the model’s surface appear natural and polished.
Creating Textures
Textures play a significant role in enhancing the realism of your model. High-quality textures can make your fruit model look more vibrant and lifelike.
1. UV Unwrapping
Before applying textures, you need to unwrap the UVs of the model. This process involves flattening the 3D model’s surface into a 2D map, which allows you to accurately place textures onto it. Most modeling software, like Blender and Maya, offers built-in UV unwrapping tools.
2. Creating Texture Maps
Use image-editing software such as Photoshop or GIMP to create texture maps for the fruit. Look at your reference images for color and texture details, then use brushes, gradients, and other tools to create realistic fruit skin textures. You can also consider using photographic textures for added realism.
3. Applying the Textures
After creating the textures, apply them to your model within the 3D software. Import the texture image and adjust the UV map to ensure the textures fit perfectly onto the model. Make any necessary tweaks to the textures to ensure a seamless application on the surface.
Rendering and Post-Processing
Rendering is the process of converting the 3D model into a 2D image. This step is critical for achieving a polished and realistic final result.
1. Setting Up Lighting
Proper lighting is key to making your model appear realistic. Use a three-point lighting setup, including a key light, fill light, and backlight, to create depth and highlight the fruit’s form. Adjust the lights to achieve the best shadows and highlights for your model.
2. Adjusting Render Settings
Before rendering, you’ll need to adjust the materials and render settings for your model. Select appropriate material types and tweak the reflectivity and roughness to simulate the real-world surface of the fruit. Ensure that the render settings include anti-aliasing and optimal shadow quality for the best visual output.
3. Rendering the Final Image
Set the resolution of your render to ensure a clear and detailed image. Once rendered, you can use an image-editing program for post-processing, such as color correction or contrast adjustments, to enhance the final output.
From selecting the right software to researching, modeling, texturing, and rendering, each step is crucial for achieving a high-quality result. By following the steps outlined in this article, you’ll be well on your way to creating high-quality 3D fruit models. For more resources, including premium 3D models and textures, visit Relebook to enhance your creative work.
FAQ
What are the basic steps for creating a 3D fruit model?
The basic steps include choosing modeling software, gathering reference images, creating the base shape, sculpting details, applying textures, and rendering the final model.
Which software is best for beginners creating 3D fruit models?
Blender is a great option for beginners due to its comprehensive features, supportive community, and the fact that it's free to use.
How can I make my 3D fruit model more realistic?
Adding detailed textures and carefully sculpting surface imperfections are keys to achieving realism. Also, using appropriate lighting and material settings during the rendering process will enhance the model's appearance.
What are common mistakes when making fruit models?
Common mistakes include incorrect proportions, insufficient detail in the textures, and poor UV mapping, which can lead to unrealistic models. Careful observation of real fruits and attention to detail will help avoid these issues.
How can I render a high-quality 3D fruit model?
To render a high-quality 3D fruit model, use proper lighting techniques, select the right material settings, and ensure that your render settings include high resolution, anti-aliasing, and accurate shadow details.
