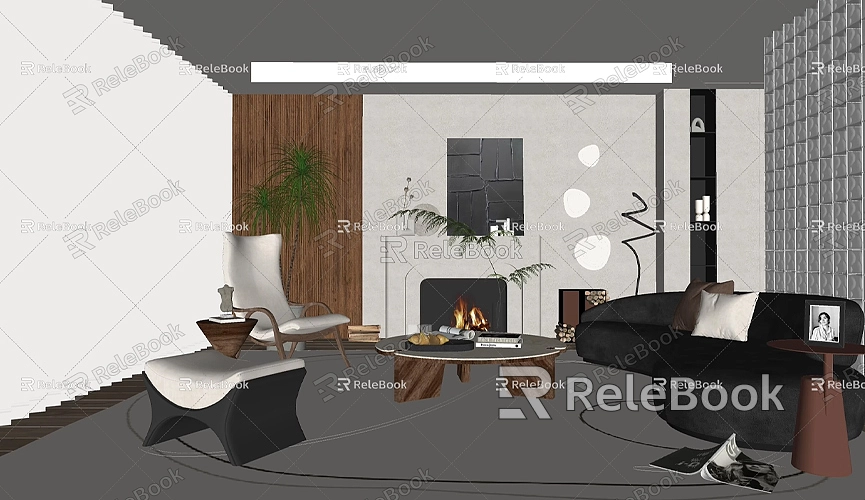
How to Align Individual Models from SketchUp in Lumion
In the fields of architecture and design, SketchUp and Lumion are two popular software tools. SketchUp is renowned for its easy-to-use modeling features, while Lumion excels at transforming models into realistic renderings. Combining these tools allows designers and architects to create stunning 3D visualizations with ease. However, when importing models from SketchUp to Lumion, a common issue arises: how to properly align the imported models. This article will provide practical methods to help you quickly and accurately align SketchUp models in Lumion.
Basic Steps for Importing SketchUp Models to Lumion
Before discussing alignment, make sure you can properly import SketchUp models into Lumion. Here are the basic steps:
1. Prepare the model in SketchUp: Before you begin, ensure that your model is set up as intended, including the scale, materials, and all elements you want to import.
2. Export the model file: When exporting from SketchUp, choose a Lumion-compatible format such as `.dae` or `.fbx`. This will ensure that Lumion reads the model correctly.
3. Import the model into Lumion: Open Lumion and use the "Import" function to add the model to your project.
Once these steps are completed, the model will appear in Lumion’s scene, but you might notice that its position needs adjustment. That’s when alignment becomes necessary.
Method 1: Using Lumion's Alignment Tools
Lumion has built-in alignment tools that can help you quickly adjust the position and orientation of models. These tools are easy to use and effective.
1. Select the model: Locate the imported model in Lumion’s scene and click on it to select it.
2. Adjust the position: Use the "Move" tool to drag the model to your desired location. For more precise control, you can manually input values to adjust the position.
3. Rotate and scale: If the model’s orientation is incorrect, use the "Rotate" tool to make adjustments. Similarly, the "Scale" tool allows you to adjust the model’s size to match other elements in the scene.
These basic alignment steps can resolve most simple alignment issues. For more precision, you can use some advanced methods outlined below.
Method 2: Adjusting the Model Origin in SketchUp
Sometimes, the best way to ensure proper alignment is to prepare in SketchUp before exporting. Setting the model origin in SketchUp can significantly affect where the model appears in Lumion.
1. Reposition the model origin: In SketchUp, you can move the model to the coordinate origin to ensure it imports into Lumion at the correct location. This can save you from frequent adjustments in Lumion.
2. Use groups and components: Ensure that your exported model is a complete group or component, making it easier to control and align in Lumion.
Setting these parameters in SketchUp beforehand can save you a lot of hassle and make the alignment process smoother in Lumion.
Method 3: Using Lumion's Multi-Model Alignment Feature
If you import multiple models at once, Lumion’s "Multi-Model Alignment" feature can be very handy for synchronously adjusting the positions and orientations of multiple models.
1. Select multiple models: Hold down the Shift key and click on the models you want to align.
2. Use the "Multi-Model Alignment" feature: Find and click this feature in the toolbar. Lumion will automatically adjust the position of the models to align them. You can choose to align them horizontally, vertically, or along a specific axis.
This method is especially useful for scenarios where you need to adjust multiple similar models simultaneously, such as arranging furniture or combining building components.
Method 4: Manually Input Coordinates for Precise Alignment
For situations where you have strict requirements for model positioning, you can manually input coordinates to achieve precise alignment.
1. Select the model: Click on the model you wish to adjust.
2. Enter specific coordinates: In the model properties, you will see fields for the position values. Manually enter the desired coordinates.
Manually inputting coordinates allows for precise control over model positioning, making it suitable for tightly arranged scenes.
Method 5: Using Lumion's "Model Library" Feature
Sometimes, you may need to use the same model multiple times. In such cases, you can save the model to Lumion’s "Model Library" for easy reuse.
1. Save the model to the library: Right-click on the model and select "Save to Library."
2. Use it in other scenes: When you need to use the model in other scenes, you can simply drag it out from the library.
This not only allows you to quickly access the model but also ensures that its position and scale remain consistent across different scenes.
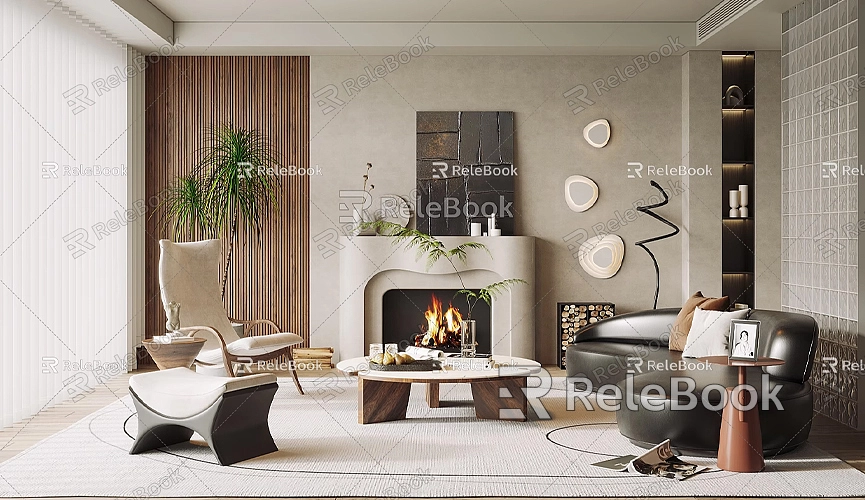
Adjusting Materials and Lighting After Importing
After aligning the models, don’t forget to adjust the materials and lighting effects. This is a key step to achieving high-quality renders in Lumion.
1. Material adjustment: Click on the model’s surface in Lumion to open the material editor. You can choose from existing materials or add custom ones.
2. Lighting settings: Make sure the lighting and shadows match the overall scene style. Adjust the position and intensity of the light sources to make the model look more realistic.
If you need high-quality 3D textures and HDRIs for creating models and virtual scenes, you can download them for free from [https://textures.relebook.com/](https://textures.relebook.com/). For stunning 3D models, you can visit [https://3dmodels.relebook.com/](https://3dmodels.relebook.com/), where Relebook offers a wide range of premium 3D resources.
Conclusion
Aligning individual models imported from SketchUp in Lumion may seem complex, but by effectively using alignment tools, setting model origins in SketchUp, and mastering manual coordinate inputs, the process can be much more efficient and precise. Different alignment methods suit various scenarios, and using them flexibly will help you complete projects more effectively. After aligning the models, don’t overlook material and lighting adjustments to ensure a satisfactory rendering outcome.
By leveraging high-quality textures, materials, and lighting settings, your Lumion scenes will come to life. If you need access to premium 3D resources, consider using the links provided to download high-quality textures and models from Relebook, which will help you add more detail and character to your designs, enhancing the overall presentation.
