How to Add a Model to a Layer in SketchUp
When using SketchUp for 3D modeling, effective layer management can significantly enhance your workflow and the manageability of your models. Adding models to layers not only helps you organize and control visibility but also reduces clutter in complex projects. This article will provide detailed steps and tips on how to add models to layers in SketchUp.
Understand SketchUp's Layer Functionality
In SketchUp, layers are tools used to manage different parts of your model. By assigning various model components to different layers, you can easily control their visibility, making editing and viewing simpler. For instance, in an architectural model, you could place walls, windows, doors, and furniture on separate layers, allowing you to toggle their visibility as needed.

Create a New Layer
Before adding models to layers, you first need to create new layers. After opening SketchUp, locate the "Layers" panel on the right side. If it’s not visible, you can open it by clicking on “Window” > “Default Tray” > “Layers” in the menu.
In the Layers panel, you’ll see a "+" button; click it to create a new layer. You can name this layer something easily identifiable, like “Walls” or “Furniture.” Once created, your new layer will appear in the layer list.
Assign the Model to a Layer
After creating your layers, you can start assigning model components to them. First, select the part of the model you want to assign. You can use the Selection Tool to draw a box around the objects or select them in the "Entity Info" panel.
With the objects selected, right-click and choose "Entity Info." In the pop-up panel, find the "Layer" option. Click the dropdown menu to select the layer you created earlier. Once done, this part of the model will be assigned to the specified layer.
Adjust Layer Visibility
During your project, there may be layers that don’t need to be visible at all times. You can control the visibility of each layer through the Layers panel. Next to each layer in the list, there’s an eye icon; clicking it will hide or show that layer.
For example, if you’re editing the interior structure of a house and don’t need to see the exterior walls and roof, you can hide those layers to focus more on your current work. Adjusting layer visibility enhances your efficiency.

Manage Layer Order
The order of layers in SketchUp is also important. While their order doesn’t affect the drawing sequence, it can help you better organize and manage your layers. In the Layers panel, you can drag layers to rearrange them. Placing important layers at the top and secondary layers below can improve your workflow.
Tips for Using Layers
Here are some tips to help you manage your model more efficiently with layers:
- Naming Conventions: Use clear and concise names for layers to make later identification and searching easier.
- Color Coding: In the Layers panel, click the color picker to assign different colors to each layer. This helps in visually distinguishing different layers quickly.
- Regular Cleanup: As projects progress, you may create many layers. Regularly check and delete layers that are no longer in use to keep your layers organized.
Managing Components with Layers
In addition to assigning models to layers, you can use components to enhance model manageability. Components are reusable objects like furniture and equipment. Placing these components on dedicated layers can make it easier to edit and manage them.
When creating components, you can choose to place them in a specific layer. This way, when you need to adjust or replace a component, you can simply operate within the corresponding layer, significantly increasing efficiency.
Organizing Layers After Project Completion
After completing your project, organizing layers is an important step. Ensure all layer names and contents are clear for future modifications and reviews. If you need to share your project with others, hide or delete any unnecessary layers to ensure a tidy presentation of the model.
Practical Applications
The benefits of effectively using layers in practice are evident. Whether in architectural design, interior design, or landscape design, layer management can make your work more fluid. By managing layers, you not only enhance the clarity of your models but also reduce the chances of errors during modifications.
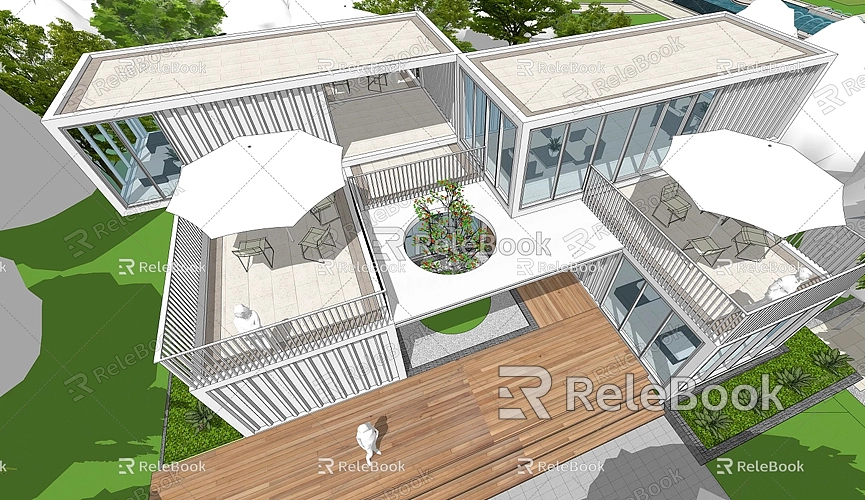
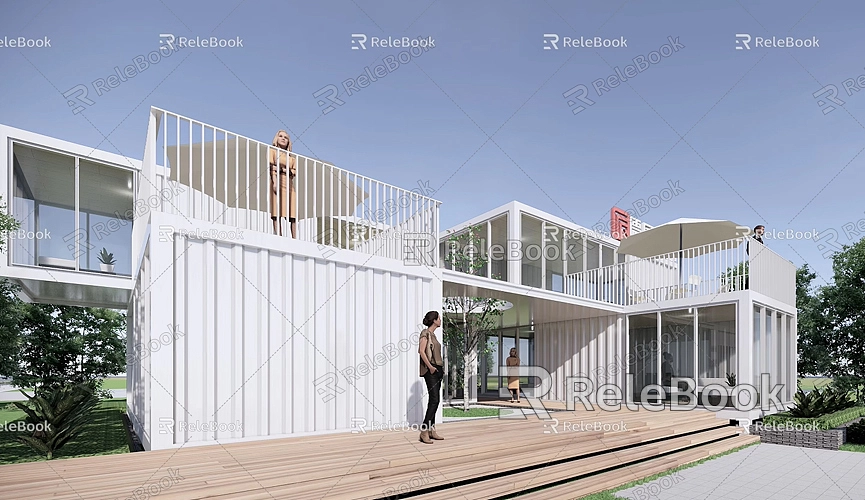
For instance, when designing a modern residence, you could place external structures, internal walls, furniture, and lighting on different layers, allowing you to change one part without affecting the visibility of others.
Resource Sharing
When creating models and virtual scenes, high-quality 3D textures and HDRIs can significantly enhance the visual appeal of your models. If you need such resources, you can download a wide range of high-quality 3D textures for free from [Relebook](https://textures.relebook.com/). For exquisite 3D models, visit [Relebook](https://3dmodels.relebook.com/) for a variety of premium resources to support your creations.
Adding models to layers in SketchUp is a crucial step in improving work efficiency. By creating layers, assigning models, and adjusting visibility, you can manage and edit your 3D models more effectively. Utilizing the advantages of layers in practice not only boosts your efficiency but also enhances the quality of your final products. We hope this article helps you become more proficient in using SketchUp and enjoy the creative process!

