Rendering with Bark Texture in Blender
Blender is a powerful 3D design software, and using bark texture in Blender for rendering models or virtual scenes is a common application. Trees in nature captivate not only with their unique appearance but also due to the diversity of their bark textures. In Blender, employing bark textures for rendering 3D models and scenes lends an authentic look and feel to the models, making it an indispensable part of simulating natural environments. Let's briefly discuss how to use bark texture in Blender for rendering models.

1. Texture Acquisition and Preparation
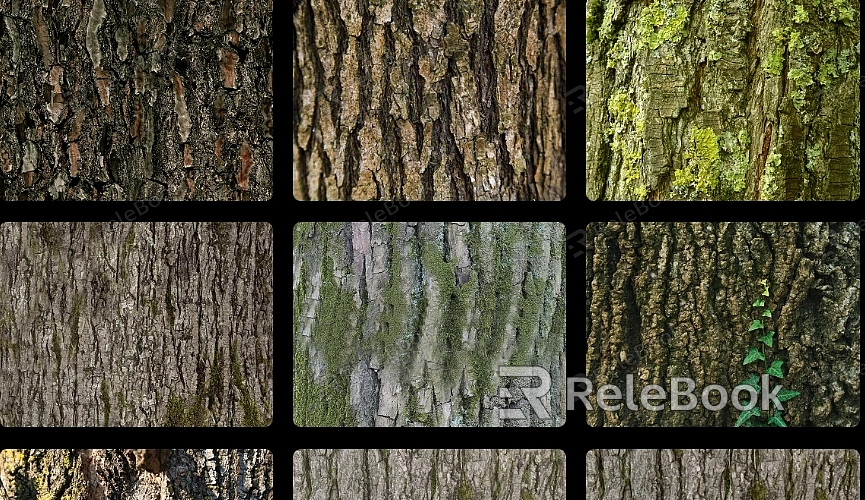
Firstly, gather suitable bark texture resources for trees. Numerous websites offer a wide variety of bark texture maps. You can also download appropriate texture maps from Relebook and prepare them for import into Blender.
2. UV Unwrapping and Texture Mapping
In Blender, perform UV unwrapping and accurately map the bark texture onto the tree model, ensuring precise alignment with the trunk's surface.
3. Material Setup and Node Editor
Create tree material nodes in Blender's node editor and associate the bark texture map with the model's surface. Adjust nodes to set texture gloss, color, and details, aiming to present a realistic appearance for the tree.
4. Lighting and Rendering
Optimizing lighting settings is crucial to showcase the details of the bark texture. Adjust ambient lighting, reflections, and shadows to ensure the bark texture of the tree model portrays a natural feel under varying lighting conditions.
5. Rendering and Displaying Effects
Preview the model in Blender's rendering view and initiate the rendering process. Observe the model's appearance in the rendered environment, ensuring the bark texture presents natural textures, colors, and gloss.

