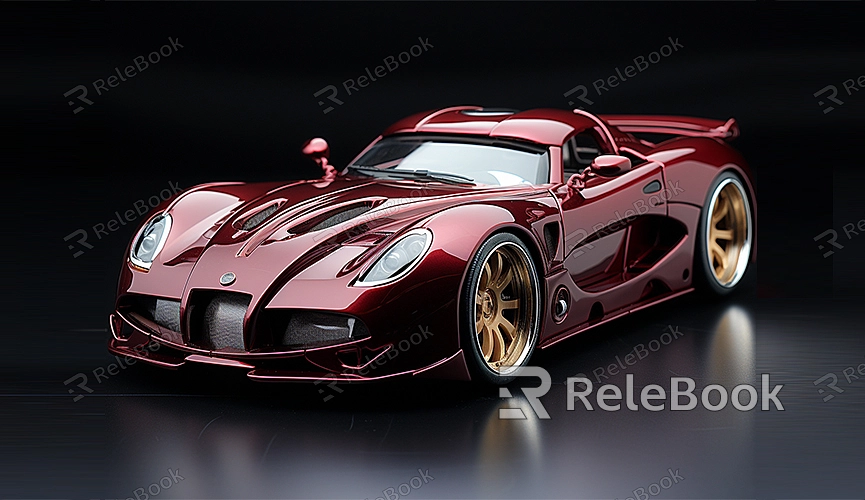
Adding Image Textures to Car Models in Blender
The realism and visual quality of car models are pivotal in rendering and design. In Blender, enhancing the rendering details and realism of car models by incorporating image textures is a crucial step towards simulating real-life car aesthetics. Let's delve into a simple guide on how to add image textures to car models in Blender.

1. Obtaining and Preparing Image Textures
Start by acquiring various image texture resources suitable for cars. These may include textures for car paint, metal surfaces, headlights, rims, and other car components. You can download appropriate texture maps from Relebook and prepare them for import into Blender. Platforms like Relebook offer a diverse range of car texture maps.
2. UV Unwrapping and Texture Mapping
Perform UV unwrapping for the car model in Blender and accurately map the selected image textures onto different surfaces of the car, ensuring precise alignment with various parts of the car body.
3. Material Node Editing
In Blender's node editor, create material nodes for the car and associate the image textures of different parts with the model's surfaces. Adjust node parameters to set texture gloss, color, metallic aspects, and other details, aiming to present a realistic appearance for the car.
4. Lighting Setup and Rendering
Optimizing lighting settings is critical to showcase the fine details of the car's image textures. Adjust ambient lighting, reflections, and shadows to ensure the image textures portray the authentic feel of the car under various lighting conditions.
5. Rendering and Showcase
Render the model in Blender to preview the effects. Observe the model's appearance in the rendered environment to ensure the image textures exhibit natural colors, textures, and details, enhancing the realism of the car model.

