How to Create a 3D Model of a Flower?
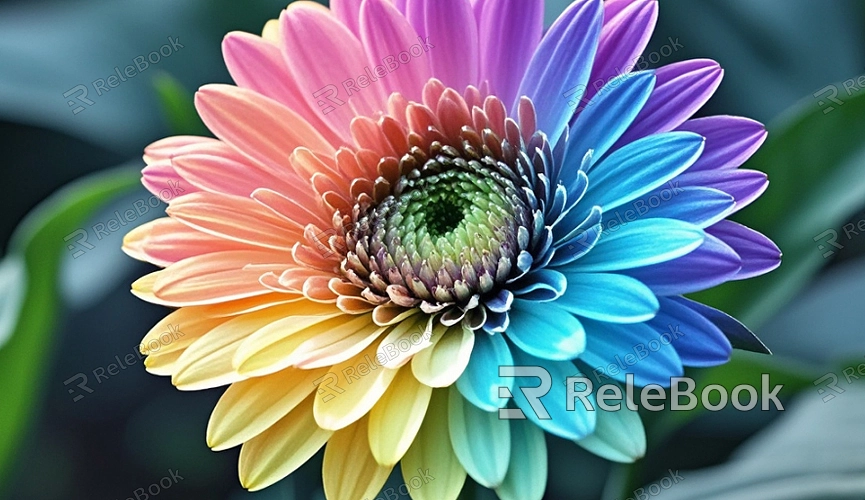
When it comes to creating flower models, 3D modeling not only captures the beauty of flowers but also brings them to life with dynamic expression. Beautifully crafted flower models can add vibrancy and color to a project. So, how do you create a satisfying 3D model of a flower? In this article, we’ll dive into the steps and techniques for creating flower models.
Preparation
Before starting the modeling process, proper preparation is crucial. First, gather reference materials for flowers. You can take photos, search for images online, or observe real flowers to get inspiration. These references will help you understand the structure, shape, and colors of flowers, enabling you to model them more accurately.
Next, choose the right 3D modeling software. Popular options include Blender, Maya, and 3Ds Max. Each software has its features, so pick one based on your needs and preferences.
Lastly, make sure your computer system meets the requirements of the software you choose to ensure smooth performance during the modeling process.
The Modeling Process
Modeling is the core step in creating a 3D flower, broken down into several stages:
1. Creating a Basic Shape
In your chosen 3D modeling software, start by creating a basic flower shape. You can begin with simple geometric shapes like cylinders or spheres, then adjust their form to outline the petals. Using a subdivision tool can smooth and refine the base shape, making it look more natural.
2. Refining the Petal Shape
Once the basic shape is set, the next step is refining the petals. Use sculpture tools to adjust the edges of the petals to create soft curves. You can also add slight indents or bulges to mimic the texture and layers of real flower petals.
3. Adding the Flower Center and Sepals
After refining the petals, focus on the flower’s center and petals. The center is typically located in the middle of the flower and can be represented with a small sphere or cylinder. Adjust the size and shape to fit the flower’s structure. The sepals, usually green, are located at the base of the petals and can be created using simple polygon modeling.
Texturing and Materials
Once the shape of the flower is modeled, the next step is applying textures and materials. These elements not only enhance the model’s realism but also affect the overall visual impact of the flower.
1. UV Unwrapping
Before applying textures, you need to unwrap the UVs of your model. UV unwrapping is the process of unfolding the 3D surface of your model into a flat 2D layout so that textures can be applied accurately. Make sure the UV coordinates are evenly distributed to avoid texture distortion during this process.
2. Creating Texture Maps
You can use image editing software like Photoshop or GIMP to create texture maps for your flower. This includes diffuse maps, normal maps, and roughness maps. The diffuse map controls the flower’s color, the normal map simulates surface detail, and the roughness map determines how light reflects off the surface.
When creating textures, refer to real-life flowers for accurate colors and textures. Once the textures are ready, apply them to your 3D model and tweak material settings to achieve the desired result.
Lighting and Rendering
Lighting and rendering are key steps to presenting your model to the audience. Good lighting can emphasize the details and beauty of the flower.
1. Setting Up Lighting
In your 3D scene, add appropriate light sources. You can choose from directional lights, point lights, or spotlights. The intensity, color, and direction of the lights will affect the final look. Soft lighting typically creates a warm atmosphere, making the flower appear more lifelike.
2. Render Settings
After setting up the lights, you can move on to rendering. Depending on your project’s needs, select a suitable rendering engine, such as Cycles or V-Ray. Adjust the resolution, anti-aliasing, and other parameters to produce high-quality images.
Once the rendering is complete, you can perform post-processing on the image to further enhance the colors and details, making the flower look even more vivid.
Animation and Effects
If you want to add animation effects to the flower, you can use rigging and animation tools. By creating a skeletal system and binding it to the flower model, you can simulate the flower swaying, blooming, or other dynamic movements. This not only adds life to the flower but also makes your project more engaging.
1. Creating a Rig System
In your 3D software, create an appropriate rig system to control the movement of the flower. Ensure that the bones are placed correctly to precisely control the petals and flower centers.
2. Adding Animation
Once the rigging is complete, you can animate the flower. Using keyframe animation techniques, set the opening and closing movements of the petals to create a natural and dynamic effect.
Exporting and Sharing
After completing the 3D flower model, the final step is exporting and sharing your work. You can export the model in various formats, such as OBJ, FBX, or STL, depending on the intended use of other software.
1. Export Settings
Before exporting, check your model settings to ensure the textures and materials are correctly applied. Choose the appropriate export format for your project and adjust the settings as needed.
2. Sharing Platforms
Lastly, you can upload your model to various 3D sharing platforms to share your creation with others. Platforms like Sketchfab, TurboSquid, and Relebook are great places to showcase and distribute your work.
From preparation to modeling, texturing, lighting, rendering, and finally, animation and export, each step requires careful attention to detail. By learning these techniques, you’ll be able to create beautiful and lively flower models that add vibrancy to your projects.If you’re looking for more high-quality 3D models and texture resources, visit the Relebook website to download the professional assets you need.
FAQ
What skills are required to create a 3D model of a flower?
Creating a 3D model of a flower requires a foundation in 3D modeling, including software operation, understanding of topology, texturing, and basic lighting and rendering techniques. Learning these skills step by step will help you complete a flower model.
What modeling technique should I use to create a flower?
Polygon modeling is commonly used for creating flower models. It is flexible and allows for precise control of details like petals and the flower center. NURBS modeling can also be used to create smoother curves, which may be suitable for certain types of flowers.
How do I choose the right textures for my 3D flower model?
When selecting textures for your flower, reference the real flower’s colors and textures. Use diffuse maps for color, normal maps for surface detail, and roughness maps to control light reflection. The right textures will make the flower look more realistic.
How should I manage the polygon count for a flower model?
The polygon count depends on the project’s needs. For real-time rendering, like in games or virtual reality, use a low-poly model to ensure performance. For static rendering or animation, you can use a higher poly model to capture more detail.
Can a 3D flower model be used for animation?
Yes, a 3D flower model can be animated by rigging it with a skeletal system and using keyframe animation. Properly designed rigs and animations can create natural effects like blooming or swaying.
