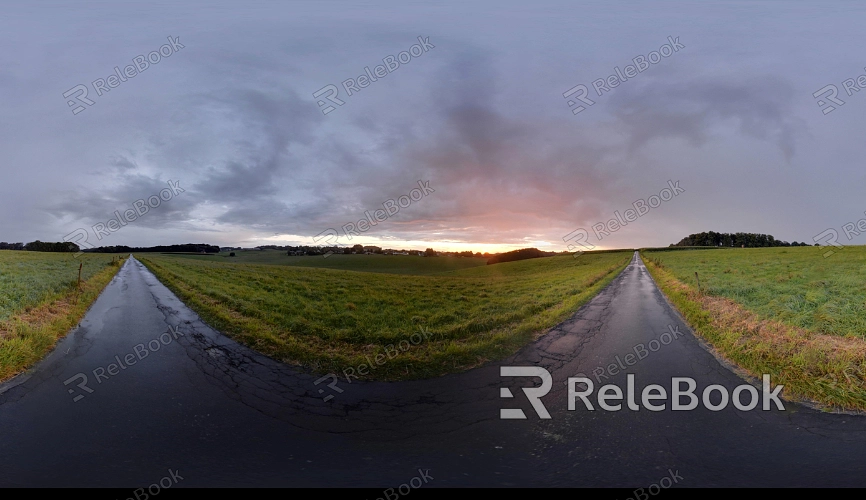
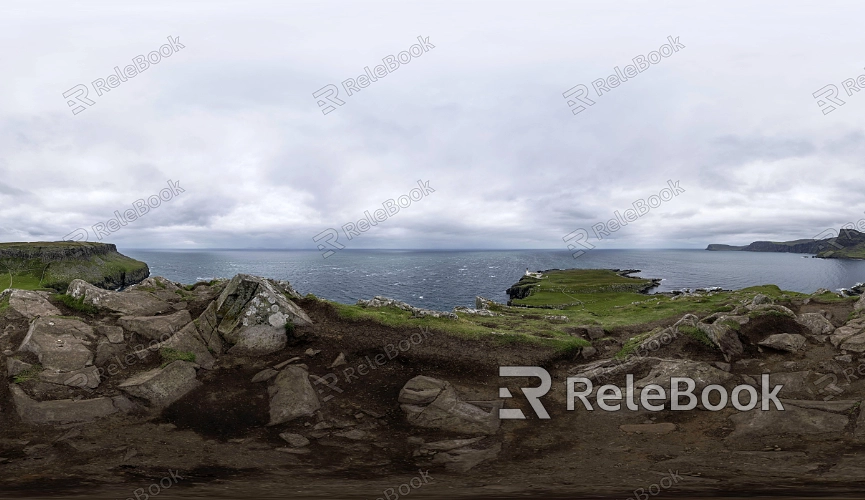
How do I apply an HDR texture background in 3ds Max
HDR textures capture a broader range of lighting details in a scene, from deep shadows to bright highlights, making rendered scenes appear more lifelike and closely resembling how the human eye perceives light. In software like 3ds Max, HDR textures are not only used to create backgrounds but also to provide ambient lighting that enhances the texture and details of models. Whether you're working on interior design, architectural visualization, or product showcases, HDR texture backgrounds can significantly improve how your work is presented. This article will guide you through the steps to apply an HDR texture as a background in 3ds Max, along with tips for optimizing its effects to achieve better rendering quality in your projects.

1. Importing and Applying an HDR Texture as an Environment Background
In 3ds Max, the first step is to import your HDR texture file. HDR files are typically in .hdr or .exr formats, which contain detailed lighting information.
Open 3ds Max, go to the top menu, click Rendering, and select Environment.
In the Environment and Effects window, locate the Environment Map section. Click the button next to the empty slot and choose Bitmap.
In the file browser, select the HDR texture you wish to use.
Once applied, the HDR texture will immediately update the background of your scene, providing a more realistic light source for the environment.
2. Adjusting the Exposure and Brightness of the HDR Texture
While HDR textures provide great lighting by default, you may need to adjust the brightness or exposure depending on your scene's requirements.
In the Environment window, find the Exposure Control settings.
If the background appears too bright or too dim, adjust the exposure to fine-tune the intensity of the light.
Proper exposure adjustments will ensure that the HDR background complements your scene's lighting without overexposing or losing crucial details.
3. Enhancing Lighting with Dome Light and HDR Textures
To further enhance the lighting effects of the HDR texture, you can add a Dome Light to your scene, which simulates a light source that surrounds the entire environment.
Go to the Create menu, select Lights, and choose either the V-Ray or Arnold renderer, then add a Dome Light.
In the properties of the Dome Light, set the light source to use the HDR texture by linking the HDR file to the Dome Light’s texture map.
Combining Dome Light with an HDR texture provides more even lighting, softening shadows and highlighting reflective details on objects in your scene.
4. Enhancing Reflections and Refractions for Better Detail
HDR textures aren’t just useful as backgrounds—they also affect how light reflects and refracts off surfaces in your scene, which is especially important for materials like metal or glass.
In the Material Editor, select the material that you want to enhance with reflections, then add a reflection map in the Reflection slot.
Use the same HDR texture file for the reflection map, or adjust its exposure and tone separately for the reflection effect.
This setup allows objects in your scene to reflect the HDR background more realistically, enhancing the overall authenticity of the render.

5. Optimizing HDR Texture Resolution
While HDR textures can offer a lot of detail, high-resolution files can slow down rendering times by consuming more system resources. Reducing the resolution can be a smart way to improve performance, especially in larger scenes.
When importing the texture, select an appropriate resolution to balance detail with performance. A 2K or 4K HDR texture usually provides sufficient detail without significantly affecting performance.
For background areas that aren't prominently featured, you can even lower the resolution to 1K.
Optimizing the resolution of HDR textures helps speed up rendering times, particularly in large projects or animation workflows.
6. Adjusting the Tone and Saturation of HDR Textures
Sometimes, the color or saturation of an HDR texture may not perfectly fit the mood or lighting requirements of your scene. Fortunately, 3ds Max offers tools for color correction and tone mapping.
In the Environment window, find the settings for the HDR texture and select the Color Correction option.
Use the tone mapping tools to adjust the texture’s color temperature, contrast, and saturation to better match the scene's lighting.
These adjustments allow you to fine-tune the HDR background’s visual style, ensuring it aligns with your project’s design goals.
7. Using Multiple HDR Textures for Dynamic Backgrounds
To create more dynamic scenes, you can use multiple HDR textures to simulate different lighting conditions at different times of the day or weather changes.
In 3ds Max, you can assign different HDR textures to different frames of an animation sequence.
By transitioning between HDR textures over time, you can create the effect of changing lighting conditions, which is especially useful in architectural animations or time-lapse visualizations.
Using multiple HDR textures adds diversity to your scene’s lighting and enhances how you present your designs.
By applying an HDR texture background in 3ds Max, you can dramatically improve the lighting quality and realism of your renders. Whether you’re adjusting exposure, optimizing resolution, or combining it with a Dome Light and reflections, each step will help elevate your project’s visual impact. If you're looking for high-quality HDR images, 3D textures, or 3ds Max models, Relebook offers an excellent resource. Downloading these assets and importing them into 3ds Max can greatly enhance the quality of your work.

