How to Add Texture to an Object in Element 3D
In the realms of film production, game development, and architectural visualization, the use of textures is essential for adding depth and detail to designs. Element 3D is a powerful plugin widely used in After Effects that allows designers to quickly create and render 3D objects. This article will provide a step-by-step guide on how to apply textures in Element 3D, helping designers master this important skill.

1. Prepare Texture Resources
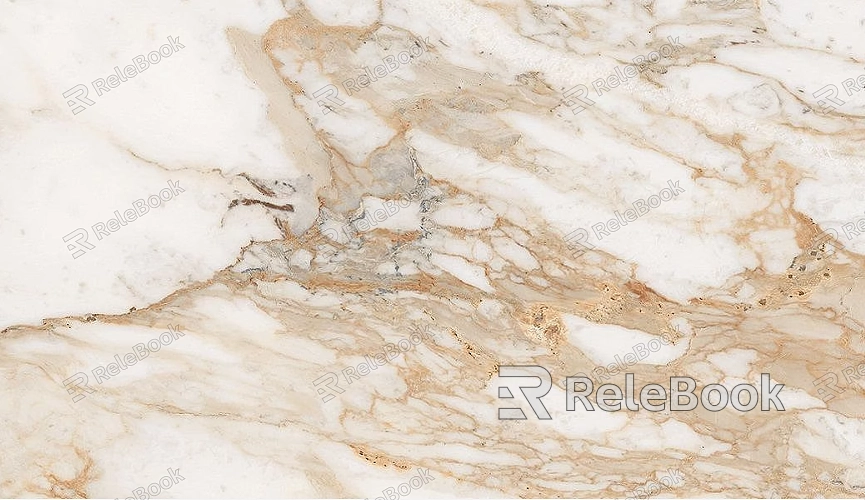
First, ensure you have suitable texture images. High-quality textures can be sourced from online repositories. A great option is to visit Relebook, where you can download beautiful 3D textures from relebook.com. Common types of textures include:
Diffuse Maps: These provide the basic color for the object's surface.
Normal Maps: These enhance surface details by simulating bumps and grooves.
Reflection Maps: These control the intensity and style of reflections on the object's surface.
2. Import Objects in Element 3D
Launch After Effects and create a new composition. Add an Element 3D layer to your composition and click "Scene Setup" to enter the editing interface of Element 3D. Here, you can import existing 3D models or create simple objects using built-in geometries.
3. Apply Textures
In the Scene Setup window, select the object you want to texture. Then, in the material properties panel on the right, locate the “Diffuse” option. Click the button next to "Diffuse" and choose "Load Texture" to import your diffuse map. Once completed, you'll see the texture applied to the object's surface.
3.1 Adjust Texture Coordinates
To ensure that the texture displays correctly, you may need to adjust the texture coordinates. In the “Mapping” options, select the appropriate mapping type (such as planar, spherical, etc.), and tweak the parameters for optimal results.
3.2 Add Normal Maps
If you are using normal maps to enhance the detail of your object, find the “Normal” option in the material panel and load the corresponding normal map. By adjusting the “Normal Scale” parameter, you can control the intensity of the normal effect.
4. Set Reflection Properties
In the material panel, locate the “Reflection” option to add reflective properties to your object. Import a reflection map and adjust the reflection intensity as needed. Proper reflection settings can make the object appear more realistic, especially in brightly lit environments.

5. Use Material Groups
To manage and modify materials more efficiently, you can use Element 3D's “Material Group” feature. Combine multiple textures into a single material group for easier adjustments and application. This is especially useful for managing complex models, helping to reduce workload.
6. Rendering Settings
After applying the textures, return to the main After Effects interface to set up the rendering options for your composition. In the rendering settings, ensure you select the appropriate quality to achieve clear and detailed output.
7. Adjust Lighting and Environment
The quality of the texture effect not only depends on the object's material but also closely relates to the lighting setup in the scene. Adjusting the position and intensity of the lights can significantly impact the visual effect of the textures. Additionally, adding environmental reflections and lighting can enhance the realism of the object.
8. Real-Time Preview and Adjustments
Utilize the real-time preview feature in Element 3D to quickly assess the texture effects and lighting changes. In the preview, designers can make timely adjustments to texture and material properties to ensure the final outcome meets expectations.
9. Save and Export Settings
Once all settings are complete, ensure to save your project file and texture resources. When exporting, select suitable formats and settings to guarantee that the rendering output meets your quality requirements.
By following these steps, designers can easily apply textures in Element 3D, enhancing the visual appeal of their projects. Mastering texture application techniques not only improves workflow efficiency but also helps designers stay competitive in the 3D design field.
For those looking to further enhance their skills, consider visiting Relebook for more professional tutorials and resources to help you continuously improve in 3D modeling and rendering.

