How to Create Bump Maps?
In modern 3D modeling and rendering, bump maps play a crucial role in adding surface detail and realism to models without increasing polygon count. This technique is widely used across various fields, including video games, animation, architectural visualization, and virtual reality. Bump maps make 3D models appear more detailed and lifelike by simulating how light interacts with surface irregularities.This article will dive into the process of creating bump maps, discussing the tools and techniques involved, and providing you with a comprehensive guide on how to effectively create realistic texture effects.

What is a bump map?
A bump map is a grayscale image used to simulate surface detail and irregularities on a 3D model. Unlike traditional texture maps, bump maps do not alter the actual geometry of the model; instead, they affect how light interacts with the surface. Lighter areas on the bump map represent raised sections, while darker areas represent recessed areas. This visual information influences how light reflects off the surface, giving the illusion of depth and texture.
For example, a flat surface without any bump mapping will appear smooth and simple. However, when a bump map is applied, it can simulate the look of a rough surface such as stone, leather, or fabric, making it appear as if there are small indents or protrusions on the model's surface.
The Basics of How Bump Maps Work
The key to understanding how bump maps work is realizing that they simulate surface texture by altering how light interacts with the surface. When light hits a surface with bump mapping, the surface will appear uneven, creating highlights and shadows based on the bump map's grayscale values. The bump map doesn’t change the model’s geometry, but it tricks the renderer into thinking the surface is more complex than it is.
In 3D rendering, the light's interaction with these “bumpy” areas changes the appearance of the model, giving the illusion of depth and detail. This method is especially useful when you want to add fine details to a model without increasing the number of polygons.

Steps to Create a Bump Map
Creating a bump map can be broken down into several stages, from preparing the base texture to applying the bump map to your 3D model. Here’s a general workflow for creating bump maps:
1. Preparing the Base Texture
Before creating a bump map, you need a base texture. This texture is typically a grayscale image that represents the surface detail you want to simulate. To create an effective bump map, the base texture should contain all the relevant surface information, from roughness to surface imperfections.
You can either create this texture from scratch or choose an existing texture that suits your model. Once you have your base texture, the next step is to convert it into a suitable bump map format.
2. Creating Bump Effects in Image Editing Software
To create the bump effect, you’ll need to use an image editing program like Photoshop or GIMP. First, convert your base texture into a grayscale image. Lighter areas will represent the raised portions of the surface, while darker areas will represent recessed sections. You can use tools like brightness and contrast adjustments or filters to fine-tune these areas.
For instance, using Photoshop’s "Gaussian Blur" filter can soften the edges of the texture, while the "Sharpen" tool can enhance the contrast and highlight finer details. Through these methods, you can generate a bump map that represents subtle surface detail.
3. Converting to a Bump Map
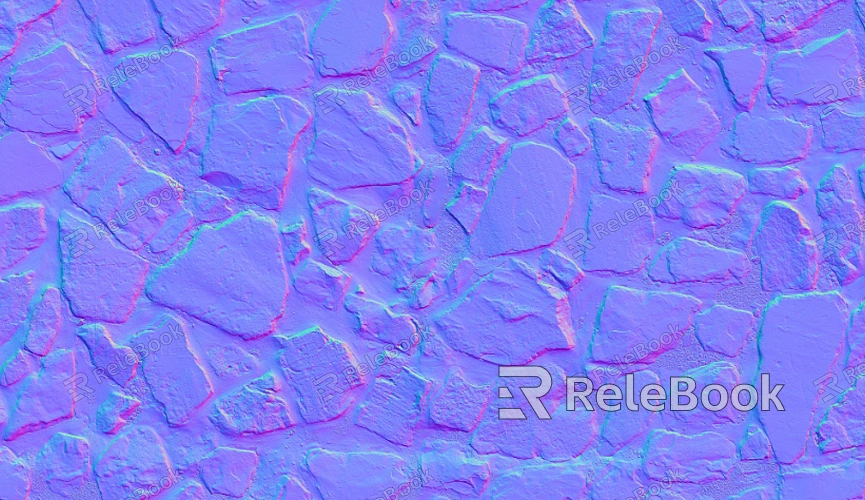
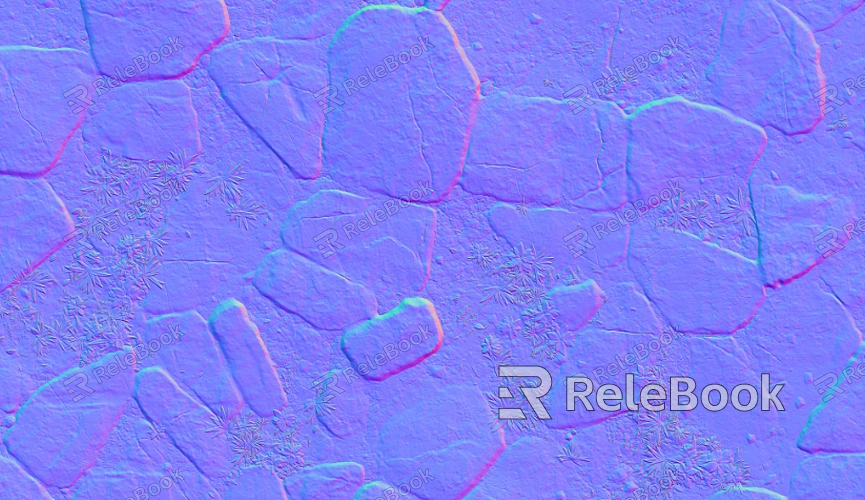
Once you've created your grayscale image, you can convert it into a bump map. Most 3D software allows you to use this grayscale image directly as a bump map. Additionally, in some advanced texturing software like Substance Painter or ZBrush, you can use normal maps and displacement maps to refine the bump effects. Normal maps are similar to bump maps but affect the surface’s light reflection more detailedly by altering the surface’s normals rather than just the grayscale values.
4. Testing and Refining
After creating your bump map, it’s time to apply it to your 3D model. When you apply the bump map, render the scene and observe the effect. Check how light and shadows interact with the surface and whether the effect looks natural. If necessary, return to your image editing software to adjust the bump map until you achieve the desired result.
Recommended Tools and Software
There are several tools available for creating bump maps, each offering different features and advantages depending on your needs. Here are a few of the most popular software options:
1. Photoshop
Photoshop is one of the most widely used image editing programs, and it provides robust tools for creating and manipulating textures. You can easily adjust grayscale values and fine-tune details in your bump maps. Photoshop’s filters and channel operations make it a great choice for artists looking to manually edit and refine bump map textures.
2. Substance Painter
Substance Painter is a powerful texturing tool designed specifically for 3D artists. It allows you to paint textures directly onto 3D models and automatically generate normal and bump maps based on your brushwork. It’s ideal for high-quality texture creation, especially in workflows requiring precise and realistic surface details.
3. ZBrush
ZBrush is a professional sculpting tool that excels at creating intricate surface details. You can directly sculpt surface detail into your 3D model and generate bump maps or displacement maps from these details. ZBrush is ideal for creating complex textures and highly detailed surface effects.
4. Blender
Blender is a free, open-source 3D modeling and rendering software with powerful texture creation tools. Blender allows you to generate bump maps as well as normal maps and other texture maps using a variety of techniques. Blender is a great choice for beginners or those on a budget, offering professional-quality results without the cost of commercial software.
By understanding how bump maps work and following the proper creation steps, you can create realistic and efficient textures for your projects. If you’re looking for high-quality 3D models and textures to enhance your designs, visit the Relebook website to download the perfect resources for your next project.
FAQ
What’s the difference between a bump map and a normal map?
A bump map is a grayscale image that alters the way light interacts with a surface to simulate depth, but it doesn't modify the geometry. A normal map, on the other hand, alters the surface’s normal vectors to create more detailed light interactions, resulting in a more realistic effect. Normal maps are generally more precise and versatile than bump maps.
How can I optimize bump maps for better rendering performance?
To optimize bump maps, you can reduce the texture resolution to decrease memory usage and improve render speed. Additionally, keep the complexity of the bump map in check, avoiding excessive detail where it isn't necessary to maintain optimal performance.
Can I apply bump maps to all types of 3D models?
In most cases, bump maps can be applied to a wide range of models, but for certain models with very smooth or low-detail surfaces, the effect might not be as noticeable. It's always a good idea to test the bump map on your model to ensure it achieves the desired effect before finalizing it.

