How to Properly Import Textures in Paint 3D
Paint 3D is a user-friendly 3D modeling tool that's often used for quick editing and texturing tasks in daily projects. Despite its basic functionality, it provides a valuable platform for both beginners and professionals. However, one common challenge faced by designers is how to properly import textures into Paint 3D. This article will guide you through the steps of importing textures correctly, covering everything from basic operations to advanced techniques, so you can make the most of this tool in your 3D projects.

1. Preparing Texture Files
Before importing textures, it's essential to have the right files ready. Different types of textures are suited for various project needs, so selecting the correct file is crucial.
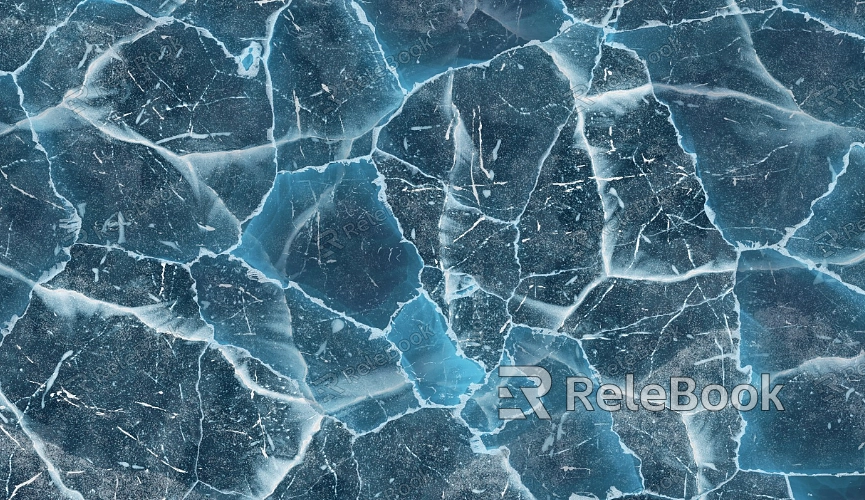
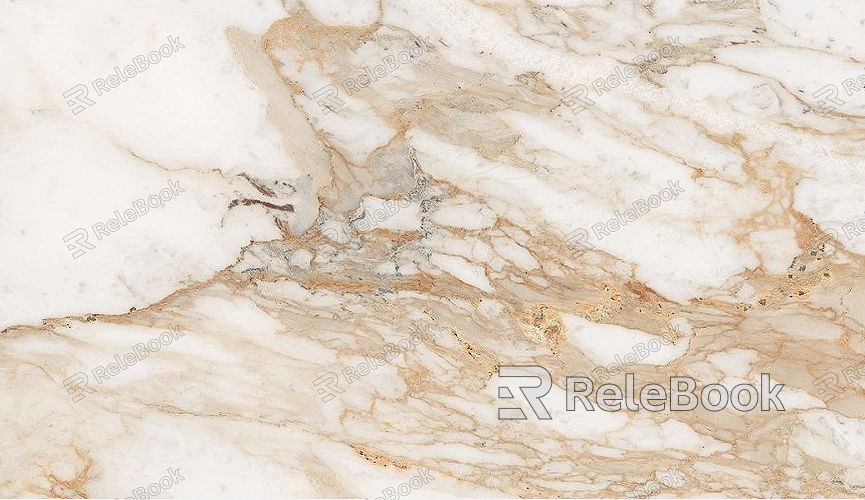
Choosing Texture Types: Depending on your project, select the appropriate type of texture. Common textures include wood, metal, stone, and more.
Texture Formats: Paint 3D supports common image formats like JPEG, PNG, and BMP. Ensure that your texture file is compatible and has a high enough resolution to display clearly on your 3D model.
If finding high-quality 3D textures seems too complex or time-consuming, you can visit Relebook at https://textures.relebook.com/ to download premium textures for your projects.
2. Importing Textures into Your Model
Paint 3D offers an intuitive interface to import and apply textures. After opening your model, follow these steps to apply textures.
Open the Model: Start by opening the 3D model you need to work on. In Paint 3D, you can usually do this by selecting "Open" from the "File" menu and navigating to your model file. If you’re importing from external software, make sure the model format (e.g., FBX, OBJ) is compatible with Paint 3D.
Select the Texture Area: Once your model loads, click on the model’s surface to select the area where you want to apply the texture. Paint 3D automatically adjusts the texture placement according to the model’s UV mapping, but sometimes manual adjustments may be necessary.
Apply the Texture: After selecting the texture, simply drag and drop it onto the surface of the model, or use the “Paste Texture” option in Paint 3D to apply the texture to the selected area.
3. Adjusting Texture Mapping
Proper texture mapping is key to achieving the best display results. Although Paint 3D's mapping tools are relatively basic, making some adjustments can greatly improve the texture’s appearance.
Texture Scaling: If the texture appears disproportionate on your model’s surface, it’s likely due to scaling issues. Use the scaling tool to adjust the texture size to ensure it’s evenly distributed across the surface without distortion or unnatural repetition.
Texture Rotation and Alignment: In some cases, the texture may need to be rotated or realigned to fit the model’s surface. Paint 3D allows users to manually adjust the angle of the texture, ensuring it aligns properly with the model.
UV Mapping Optimization: While Paint 3D automatically handles texture mapping, more complex models may require additional UV mapping optimization. Check the alignment of the texture, especially on intricate details, to avoid visible seams or stretching.
4. Using Multiple Layers of Textures
To enhance realism, you can layer multiple textures to create more complex material effects. While Paint 3D’s layer management is somewhat limited, you can still achieve sophisticated effects by stacking and overlaying textures.
Texture Overlay: Layering multiple textures over different parts of the model can create a richer visual effect. For example, adding a layer of paint or scratches to a wooden model can simulate natural wear and tear.
Using Transparent Textures: PNG textures with transparent areas can be used to add intricate details, such as smudges on glass or complex patterns on a surface.
Detail Textures: For enhanced realism, use normal maps, reflection maps, or other detail textures to add depth to the model. For example, adding cracks to stone surfaces or highlights to metallic surfaces can significantly improve visual quality.

5. Rendering and Optimization
Once textures are applied, you need to ensure they display correctly during rendering. While Paint 3D offers basic rendering options, there are still some optimizations you can make to improve the final output.
Lighting Setup: The way a texture appears can greatly depend on lighting. In Paint 3D, adjusting the light sources can improve the contrast and clarity of the texture, bringing out surface details more effectively.
Render Optimization: After adjusting the textures and lighting, perform a test render to check if there are any issues with texture details or uneven lighting. Make necessary adjustments to the render settings and lighting direction to ensure the textures appear clear and accurate in the final output.
6. Post-Processing and Refining
After rendering, you can further refine the textures with post-processing techniques. Using image editing software like Photoshop, you can make subtle adjustments to enhance the texture's overall look.
Adjusting Texture Effects: Fine-tune the brightness, contrast, or color saturation of the texture image to improve how it looks on the model.
Fixing Texture Flaws: If you notice seams, stretching, or missing details after applying the texture, you can correct the texture image or re-adjust the UV mapping of the model.
By following these steps, designers can import and adjust textures correctly in Paint 3D, ensuring the final model has realistic, natural-looking textures. While Paint 3D’s capabilities are relatively simple, mastering these techniques will help you use the tool more efficiently for 3D creation.
If you’re looking for high-quality 3D texture resources, check out Relebook’s extensive library. It’s an excellent place to find textures that will elevate the visual quality of your projects.

