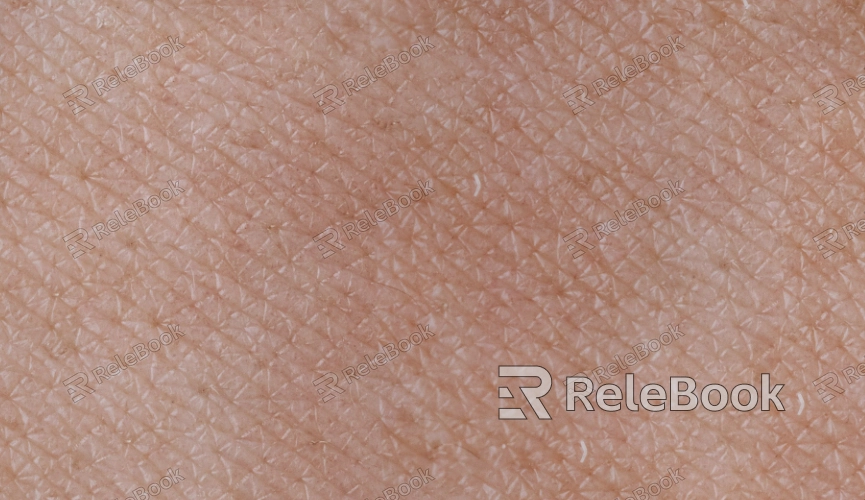
How to Get Face Textures from Belus 3D
Detailed and realistic facial textures are essential for enhancing the visual appeal of characters in game design, film production, and virtual reality projects. High-quality textures can make characters come alive with striking detail and realism. Belus 3D is a professional tool for face scanning and texture extraction, allowing you to quickly capture detailed facial data and generate texture maps compatible with 3D software such as Blender, Maya, and Cinema 4D. This guide provides a step-by-step approach to using Belus 3D to obtain facial textures efficiently, covering preparation, scanning, texture extraction, optimization, and application techniques.

1. Preparation Before Scanning
Ensuring your tools and environment are ready is key to capturing accurate textures.
Check Devices and Software: Confirm you are using a compatible device, such as a smartphone with 3D scanning capabilities or a dedicated scanner, and install the latest version of the Belus 3D app.
Set Up Lighting and Background: Use natural or evenly distributed artificial lighting to avoid shadows or glare that could interfere with data capture. A plain, uncluttered background works best for optimal results.
Prepare the Subject: The individual being scanned should maintain a neutral expression and minimize facial movement during the process to ensure stable results.
2. Performing Face Scans with Belus 3D
Belus 3D simplifies the process of capturing high-precision facial data using your device’s camera.
Calibrate the Device: Launch the app and follow its calibration instructions to ensure accurate scanning.
Conduct the Scan: Move the device slowly according to the on-screen prompts, capturing multiple angles of the face, including the front, sides, and a slightly upward angle, to ensure all details are covered.
Verify Data: Once the scan is complete, review the generated 3D model. Rotate it to check for missing or distorted areas that may need reshooting.
3. Extracting Texture Maps
After capturing the face, the next step is to extract the texture maps.
Access Texture Export Options: Navigate to the “Export Texture” feature in the Belus 3D tools menu.
Select Resolution: Choose a resolution appropriate for your project, such as 2K or 4K. Higher resolutions offer more detail but result in larger file sizes.
Pick an Output Format: Belus 3D supports formats like PNG and JPG. Opt for lossless formats like PNG to preserve quality.

4. Optimizing the Texture Maps
The exported textures may need refinement to meet specific project needs.
Adjust Colors and Contrast: Use tools like Photoshop or Substance Painter to tweak the texture’s color balance and contrast for a more lifelike appearance.
Fix Imperfections: Address noise or blemishes in the texture by applying localized corrections using image editing software.
Simplify the Texture: For real-time rendering scenarios, reduce texture resolution or compress the file to optimize performance without sacrificing too much detail.
5. Applying Textures to 3D Models
Once your texture maps are ready, they can be applied to 3D models for enhanced realism.
Load into Material Channels: In 3D software like Blender or Maya, import the texture files into the material’s base color channel. Adjust UV mapping to ensure precise alignment with the model.
Add Extra Detail: To heighten realism, consider incorporating normal maps or specular maps alongside the base texture.
Run Render Tests: Conduct test renders under varying lighting conditions to ensure the texture appears natural and make necessary adjustments.
6. Final Verification and Storage
After successfully applying the facial texture, perform a final round of checks and organize your files.
Test Compatibility: Ensure the texture functions smoothly across different platforms, such as Unreal Engine or Unity, to prevent issues with format or resolution.
Organize Assets: Save the texture files and associated 3D models in a well-structured folder system for easy retrieval and future modifications.
By following these steps, designers can efficiently obtain high-quality facial textures using Belus 3D. This method not only enhances the realism of 3D models but also provides a reliable solution for a wide range of applications. If you're looking for top-tier 3D resources like SketchUp models or 3ds Max assets, Relebook offers a rich library of options to help you achieve stunning results in your projects.

