How to Create Realistic Terrain Textures in 3D Max
In 3D design, terrain textures are an essential element of environmental modeling. From mountains and plains in games to natural scenery in architectural visualization, realistic terrain textures can greatly enhance the immersive quality of a scene. 3D Max, as a powerful modeling and rendering software, offers a range of tools and techniques for creating complex terrain textures. This article explores the key steps to generate realistic terrain textures in 3D Max, enabling designers to produce high-quality results quickly.

1. Plan Terrain Design and Prepare Base Models
Before diving into texture creation, it's crucial to plan the terrain’s purpose and characteristics while building an initial model.
Define Terrain Requirements
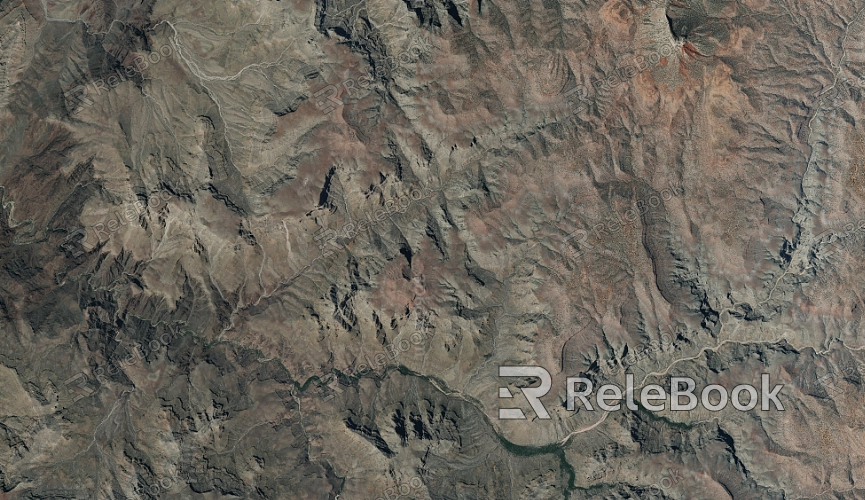
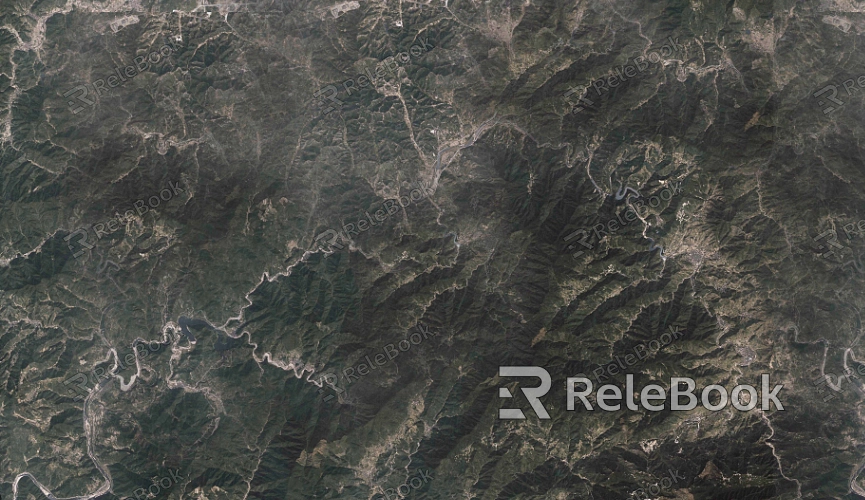
Determine the type of terrain based on the project, such as deserts, forests, or rocky areas. Understanding lighting conditions and material details within the scene helps in pre-planning the texture’s tones and structure.
Create the Base Terrain Model
Utilize 3D Max’s Plane or Terrain tools to generate a basic terrain structure. Adjust the mesh subdivision levels to ensure the model has sufficient detail for texture application.
2. Apply Bitmap and Procedural Maps
The realism of textures often stems from using high-quality bitmap textures or procedural maps, both of which play vital roles in terrain design.
Import High-Resolution Textures
Use high-resolution maps of elements like rocks, soil, or vegetation. Import these textures into 3D Max’s Material Editor and adjust the UV mapping to align textures correctly with the model.
Blend with Procedural Maps
Procedural maps can create smooth transitions between different texture types. For example, use the Noise or Gradient Ramp maps to mimic the gradual transition from sandy areas to rocky zones.
3. Enhance Textures with Normal and Displacement Maps
Normal and displacement maps are essential for adding depth and detail to terrain textures.
Generate Normal Maps
Apply normal maps to materials to enhance surface details. Create these maps using tools like Photoshop or CrazyBump, or source them from texture libraries.
Use Displacement Maps for 3D Depth
Load displacement maps into the Material Editor to increase the terrain's dimensionality, such as emphasizing ridges or crevices. Pair this with 3D Max’s V-Ray renderer for more lifelike results.
4. Combine Multiple Materials for Natural Transitions
Realistic terrains often consist of blended materials, such as grass, soil, and rocks. Material blending helps achieve a cohesive look.
Leverage Blend Materials
Use the Blend material option in the Material Editor to stack different texture layers. Control their distribution with masks, such as black-and-white noise maps that define the transition between rocky and grassy regions.
Refine Transitions
Adjust the mask's contrast and scaling to ensure smooth blending. For instance, let grass seamlessly fade into rocky terrain along slopes to avoid abrupt changes.

5. Adjust Lighting and Environmental Settings
Texture quality depends not only on materials but also on lighting and environmental elements.
Optimize Lighting
Use V-Ray or Arnold lighting systems in 3D Max to tweak light angles and intensity. Low-angle lighting can accentuate shadows, emphasizing terrain depth.
Add Environment Maps
Incorporate HDRI environment maps for global illumination, enriching terrain textures with realistic color tones and reflections. Choose HDRI images that match the scene’s mood, such as soft sunlight or overcast skies.
6. Optimize with Rendering Settings
Using efficient render settings can further elevate texture quality and realism.
Set High-Quality Parameters
Enable high-quality settings in the renderer, such as increased subdivision and anti-aliasing, to maintain texture clarity and detail.
Utilize Global Illumination
Activate global illumination (GI) to create natural lighting interactions between terrain and other scene elements. For example, light reflecting off a rocky surface onto surrounding grass can add depth to the environment.
7. Validate Texture and Model Integration
After applying textures, ensure they are well-integrated with the terrain model.
Preview and Adjust in Real-Time
Use real-time rendering to assess the texture’s performance from various angles, checking for stretching or misalignment at the edges.
Fix Inconsistencies
Address any mismatched areas by refining UV coordinates or replacing problematic texture files in the Material Editor.
By following these steps, designers can craft lifelike terrain textures in 3D Max, adding depth and realism to their projects.
If you're looking for high-quality 3D textures, SketchUp models, or 3ds Max resources to elevate your designs, Relebook is an excellent choice. Download textures and models from Relebook to integrate seamlessly into 3D Max, enhancing the quality and efficiency of your work. Explore their collection today and take your projects to the next level!

