How to Make a 3D Face Texture Map
Creating a realistic 3D face texture map is essential for enhancing the detail and authenticity of characters in applications such as game design, movie production, and virtual reality. A well-crafted facial texture breathes life into characters, showcasing subtle details and expressions. Whether using Blender, Maya, or ZBrush, developing a high-quality texture involves several stages, including scanning, processing, and optimization. This guide will walk you through the key steps to effectively create 3D face texture maps, from preparation to final implementation, ensuring an efficient workflow for designers.

1. Preparation Before You Start
Before diving into texture creation, ensure you have the necessary equipment and resources ready.
Choose the Right Tools and Software: High-quality facial scanning devices (like a professional scanner or a high-resolution smartphone) are crucial for capturing detailed facial data. Ensure your software—such as Belus 3D, Photoshop, or Substance Painter—is up to date.
Capture Reference Photos: Use a high-resolution camera to take photos of the face from multiple angles, including front, side, and close-ups of key details. These images serve as a foundation for building accurate textures.
Set Up Proper Lighting: Photograph the face in evenly distributed natural light to minimize shadows and overexposure. A simple, uncluttered background helps improve photo clarity.
2. Create the Base Texture
The foundation of a great face map lies in capturing and assembling the initial texture.
Capture Facial Data: Use 3D scanning equipment to obtain high-resolution facial data. Slowly move the scanner to ensure complete coverage of the front and side profiles.
Generate Initial Maps: Convert the scanned data into an initial texture map using 3D software. Check the clarity and coverage of the map to identify any areas that may need rework.
Assemble Multi-Angle Photos: If a scanner is unavailable, manually combine the captured photos in Photoshop or similar tools to create a seamless face map.
3. Adjust UV Mapping
Proper UV mapping ensures the texture adheres seamlessly to the 3D model.
Unwrap the Model’s UVs: In Blender or Maya, unwrap the UVs of the model, ensuring the proportions of all areas are consistent to avoid stretching or overlaps.
Apply the Texture: Import the face map into your software and align it with the model’s UVs. Adjust the scale and position to ensure proper coverage.
Test the Mapping: Conduct real-time render tests to verify that the mapping is accurate. Make necessary tweaks to resolve any alignment issues.
4. Refine Texture Details
Adding intricate details enhances the lifelike quality of the face texture.
Color Correction: Use Photoshop to adjust the hue, contrast, and saturation of the map for a more natural skin tone.
Fix Imperfections: Smooth out uneven tones or blemishes on the map to create a polished look.
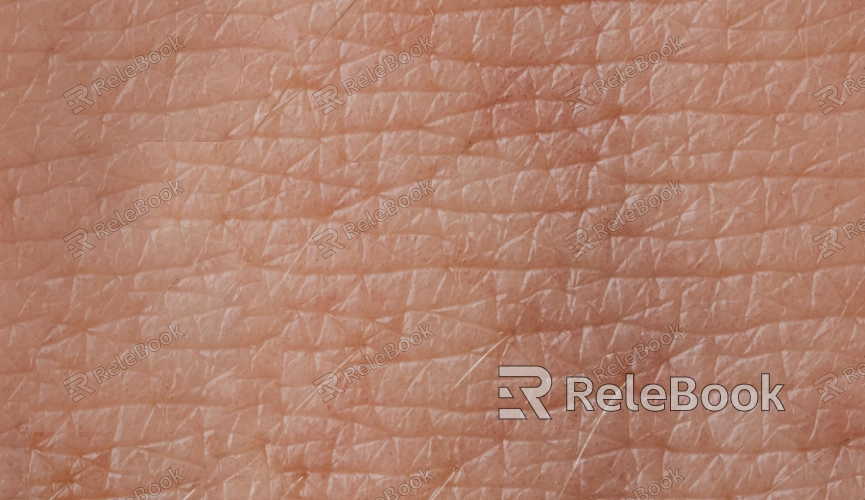
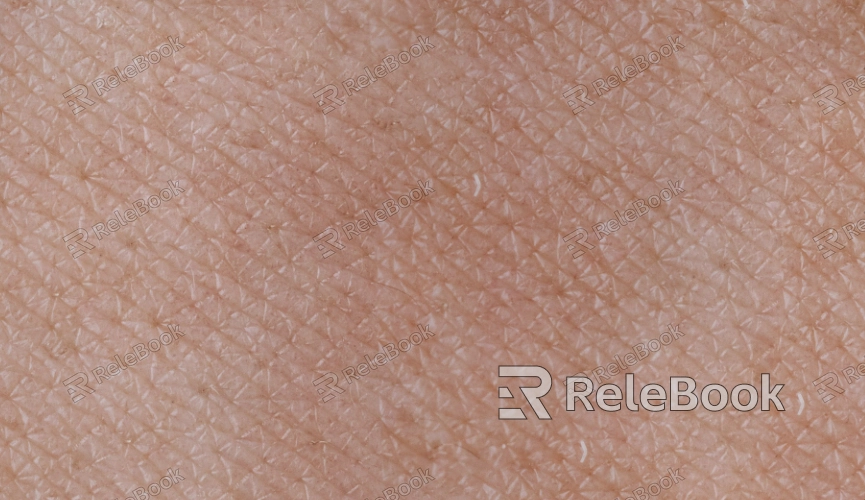
Add Fine Details: Use Substance Painter to incorporate micro-details such as pores, wrinkles, and veins for a heightened sense of realism.

5. Optimize the Texture
Optimizing the texture reduces rendering load while maintaining visual fidelity.
Choose the Right Resolution: Tailor the resolution to your project’s needs—4K for film-quality renders, or 2K for real-time engines.
Compress the Files: Use lossless compression tools to reduce file size without compromising quality.
Performance Testing: Test the texture on your target platform, such as Unreal Engine or Unity, to identify and resolve performance bottlenecks.
6. Apply the Texture to the 3D Model
With the texture refined and optimized, it’s ready to be applied to your model.
Load Into Material Channels: Import the face texture into the Base Color channel of the material in Blender or Maya. Adjust lighting interactions to enhance realism.
Add Additional Maps: To enrich the visual depth, include supplementary maps like normal and roughness maps. These enhance the appearance of skin texture and lighting effects.
Render and Test: Perform test renders in different lighting setups and environments to ensure the texture looks consistent and realistic.
7. Manage Files for Future Use
Efficient file management ensures easy access and editing down the line.
Organize Your Files: Save textures, models, and additional material layers in clearly labeled folders. Consistent naming conventions streamline workflow.
Version Control: Keep separate versions for each iteration of the texture to avoid overwriting and track changes. Maintain notes for future reference.
By following these steps, you can successfully create detailed and realistic 3D face texture maps, ready for use in diverse projects. While the process may seem intricate, mastering the techniques will empower you to produce professional-grade results. If you’re seeking more resources or tutorials to refine your skills, visit Relebook, where you’ll find a vast collection of tools and guides tailored to your creative needs. Explore and elevate your 3D design capabilities today!

