How to Make a Car Model in SketchUp
SketchUp is a popular 3D modeling software renowned for its intuitive interface and powerful features. Its simplicity and versatility make it a favorite among architects, designers, and hobbyists alike. While originally designed for architectural modeling, SketchUp has expanded to accommodate various modeling needs, including car designs. Whether you want to create a basic car model or a detailed, realistic automobile, SketchUp offers the tools and resources to help you succeed.
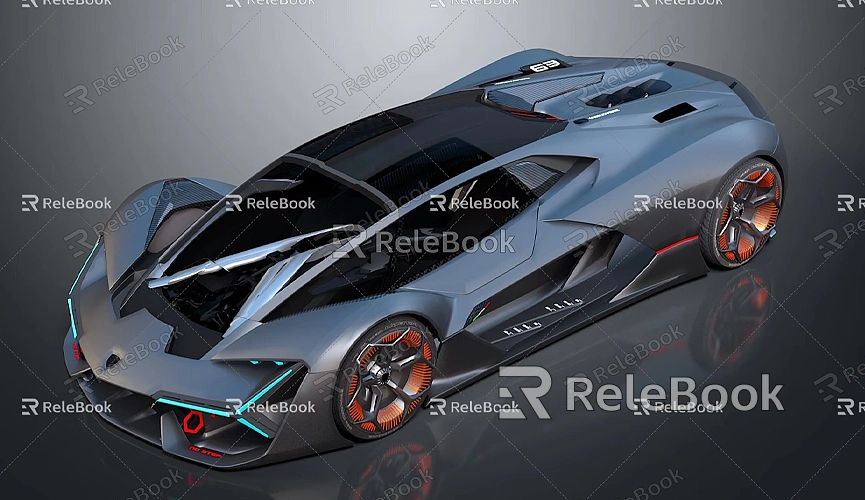
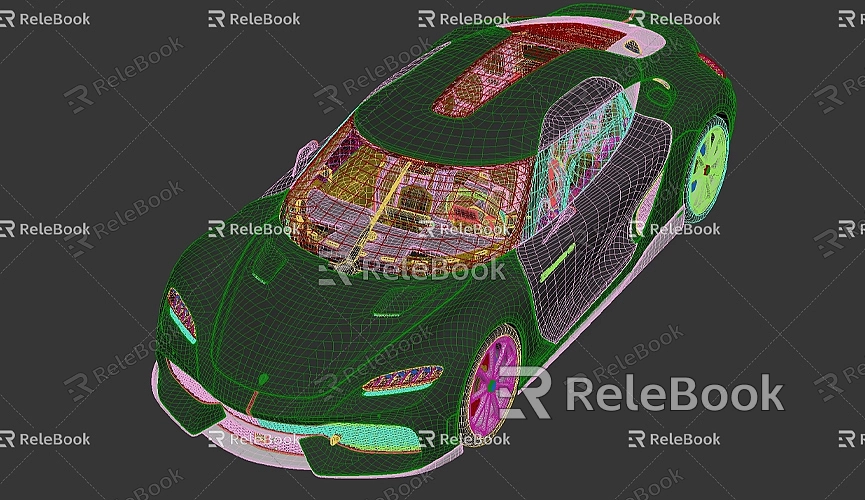
Modeling a car can be challenging due to its intricate details, such as the body, wheels, lights, and more. To guide you through this process, this article explains how to create a car model in SketchUp. Starting with the car body, you'll gradually add wheels, windows, lights, and other details, followed by applying materials and rendering the final product. By following these steps, you’ll learn useful modeling techniques and bring your car design ideas to life in SketchUp.

1. Familiarizing Yourself with SketchUp’s Modeling Tools
Before you begin, it's essential to get comfortable with some fundamental tools in SketchUp. Although its interface is simple, SketchUp packs powerful features that allow you to precisely control every detail and ensure your car model meets your expectations.
- Select Tool: This is one of the most commonly used tools in SketchUp, enabling you to select and manipulate any part of the model. For a car model, the Select Tool helps you pick specific components like the body, wheels, or windows for movement, duplication, or deletion.
- Push/Pull Tool: A unique feature of SketchUp, the Push/Pull Tool lets you extrude flat shapes into three-dimensional objects. You’ll use this extensively to create key structures like the car body, roof, and windows.
- Line Tool: Critical for detailed modeling, the Line Tool allows you to draw precise edges for outlining the car’s contours, shaping windows, or adding intricate details to headlights.
- Circle Tool: Perfect for creating circular shapes like car wheels. This tool helps you sketch the wheel's basic outline before shaping it into 3D using the Push/Pull Tool.
- Rotate Tool: Many car components, such as wheels and mirrors, need to be positioned at specific angles. The Rotate Tool simplifies the process of adjusting parts to the correct orientation.
By mastering these foundational tools, you’ll be ready to start building your car model.
2. Creating the Car Body
The car body serves as the foundation of the model and is the most crucial part of the design. Begin with a simple rectangle or polygon, then use the Push/Pull Tool to extrude it into a cuboid or rectangular prism. Next, refine the body’s shape using the Line and Circle Tools, ensuring it aligns with realistic proportions.
The front and rear of the car can feature curved or rounded designs for a streamlined appearance. Combining the Push/Pull Tool with the Line Tool allows you to sculpt different sections of the body, such as a smooth hood or a boxier rear. The car’s overall silhouette should be your primary focus at this stage to ensure it looks balanced and proportionate.

For details like windows and doors, use the Push/Pull Tool to create indents in the body or add thickness to specific parts. The Line Tool can also help outline edges, and the Push/Pull Tool can then extrude or carve out these sections for greater accuracy.
3. Designing Wheels and Tires
Wheels are a vital element of car design, contributing both to aesthetics and proportion. Start by drawing the basic outline of the wheels with the Circle Tool. Use the Push/Pull Tool to turn these circles into cylinders for the tires.
For added realism, create separate components for the tires and rims. For the tires, you can stack multiple circles and add grooves or treads for a textured effect. For the rims, use the Line Tool to draw detailed patterns or small holes, then apply the Push/Pull Tool to add thickness.
You can further refine the wheels by duplicating and rotating them as needed, ensuring they are evenly spaced and aligned with the car body.
4. Adding Details and Accessories
Details like side mirrors, headlights, grilles, and bumpers elevate the model's realism. Using a combination of the Line Tool, Circle Tool, and Push/Pull Tool, you can model these smaller components. For example:
- Headlights: Typically circular or oval shapes that can be inset into the car body or added as raised features.
- Mirrors: Simple geometric shapes positioned on the sides of the car body using the Rotate Tool.
- Grilles and Bumpers: Use the Line Tool to outline these features, then extrude them using the Push/Pull Tool to add depth and texture.
Although small, these details significantly impact the overall appearance of the car model, so take your time to get them right.
5. Applying Materials and Textures
To make your car model look realistic, applying appropriate materials and textures is crucial. SketchUp provides a built-in material library with options for different surfaces. For example, you can use metallic finishes for the car body, transparent materials for windows, and rubber textures for the tires.
For more advanced texturing, consider importing high-quality textures or HDRI (High Dynamic Range Imaging) files from external sources. Websites like [Relebook Textures](https://textures.relebook.com/) offer a wide range of free textures to enhance your model's realism. For detailed 3D models or components, check out [Relebook 3D Models](https://3dmodels.relebook.com/), which provides premium resources to expedite your modeling process and improve quality.
6. Rendering and Presentation
Once the car model is complete, the final step is rendering and presentation. Rendering adds depth and realism to your design by simulating lighting, shadows, and reflective surfaces. While SketchUp has basic rendering capabilities, plugins like V-Ray can elevate your model with photorealistic effects.
During rendering, adjust light sources and environment settings to highlight the car’s features. Reflections on the body, transparency on the windows, and shadows under the wheels all contribute to a polished look. Export your render as a static image or a rotating animation to showcase your work effectively.
Creating a car model in SketchUp is a challenging yet rewarding process. From designing the body and wheels to adding intricate details and applying textures, every step requires precision and creativity. By mastering SketchUp’s tools and incorporating external resources like those from Relebook, you can streamline your workflow and produce stunning models.
Whether you’re a beginner or an experienced designer, modeling cars in SketchUp offers a chance to hone your skills and enjoy the satisfaction of crafting something extraordinary. With practice, you’ll create realistic and detailed car models that stand out as impressive works of art.

