How to Create Stone Textures in 3D Modeling
Stone textures play a crucial role in adding realism to 3D projects, whether you’re designing a classical column, a modern wall surface, or a natural-looking floor. However, creating realistic stone textures isn’t straightforward—it involves crafting the base material, refining texture maps, and optimizing for rendering. This guide will walk you through the complete process of designing and applying stone textures in popular 3D software like Blender, Maya, and 3ds Max.

1. Gather Reference Images
Before diving into creating stone textures, collecting high-quality reference images is essential.
Find inspiration: Observe the natural details of real stone surfaces, including colors, texture patterns, cracks, and light interplay.
Explore sources: High-resolution photographs and online texture libraries (e.g., Textures.com or Quixel) are great options.
Save time with ready-made assets: If searching for 3D textures feels overwhelming, check out resources like Relebook, which offers a wide range of high-quality stone textures and 3D models.
2. Define Texture Type and Style
Stone textures come in various types, such as marble, granite, and slate.
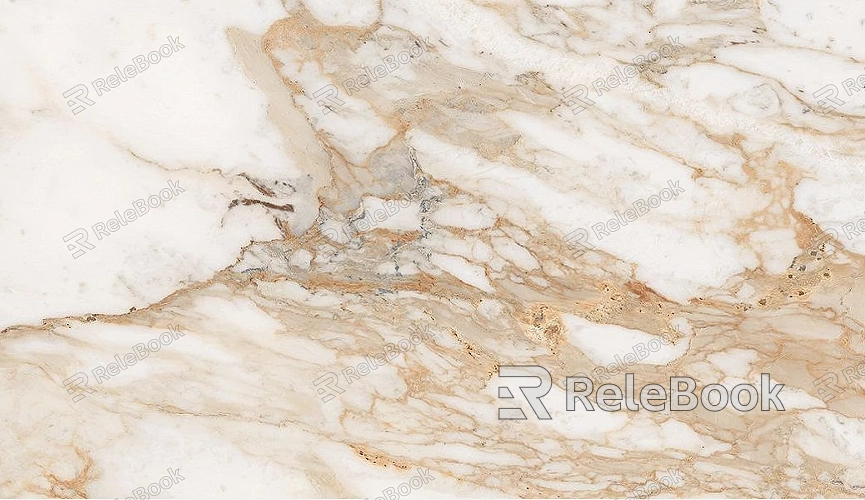
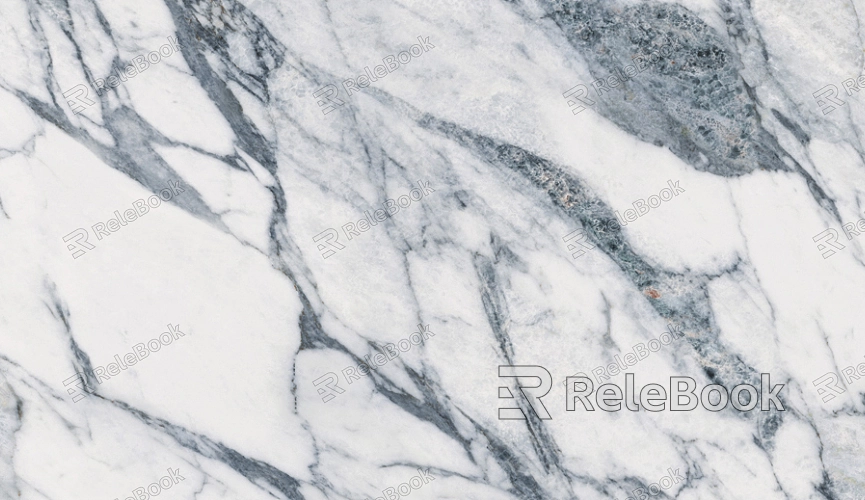
Marble textures: Focus on smooth lines and subtle color gradients.
Rough stone: Granite textures feature irregular grains and spots.
Polished surfaces: High-gloss stone requires additional attention to reflection and shine.
Identify the texture type that fits your project and refine its visual style based on your design needs.
3. Build the Base Texture
Create the foundational layer of your stone texture using either built-in tools in your 3D software or external graphic tools.
Use Photoshop or Substance Painter:
Base color layer: Start with grayscale, brown, or white tones that match your desired stone type.
Add grain details: Use noise filters or textured brushes to simulate fine-grained patterns.
Leverage procedural tools:
Blender: Use Noise, Voronoi, and Mix Shader nodes in the node editor to create procedural textures.
Substance Designer: Quickly generate stone textures with procedural workflows.
4. Incorporate Fine Details
Adding detailed features to your base texture is critical for realism.
Cracks and imperfections:
Use crack maps to simulate natural fractures.
Alpha channels can be used to paint chipped edges or recessed areas.
Color variation:
Introduce subtle gradients and patches of color to mimic natural stone.
Vertex Paint tools in 3D software can help refine localized shading.
Bump and normal maps:
Create maps to emphasize the texture’s depth and surface unevenness.

5. Apply Texture Maps
After creating your texture, apply it to your 3D models and ensure it’s properly scaled.
UV mapping: Proper UV unwrapping is essential to avoid distortion or stretching of the texture.
Seamless tiling: Ensure that the texture tiles seamlessly for large areas by editing in Photoshop or similar tools.
Scale adjustments: Match the texture’s size to the proportions of your model to achieve realistic results.
6. Set Material Properties
Material settings greatly influence how the stone texture appears under different lighting conditions.
Diffuse settings: Ensure the color is natural and doesn’t appear too bright or dark.
Reflection and glossiness: Polished stones need higher reflection values, while rough stones benefit from increased roughness.
Depth and displacement: Enhance the texture’s depth by incorporating normal or displacement maps into the material setup.
7. Adjust Lighting and Rendering
The final appearance of your stone texture relies heavily on lighting and rendering techniques.
Lighting angles: Side lighting enhances surface details, such as cracks and unevenness.
Global illumination: Enable GI to produce accurate light bounces and shadows.
Shadow softness: Ensure that shadows complement the texture without being too harsh or too soft.
8. Final Checks and Optimization
Before considering the work finished, review your texture for potential improvements.
Seam visibility: Check for seamless transitions in large areas to avoid obvious repetition.
Reduce repetition: Use randomization techniques to make the texture feel more organic.
Performance optimization: For real-time rendering, consider reducing texture resolution without compromising quality.
By following these steps, you can create realistic stone textures that enhance the visual quality of your 3D projects. Whether you’re modeling an architectural masterpiece or crafting an intricate environment, mastering stone texture design will significantly elevate your work.
If you’re looking for pre-made high-quality textures, SketchUp models, or 3ds Max resources, explore the extensive library at Relebook. It’s your one-stop destination for 3D assets that make every project shine.

