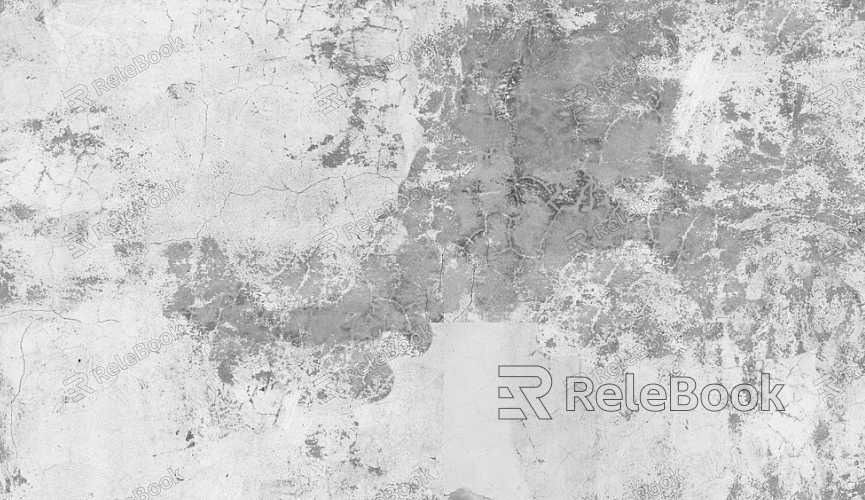
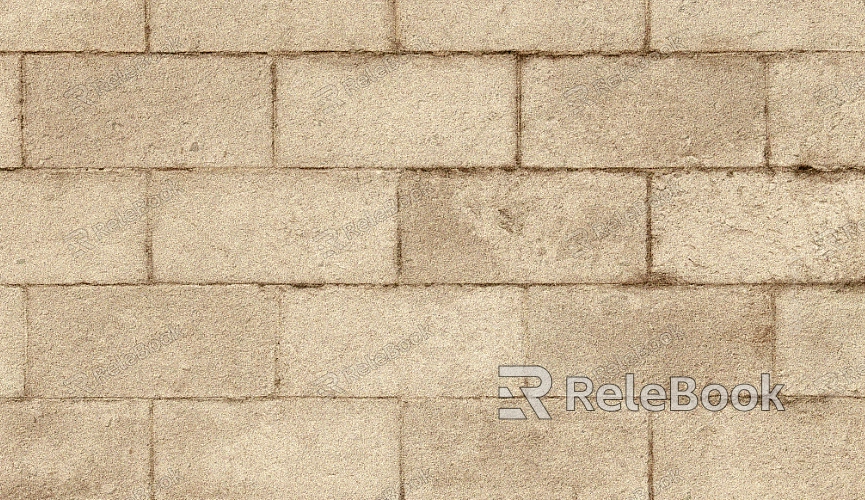
How to Do 3D Textured Wall Paint
In 3D modeling and rendering, creating realistic and intricate wall textures can significantly elevate the quality of a project. Whether you're working on interior design, architectural visualization, or game environments, detailed wall textures bring depth and authenticity to your scenes. Many designers use tools like Blender, 3ds Max, and Substance Painter to craft and apply textures to walls, but achieving the desired results often requires experience and a structured workflow. Through trial and error, I’ve developed an efficient and approachable process that I hope will help you in your projects.

1. Define the Wall Texture Requirements
Analyze the project style: Decide on the wall’s finish based on the project’s theme—industrial concrete, cozy painted surfaces, or something entirely unique.
Gather reference images: Collect high-quality photos to use as a visual guide for realistic texture creation.
Choose the right resolution: Determine the appropriate texture resolution based on rendering needs. Commonly, 2K or 4K textures work best for most scenarios.
2. Create a Base Wall Model
Divide wall areas: Segment wall sections in your 3D software to avoid wasting resources by applying detailed textures to unimportant areas.
Optimize UV mapping: Ensure UV layouts are clean and minimize stretching or distortion. This step is critical for accurate texture application.
3. Develop Texture Maps
Pick the right software: Use tools like Photoshop or Substance Designer to create base color, normal, and roughness maps.
Layer for detail: Add depth by stacking elements such as cracks, scratches, and stains. This technique enhances the texture’s realism.
Test material performance: Preview the texture in your renderer to ensure it reacts properly to light and other scene elements.
4. Apply PBR Materials
Set PBR parameters: Import maps into a material editor and tweak values like metallic, roughness, and glossiness for a realistic finish.
Incorporate fine details: Use additional maps, such as ambient occlusion, to add subtle irregularities like dust or grime.
5. Enhance the Rendering
Adjust lighting settings: Experiment with light angles and intensity to highlight the texture’s details.
Enable global illumination: Turn on global lighting to produce soft shadows and realistic interactions between surfaces.
Add depth with post-processing: Apply effects like depth of field during post-production to make the wall textures appear more dynamic.

6. Simulate Aging and Wear
Introduce wear effects: Use node editors or plugins to add wear, such as faded paint, peeling layers, or cracks.
Randomize distributions: Employ randomization tools to ensure imperfections look natural and not overly repetitive.
7. Showcase Texture Dynamics
Create animation previews: Generate simple animations that showcase how light and angles affect the wall texture.
Render multi-angle images: Capture renders from different perspectives to display the texture’s adaptability.
8. Troubleshoot and Fix Issues
Eliminate texture seams: Check for visible seams and correct them by tweaking UVs or using seamless textures.
Break up repetition: For large wall surfaces, avoid repetitive patterns by blending multiple textures or using randomization techniques.
9. Export and Optimize
Compress texture files: Use efficient compression methods to reduce file size without sacrificing detail.
Ensure platform compatibility: Export textures in formats suited for their intended platforms, such as games or virtual reality.
10. Integrate into Real-World Projects
Coordinate with other materials: Match wall textures with surrounding surfaces like floors and furniture to maintain a cohesive design.
Incorporate context: Tie the wall’s look to the story of the scene, such as adding rust to industrial walls or warmth to a café interior.
By following these steps, you’ll have a clear roadmap for crafting and applying wall textures, from conceptualization to implementation. Whether you're a novice or a seasoned designer, these techniques can help you achieve stunning results with ease.
If you’re looking for high-quality 3D texture resources, SketchUp models, or 3ds Max assets to enhance your models and virtual environments, Relebook offers a wealth of options. Explore their extensive library to elevate your project’s visual appeal and achieve exceptional results.

