How to Line Up 3D Model Textures
Whether you're crafting realistic skin for game characters, designing architectural materials, or creating polished product advertisements, aligning textures correctly is crucial to achieving realism and visual appeal. In popular 3D software like Blender, 3ds Max, and Maya, this process involves both technical precision and artistic balance to ensure models appear cohesive and natural. As a seasoned 3D artist, I've honed several techniques for aligning textures effectively, which can save time and elevate the quality of your work.
Below, I'll walk you through foundational principles and advanced tips for aligning textures on 3D models.

1. Ensure Proper UV Unwrapping
Importance of UV Mapping:
UV unwrapping determines how textures map onto your model's surface. Poor UV layouts can result in stretching, tearing, or distortion, no matter how high-quality your texture is.
Steps for Effective Unwrapping:
Use automatic tools like Blender’s Smart UV Project for initial unwrapping, then manually tweak critical areas to maintain proportional UV islands.
Detect overlapping UV islands in the UV editor and separate them to prevent duplicated textures.
2. Choose the Right Mapping Coordinates
Common Mapping Techniques:
Textures can be applied using methods like planar mapping, box mapping, spherical mapping, or triplanar projection. Each model type calls for a specific approach—planar mapping works well for flat surfaces, while spherical mapping is better for round objects.
Match Mapping to Project Needs:
For low-poly game models, UV mapping is often the best choice, while triplanar mapping is ideal for complex, high-poly assets with detailed decals.
3. Optimize Texture Scaling and Orientation
Adjust Texture Scale:
Ensure your texture scale matches the model. In your UV editor or material nodes, scale up or down as needed to prevent textures from appearing overly dense or sparse.
Control Orientation:
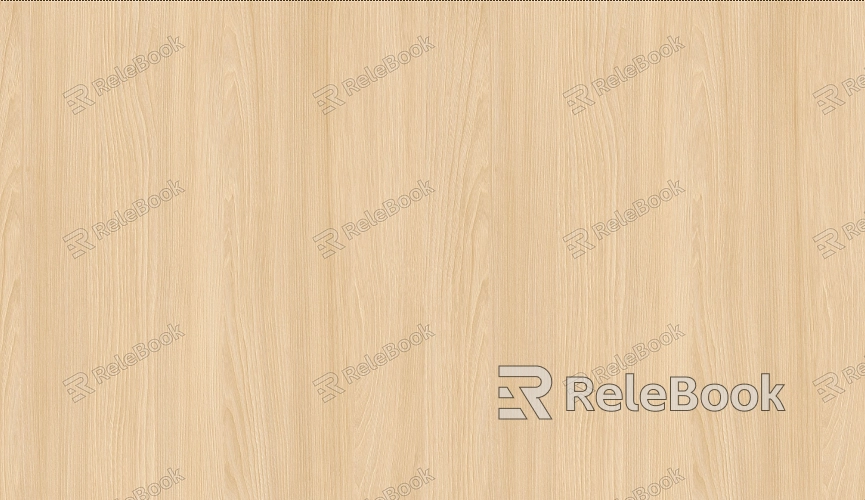
Some materials, like wood grain or fabric patterns, are highly directional. Align these textures carefully to maintain a natural look and avoid visual inconsistencies.
4. Use Seamless Textures for Repeating Patterns
What Are Seamless Textures?
Seamless textures eliminate visible borders, making them ideal for repetitive surfaces like floors, walls, or terrain.
How to Apply:
Adjust tiling and offsets in the material editor to distribute the texture evenly across the model without noticeable breaks.
5. Preview and Adjust in Real-Time
Leverage Real-Time Rendering:
Most 3D software offers live viewport rendering, allowing you to instantly see how your textures align. This immediate feedback helps identify issues early and avoids costly revisions later.
Check from Multiple Angles:
Rotate the model and inspect it from various viewpoints to ensure textures look natural from every perspective, especially on animated models.

6. Refine Details with Texture Painting
When to Use Texture Painting:
If UV tweaks can't resolve specific problems, tools like Blender’s Texture Paint or Substance Painter can be used to manually fix seams or touch up small imperfections.
Steps to Paint Textures:
Switch to painting mode, focus on problem areas, and blend textures seamlessly for a polished finish.
7. Enhance Texture Quality with Rendering Settings
Anti-Aliasing and Filtering:
Enable settings like anti-aliasing and anisotropic filtering in your rendering software to improve texture clarity and eliminate jagged edges.
Choose Appropriate Resolutions:
Optimize your textures by balancing resolution with performance needs. Overly large textures can slow down rendering times without noticeable visual improvement.
8. Utilize Material Nodes for Precision
Node-Based Adjustments:
Fine-tune UV offsets, texture blending, and normal maps in your material editor to perfect alignment and add depth.
Experiment with Gradients and Masks:
Incorporate gradient nodes or masking textures to control transitions and minimize abrupt changes between surfaces.
9. Save Iteratively and Test Frequently
Version Control:
Save progress in incremental versions to track changes and easily revert if needed.
Test in Real Scenarios:
Place the textured model in its intended scene with appropriate lighting and shadows to verify alignment under realistic conditions.
Mastering texture alignment can significantly enhance the quality and efficiency of your work, whether you're a beginner or an experienced designer. By applying these systematic techniques and paying attention to details, you can tackle even the most challenging texture alignment tasks with confidence. For more tutorials and resources, explore Relebook—your ultimate guide to advancing in 3D design!

