How to Create 3D Textured Walls
In game development, interior design, and architectural visualization, wall textures play a critical role in enhancing the visual appeal and immersiveness of a scene. As a 3D modeling and rendering artist, I frequently create textured walls tailored to different project needs. From building base models in tools like Blender or 3ds Max to refining textures with Photoshop or Substance Designer, each step requires careful adjustments to balance visual quality with performance. In this guide, I’ll share actionable steps and essential tips for creating high-quality 3D textured walls, helping you streamline your workflow and achieve stunning results.

1. Define the Purpose and Style of Your Textured Wall
Understand project requirements: Begin by identifying the goals of your project. For example, architectural visualization often demands highly realistic textures, whereas game development might prioritize performance optimization over intricate details.
Gather reference materials: Collect high-resolution images or texture resources as a foundation. These can come from photography or stock libraries. Ensure they are seamless and of sufficient resolution to avoid pixelation.
Set appropriate scale: Adjust the texture’s scale to match the wall’s real-world dimensions, preventing distortion or stretching during UV mapping.
2. Prepare the Base Wall Model in 3D Software
Choose the right modeling tool: Popular 3D software like Blender, 3ds Max, and Maya makes it easy to create base wall models. Use the one you’re most comfortable with.
Optimize the mesh topology: Keep the wall model simple, avoiding unnecessary polygons to ensure smooth performance, especially for real-time applications.
Divide material zones: For walls with multiple texture types (e.g., bricks and paint), assign distinct material IDs to each area for easy texturing later.
3. Generate and Enhance Wall Textures
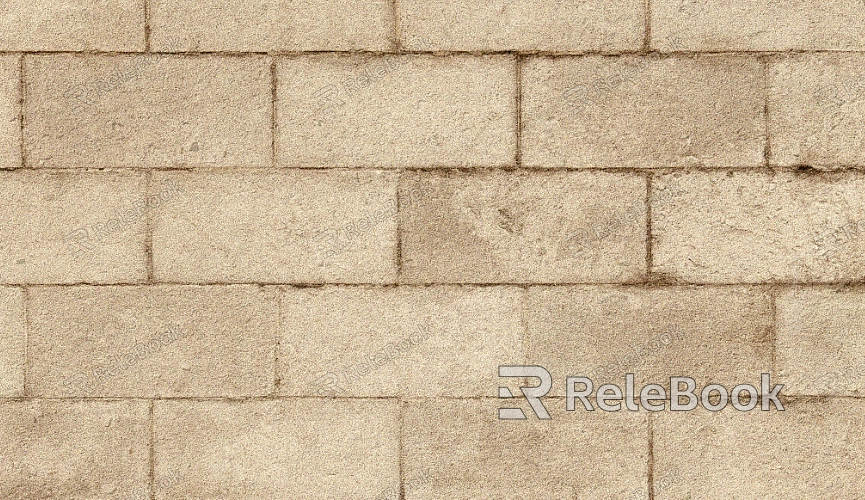
Select the appropriate texture style: Decide on the look, such as brick, wood grain, or concrete, ensuring it aligns with the overall theme of your project.
Refine details in editing software: Use tools like Photoshop or Substance Designer to adjust brightness, contrast, and enhance fine details, making textures more visually appealing.
Create normal maps: Normal maps add depth and realism to flat textures. Tools like CrazyBump or Substance Designer can efficiently generate these maps.
Ensure seamless tiling: Seamless textures are vital for repeating patterns. In Photoshop, use the "Offset" filter to spot seams and fix them for a continuous effect.

4. Apply Textures in 3D Software
Set up a material: Create a material in your software (e.g., Blender, Maya) and assign textures to their respective slots—such as diffuse, normal, and roughness maps.
Adjust UV mapping: Fine-tune the UV map to ensure the texture wraps evenly and proportionately around the wall model.
Preview and tweak: Check the material in a real-time viewport to evaluate how the texture interacts with light and adjust parameters like reflectivity or roughness as needed.
5. Optimize for Performance
Compress texture files: Export textures in efficient formats like PNG or JPEG to save disk space. For real-time rendering, enable texture compression to reduce memory usage.
Test lighting effects: Apply lightmaps and test how the wall texture reacts to various lighting scenarios, ensuring it looks natural in different conditions.
Verify on different devices: If your project targets games or AR/VR, test the textured wall on low-end devices to confirm smooth performance.
6. Add Advanced Details and Special Effects
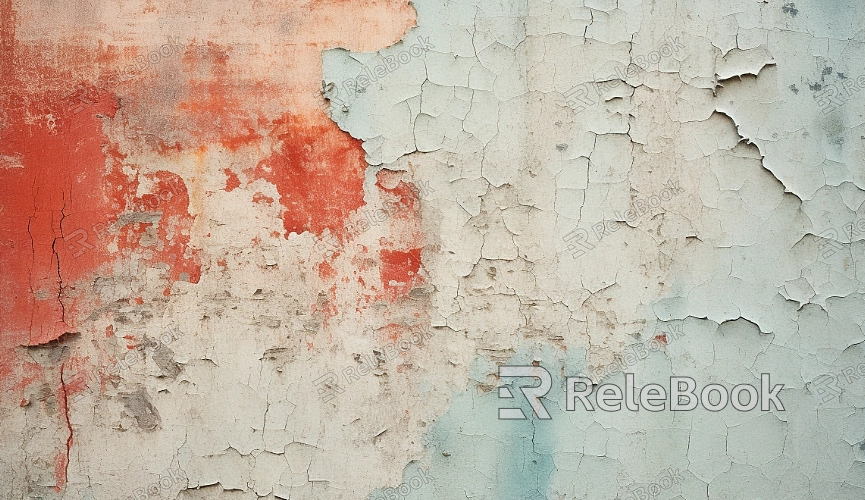
Incorporate decals: Add features like cracks, graffiti, or stains using decal techniques to give the wall more personality and realism.
Use dynamic materials: For added realism, create effects like wet walls or weathered surfaces using shaders and dynamic textures.
Integrate environmental reflections: Use reflection probes or similar tools to make the wall textures dynamically reflect their surroundings, enhancing their integration with the scene.
Following these steps, you can craft 3D textured walls that meet both aesthetic and functional requirements. This approach not only elevates your scene’s realism but also ensures optimal performance across various platforms.
If you’re looking to deepen your expertise in Unity or other 3D tools, explore Relebook! Their extensive library of tutorials and resources can help you advance your skills and bring your creative visions to life.

