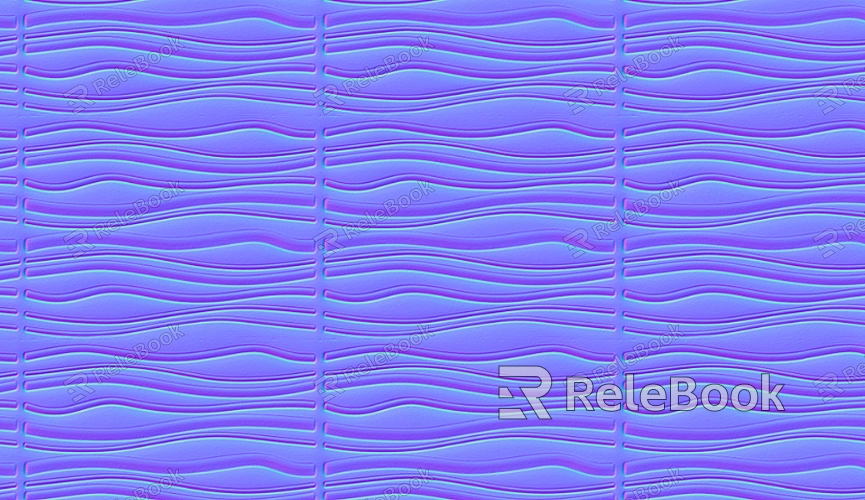
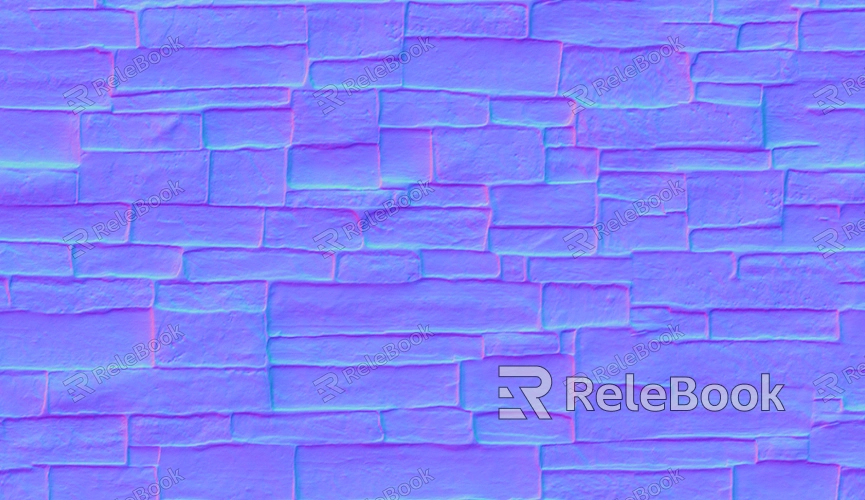
How to Convert from Normal to Bump Map?
Normal maps and bump maps are two techniques used to simulate intricate surface details without the need for additional geometry. While they may seem similar at first glance, there are distinct differences between the two, especially in how they affect the surface of 3D models. Converting from a normal map to a bump map can help simplify the texture mapping process in certain scenarios, particularly when you need to achieve a specific visual effect with minimal computational resources. This article will explore how to convert from a normal map to a bump map, providing an in-depth look at the techniques, tools, and processes involved in the conversion.

Understanding Normal Maps vs. Bump Maps
Before delving into the conversion process, it’s essential to grasp the differences between normal maps and bump maps. Both are used to simulate surface detail, but they function in different ways.
Normal Maps: These maps store information about the orientation of the surface's normals, which determines how light interacts with the surface. By altering the way light reflects off the surface, normal maps can create the illusion of complex textures like wrinkles, grooves, and dents without adding extra geometry. They are typically represented using RGB values, where each color channel (red, green, blue) corresponds to a specific direction of the normal.
Bump Maps: Bump maps, on the other hand, store grayscale information that simulates surface displacement. The lighter areas of a bump map represent raised areas, while the darker areas simulate indents or lower regions. Unlike normal maps, bump maps do not affect the actual geometry of the surface; instead, they only affect the way light interacts with it, creating the illusion of depth and texture. Bump maps are easier to compute and can be useful in situations where performance is a concern.
The conversion from a normal map to a bump map is primarily about translating the three-dimensional information of the normal map into the two-dimensional grayscale values of the bump map. This process involves extracting the light interaction data from the normal map and converting it into a form that simulates depth without requiring full geometry modifications.

The Basic Conversion Process
Converting a normal map to a bump map is not a straightforward one-click operation, as it involves interpreting the normal map data and extracting useful information for a bump map. Here’s a simplified step-by-step guide to the process:
Step 1: Extract RGB Information from the Normal Map
The first step is to analyze the RGB values in the normal map. Each color channel (red, green, and blue) corresponds to a different direction of surface normal. These channels encode information about the surface’s orientation in space, specifically how the surface will interact with light. By isolating the red, green, and blue channels, you can use them to derive surface elevation data for the bump map.
Step 2: Convert RGB Values to Height Data
To convert the RGB values into grayscale values that represent surface height, you need to calculate the intensity of each channel. Typically, the red channel corresponds to the X-axis, green to the Y-axis, and blue to the Z-axis in the 3D space. The height of the surface can be estimated by combining these values in a way that reflects how the surface would appear in terms of displacement. This is often done by calculating the "dot product" of the normal vector encoded in each pixel and a directional light source, which helps simulate how light would interact with the bump map's surface.
Step 3: Normalize and Create a Grayscale Image
Once you have computed the relative height data, you’ll need to normalize the values so that they fit within a standard range (usually between black and white in the bump map). This normalization step ensures that the lighter regions of the bump map represent raised areas, and the darker regions correspond to lower areas, similar to traditional bump mapping.
Step 4: Apply Adjustments and Refinements
At this stage, you might want to fine-tune the bump map to achieve the desired look. You can adjust the contrast or intensity of the grayscale image to emphasize or de-emphasize certain features. For example, if the normal map represents subtle surface details, you may want to increase the intensity of the bump map to make the effect more pronounced.
Tools for Converting Normal Maps to Bump Maps
Several tools and software applications can help automate or assist in the process of converting normal maps to bump maps. Here are a few popular options:
Image Editing Software (e.g., Photoshop, GIMP)
Advanced image editing software like Adobe Photoshop or GIMP can be used to extract and manipulate normal map data. These programs allow you to separate the RGB channels, perform calculations, and adjust the resulting image. In Photoshop, you can use the "Normal Map to Bump Map" filter (or a plugin) to facilitate the conversion.
3D Software (e.g., Blender, ZBrush)
Blender and ZBrush offer more advanced tools for texture mapping and surface manipulation. In these applications, you can load a normal map and use built-in features to generate bump maps. For example, Blender has a “Bump” node in its shader editor that can simulate bump map effects based on normal maps, while ZBrush can extract bump maps from high-resolution models.
Dedicated Software (e.g., xNormal, CrazyBump)
Specialized software like xNormal and CrazyBump can be used to generate bump maps from normal maps. These programs are designed for texture map baking and provide a streamlined process for creating bump maps. With just a few clicks, you can convert normal maps into bump maps and fine-tune the results.
Practical Considerations and Use Cases
While the conversion from normal maps to bump maps can be useful in certain situations, there are some practical considerations to keep in mind.
Performance: Bump maps are generally less computationally expensive than normal maps. They are suitable for real-time applications, such as video games or interactive media, where performance is a priority. Converting normal maps to bump maps can help optimize textures for these environments.
Quality: While bump maps can simulate surface detail, they lack the depth and realism of normal maps. If you need highly detailed surface interactions, a normal map might be a better option. However, for less complex surfaces or for situations where memory and processing power are limited, bump maps can be a good alternative.
Workflow Efficiency: In some cases, you might already have a normal map created for a 3D model. Converting this map into a bump map can save time if you need to create a simpler, lower-resolution version of the model for use in specific applications, such as mobile devices or low-poly renders.
Converting from normal maps to bump maps is a useful technique for simulating surface detail without requiring additional geometry. By extracting the RGB data from a normal map, converting it to height information, and refining the result into a bump map, you can achieve realistic surface effects while optimizing performance. Tools like Photoshop, Blender, and specialized software make this conversion process easier and more efficient. Keep in mind that while bump maps can provide a great deal of surface detail, they do not offer the same level of realism and depth as normal maps. Nevertheless, for many applications, especially in gaming and real-time rendering, bump maps offer a viable alternative that can save resources without compromising on visual quality. For further exploration, you can find high-quality 3D models and textures that can be used for this process on the Relebook website.
What is the primary difference between a normal map and a bump map?
A normal map encodes surface detail by altering the surface normals in 3D space, affecting how light interacts with the surface. It uses RGB values to represent the orientation of surface normals. A bump map, on the other hand, uses grayscale information to simulate surface height variations, creating the illusion of depth without changing the actual geometry.
Why would I want to convert a normal map to a bump map?
Converting a normal map to a bump map can be beneficial in situations where you need to reduce the computational complexity of a texture. Bump maps are less resource-intensive than normal maps, making them ideal for applications like real-time rendering in games, where performance is crucial. They also simplify texture maps when dealing with lower-poly models.
Can I use the bump map in the same way as a normal map in my 3D model?
No, bump maps and normal maps work differently. While both can simulate surface detail, a normal map offers more precise control over light interaction and results in more realistic visual effects. A bump map, however, can only simulate the appearance of depth and does not affect how light interacts with the surface as accurately as a normal map does.
Can I convert a normal map to a bump map manually?
Yes, you can convert a normal map to a bump map manually using image editing software or 3D applications. The process typically involves extracting the RGB channels of the normal map, calculating height information based on those values, and then creating a grayscale image to simulate the bump effect. There are also plugins and filters available in software like Photoshop to assist with this conversion.

