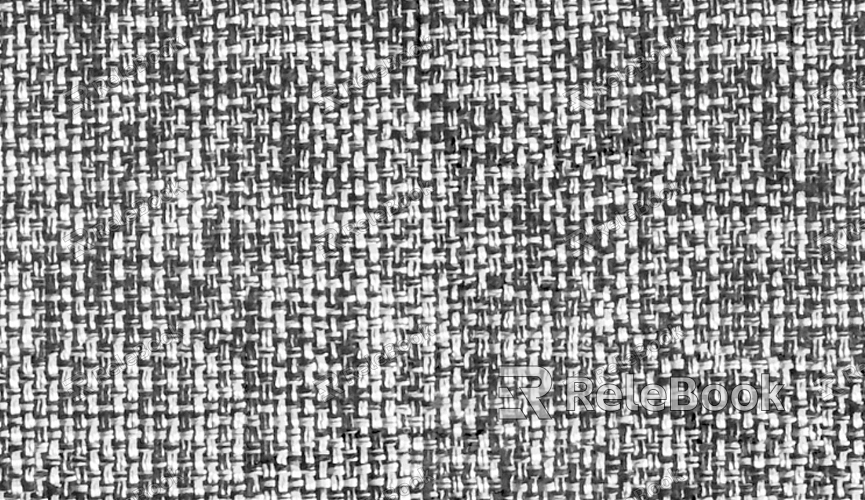
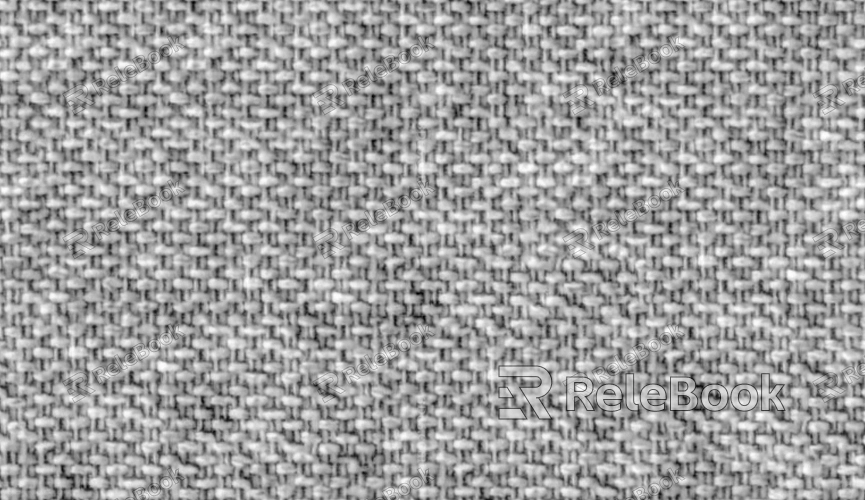
How to Create a Linen Fabric Texture in Photoshop?
Linen fabric is a popular material known for its crisp texture, lightweight, and elegant appearance. Whether you’re designing a realistic background, creating textile-based patterns, or enhancing the appearance of a garment in a fashion design project, simulating the look of linen can add depth and a sense of authenticity to your work. Photoshop, with its advanced layering and texturing tools, offers numerous ways to create a realistic linen fabric texture. This article will guide you through the process of creating a convincing linen fabric texture in Photoshop, step by step.

Setting Up Your Photoshop Document
Before you begin creating the linen fabric texture, it’s important to set up your Photoshop workspace properly. Open Photoshop and create a new document. The size of your document will depend on the project you're working on, but for this tutorial, a standard canvas of 1000px by 1000px with a resolution of 300 DPI works well. This resolution ensures that your fabric texture remains sharp and detailed for print.
Once your document is open, you can begin by creating a base layer for your texture. Select the "Background" layer and fill it with a neutral color that you envision for your linen fabric—typically a soft beige or off-white. This color will serve as the underlying base of your fabric and help set the tone for the texture you will create.
Creating the Linen Weave Pattern
The unique texture of linen comes from its tight, woven threads. To simulate this, you will create the basic weave pattern using Photoshop’s filters and texture effects. Start by adding a new layer on top of your base color layer. This will allow you to work non-destructively and maintain full flexibility throughout the design process.
To begin creating the weave pattern, go to the "Filter" menu and select "Noise" followed by "Add Noise." Adjust the amount of noise to create a random, grainy texture. Start with a small value, such as 10%, and choose the "Gaussian" distribution with the "Monochromatic" option checked. This will give your texture a grainy, linen-like quality that mimics the unevenness of the fabric.
Next, use the "Motion Blur" filter (found under "Filter" > "Blur") to give the noise a directional flow, simulating the way threads run through linen. Apply a subtle blur, setting the angle at 0° (horizontal), to create the appearance of the linen’s weave structure. You may need to experiment with the blur's distance and intensity until you achieve the right look.

Adding Fine Detail with Texture Brushes
To enhance the linen texture and give it a more realistic appearance, you can add finer details that mimic the imperfections and subtle variations found in actual linen fabric. Photoshop’s texture brushes are ideal for this. Start by selecting a soft, textured brush, or create your custom brush that mimics the irregular patterns found in linen.
On a new layer, gently paint over the noise and blur effects, adding slight variations and imperfections to the fabric's surface. Vary your brush strokes in opacity and size to create an uneven surface that mirrors the natural feel of linen. You may want to focus on adding tiny, irregular lines and subtle shadowing to create the appearance of threads crossing each other in the fabric.
Introducing Depth with Layer Styles
To make your linen texture more dynamic and three-dimensional, you can use Photoshop’s layer styles to introduce depth and shadows. Right-click on the layer that contains your linen texture and select "Blending Options" to access the Layer Styles menu.
Start by adjusting the "Drop Shadow" effect to create subtle shading. Keep the shadow angle consistent with the lighting direction you plan to use in your project. You can also experiment with the "Bevel & Emboss" effect, which will add highlights and shadows to create the illusion of raised threads on the fabric’s surface. Adjust the depth and size settings until the fabric begins to look more realistic.
Another technique for enhancing depth is to use the "Pattern Overlay" option. Select a subtle fabric pattern from Photoshop’s preset textures or import your own. Set the pattern’s opacity to a low value and change the blending mode to something like "Overlay" or "Soft Light" to add a delicate layer of detail without overpowering the texture.
Creating Subtle Color Variations
One of the defining features of linen fabric is its slightly uneven color, with subtle variations and shadows across the surface. To replicate this, you can create color variations using adjustment layers and blending modes. Add a "Hue/Saturation" adjustment layer above your linen texture and adjust the hue, saturation, and lightness to introduce subtle variations in the color.
Next, add a "Curves" or "Levels" adjustment layer to fine-tune the contrast and brightness of the texture. By slightly darkening some areas and lightening others, you can simulate the way light interacts with the fabric’s surface. Use a soft brush to mask out areas where you don’t want the color changes to apply, allowing the adjustments to blend seamlessly into the texture.
Adding Fabric Wear and Tear
For a more realistic and authentic look, consider adding some wear and tear to your linen texture. Linen fabric, especially when used in everyday items, shows signs of aging and use over time. To replicate this, create a new layer and use a subtle brush to paint over areas of the fabric that should show signs of wear.
For example, you might add slight frays along the edges or small, random imperfections that resemble dirt or wear spots. You can also use the "Gaussian Blur" filter to soften the edges of any added details, ensuring they blend naturally with the rest of the fabric.
Final Refinements and Exporting the Texture
Once you are satisfied with the overall look of your linen texture, it’s time to make some final refinements. Zoom in to check the finer details and adjust any elements that may need more contrast or texture. Use the "Clone Stamp Tool" or the "Healing Brush" to correct any repetitive patterns that may have emerged during the texturing process.
When you're happy with the result, it's time to save and export your texture. You can save the texture as a PSD file if you wish to make further edits later or export it in a more common format such as PNG, JPG, or TIFF. These formats allow you to use the texture in a variety of projects, including websites, print materials, or any other design where a linen texture is required.
Creating a linen fabric texture in Photoshop is a multi-step process that involves layering, brushing, and refining to achieve a realistic result. By using the noise and blur effects to simulate the weave, adding fine details with brushes, and adjusting colors and shadows, you can create a convincing linen texture suitable for various design projects. With a bit of patience and attention to detail, your linen fabric texture will add depth and authenticity to your designs.
For even more high-quality textures and 3D models to enhance your projects, you can visit the Relebook website and explore their extensive library of downloadable resources.
FAQ
How can I make my linen texture more subtle or less harsh?
To achieve a subtler look, reduce the noise and blur levels, and use lighter brush strokes for detail. You can also adjust the opacity of your texture layers to make the fabric appear softer.
What if I want a more pronounced linen pattern?
If you prefer a more pronounced texture, you can increase the intensity of the noise effect and use stronger brush strokes to emphasize the fabric's weave. Experiment with the motion blur and layer styles to make the threads stand out more.
Can I use this technique for different fabric textures?
Yes, the same basic technique can be adapted to create other fabric textures such as cotton, wool, or denim. Adjust the noise, blur, and brush details to suit the specific fabric you are trying to simulate.
How do I make the linen fabric texture seamless for tiling?
To make the texture seamless, make sure the edges of the document match up when duplicated. Use the "Offset" filter (Filter > Other > Offset) to check for any visible seams and fix them by painting over the edges to blend them.
Can I use this linen texture for both web and print projects?
Yes, the texture can be used in both web and print projects. Just be sure to adjust the resolution based on the medium (300 DPI for print and 72 DPI for web) and export in the appropriate file format.

