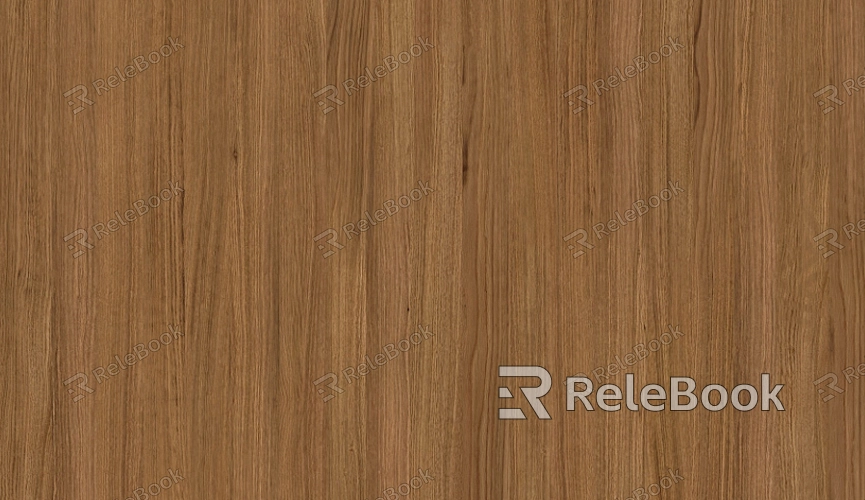
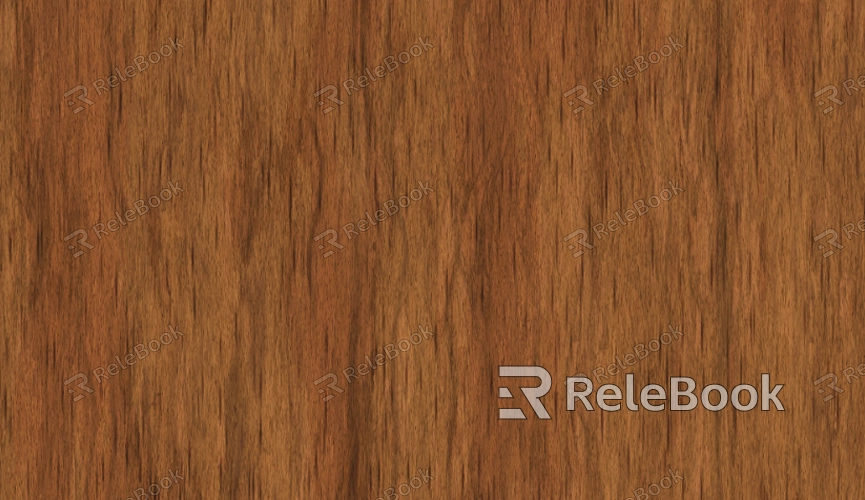
How to Make a Wood Texture in Substance Designer?
Wood textures are a staple in various creative fields, from interior design to 3D modeling. It gives users the ability to generate procedural textures that can be easily adjusted and reused for various purposes. In this article, we will guide you through the process of making a wood texture in Substance Designer, breaking it down into manageable steps.

Understanding the Basics of Wood Textures
Before diving into the technical steps, it's essential to understand the basic components of wood textures. Wood textures are characterized by several key features, including grain patterns, knots, and surface irregularities. The type of wood—whether oak, pine, or cherry—also influences the look and feel of the texture. By knowing these factors, you'll be able to create a more realistic texture in Substance Designer. Wood also has a natural variation in color, with different grains and knots providing distinct aesthetic qualities.
In Substance Design, the goal is to create a texture that mimics these natural features, from the smoothness of the wood to the subtle imperfections that make it look authentic. With the right tools, this becomes an achievable task, and we’ll cover the steps for doing so in the next sections.
Setting Up Your Project in Substance Designer
The first step in creating a wood texture is setting up a new project in Substance Designer. Open the software and create a new graph. You will be working with a procedural node-based setup, where each node represents a different process or effect. Start by selecting the appropriate resolution for your project. For example, a 1024x1024 resolution is commonly used for game textures, but you can choose a higher resolution if you're working on detailed renders or other applications.
Once your graph is set up, the next step is to create a base material that will form the foundation of your wood texture. For wood, a simple, neutral base is ideal, as it will serve as a blank canvas for the grain patterns and other wood features you’ll add later.

Creating the Base Wood Grain Pattern
To create the wood grain, you’ll need to use a series of noise nodes to generate random patterns that mimic the organic flow of wood fibers. A commonly used technique for this is the "Perlin Noise" or "Simplex Noise" node, which creates subtle variations in a surface. You can combine these noises and tweak them using blending modes to achieve a realistic wood grain effect.
Adjusting the scale of the noise nodes is important—too large, and the grain will look unnatural; too small, and the grain will lack detail. Fine-tuning these parameters is crucial for getting the right level of detail in the grain. You can also apply a "Directional Warp" node to distort the grain pattern slightly, which simulates the natural curvature of wood fibers as they grow.
Adding Knots and Imperfections
A key feature of real wood is the presence of knots, which can add complexity and character to your texture. To add knots to your texture in Substance Designer, you can use a "Shape" node to create circular patterns that will act as the knots in the wood. You can modify the shape's scale, opacity, and distortion to make the knots look more organic.
In addition to knots, it’s essential to simulate other imperfections that are often found in wood, such as small cracks, scratches, and variations in texture. You can use additional noise and shape nodes to introduce these features. The goal here is to add subtle irregularities that will make your wood texture feel more natural and less "perfect."
Defining the Wood's Surface Detail
Once you’ve established the wood grain and knots, it’s time to focus on the surface detail. This involves adjusting the roughness, bump, and normal maps. The roughness map controls how shiny or matte the surface appears, which is especially important for materials like wood that may have varying levels of gloss depending on the finish.
For a more polished look, use a low roughness value to simulate smooth, polished wood. For rustic, unfinished wood, increase the roughness to give the surface a more matte appearance. You can also use a bump or normal map to create the illusion of depth, giving the wood texture a more tactile feel.
Adding Color Variations
Wood has natural color variations, ranging from light blond shades to dark brown hues. To replicate this in Substance Designer, you can use color nodes that blend different shades of brown, yellow, and red, reflecting the different types of wood. It’s also important to adjust the lighting settings in the software, as lighting can significantly affect how the texture appears in your final render.
Consider using the "Gradient Map" node to control the color range of your wood texture. This way, you can ensure that the wood looks more realistic by mimicking the way light interacts with the natural grain. You can also introduce subtle color shifts by adding noise to the color map, simulating the slight color variations often found in wood.
Applying Finishing Touches
After you’ve created the base texture, knots, and surface details, the next step is to refine the texture further. This may include adding more surface details like scratches, wear, or discoloration. These small features are important for creating a highly realistic wood texture, as they mimic the aging and wear that real wood undergoes over time.
You can use additional blending and noise nodes to simulate these effects, adjusting the intensity of each detail based on the look you’re aiming for. For example, for an antique wood look, you can add more wear and tear by simulating the effects of sunlight or moisture on the wood.
Exporting and Testing the Texture
Once you’re satisfied with your wood texture, it’s time to export it. Substance Designer allows you to export textures in various formats, including PNG, TIFF, and EXR. Depending on your project, you may need to export different texture maps, such as diffuse, normal, roughness, and specular maps.
It’s also essential to test your texture in your 3D software or game engine to ensure that it behaves as expected under different lighting conditions. This will help you identify any areas that need tweaking or refining before finalizing the texture for use in your project.
Creating a wood texture in Substance Design involves combining a variety of tools and techniques to simulate the natural characteristics of wood, such as grain patterns, knots, and imperfections. With a strong understanding of how wood behaves and the right procedural approach, you can craft highly detailed, realistic wood textures. By following the steps outlined in this article, you’ll be well on your way to producing textures that can enhance your 3D projects, whether for architecture or game design. If you’re looking to expand your library of textures and 3D models, be sure to check out Relebook’s collection, where you can download high-quality assets to take your creative projects to the next level.
FAQ
Can I use Substance Designer to create other types of textures besides wood?
Yes, Substance Designer is incredibly versatile and can be used to create a wide variety of textures, from stone and metal to fabric and skin. Its procedural node-based system allows for endless customization and experimentation.
How can I make my wood texture look more realistic?
To make your wood texture more realistic, focus on adding details like knots, imperfections, and color variations. Pay attention to the scale and orientation of the grain, and use proper lighting to bring out the texture’s features. Incorporating subtle noise and surface irregularities will also help.
What are some tips for optimizing my wood texture for use in real-time applications?
For real-time applications, such as video games, it’s important to optimize your textures to reduce their file size without sacrificing quality. Use lower-resolution maps when possible, compress textures, and focus on optimizing the normal and roughness maps for performance.
Can I use Substance Designer to create other materials like fabric or stone?
Yes, Substance Designer is ideal for creating a wide range of materials. Its procedural approach makes it easy to generate complex textures for a variety of surfaces, including fabric, stone, concrete, and even abstract patterns.

