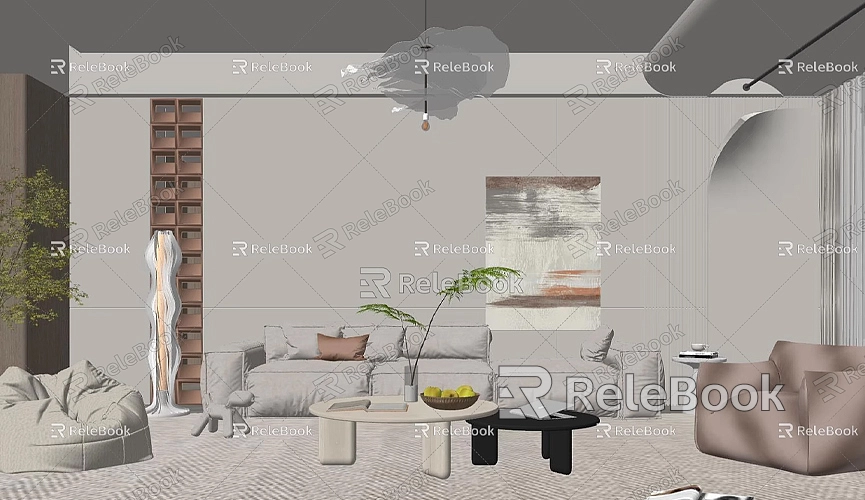
How to separate model sketchup
When working with SketchUp for modeling, you may encounter situations where you need to separate a complex model into multiple independent parts. This not only helps with better management and editing of the model but also reduces conflicts and improves team collaboration efficiency. This is especially important when handling large and intricate projects. Knowing how to split the different parts of a model while ensuring each part can be manipulated independently is a crucial skill for every SketchUp user.
In this article, we will explore various practical tips and methods for effectively separating models in SketchUp. Whether it's to enhance efficiency or improve team collaboration, these techniques will be highly beneficial.
Why Do You Need to Separate a Model

In many design projects, the complexity of the model increases over time. This is particularly true in fields like architectural design, urban planning, and interior design, where projects often contain multiple interconnected elements. Separating these parts into distinct components can make each part clearer and easier to manage, and also make the editing process more flexible. For example:
· In architectural design, walls, doors, windows, roofs, and floors may need to be modified independently. Separating these parts makes the process more manageable.
· In team collaboration, different designers can work on different sections of the project, avoiding interference with one another’s work.
· For complex models, separating parts can reduce the software’s workload, speeding up processing and improving responsiveness.
The benefits of separating a model are obvious, but it is important to determine whether and to what extent separation is necessary, depending on the specific needs of the project.
How to Separate a Model: Groups vs. Components
The most common method of separating a model in SketchUp is by using the "Groups" and "Components" features. While these two features may seem similar, they have distinct applications and purposes. Understanding the differences between them and choosing the appropriate one based on your needs can significantly improve your modeling efficiency.
Using the "Group" Feature
In SketchUp, the concept of "Groups" is essential. By grouping a set of geometric elements together, designers ensure that these elements stay together and do not interfere with other parts of the model. Once a group is created, the elements within it can be manipulated individually, and actions like moving, rotating, or scaling will only affect that group without altering the rest of the model.
· Creating a Group: Select a portion of the model, right-click, and choose the "Make Group" option. The selected part will now become a group. You can edit this group independently without affecting other parts of the model.
· Ungrouping: If you no longer need the group or want to make further edits to the individual elements, you can "Ungroup" it. This will return the group to its original state as individual elements.
While the "Group" function is great for separating parts of a model, it lacks the reusability that "Components" provide. Any changes made to one group will only affect that particular group; if you need to reuse the same element multiple times, you will need to create a new group each time.
Using the "Component" Feature
Compared to the "Group" function, the "Component" feature is more powerful, especially for handling repetitive elements in a model. A component is an element that can be duplicated multiple times, and all copies of the component are identical. More importantly, if you modify one component, all its copies will automatically update, making it ideal for elements that need to remain consistent throughout the design.
· Creating a Component: Select part of the model, right-click, and choose "Make Component." In the pop-up window, you can name the component, set its properties, and choose whether to save it to the component library.
· Editing a Component: Once you modify one component, all instances of it will automatically update. Whether it's a change in position, appearance, or size, all copies will synchronize.
Components not only help you separate and organize parts of the model but also ensure consistency and standardization, particularly when dealing with large numbers of repeating elements.

Other Methods of Separating a Model
While using "Groups" and "Components" is the most common way to separate models, there are more flexible or complex techniques that may be necessary in certain situations. Here are some additional methods for separating a model:
1. Using the "Hide" Function
Sometimes, you might not need to completely separate a model, but rather temporarily hide certain parts to focus on editing others. SketchUp's "Hide" function allows you to hide portions of a model without deleting them, making it perfect for scenarios where you need to switch between different parts of a model frequently.
· Hiding Elements: Select the part you want to hide, right-click, and choose "Hide." The hidden elements will not appear in the view, but they still exist in the model and can be displayed again at any time.
· Unhiding Elements: To make the hidden elements visible again, go to the menu bar and choose "View" > "Hidden Geometry" or press the shortcut "Shift + H."
This method is useful when you temporarily don't need to edit a part but don't want to delete it.
2. Using "Cut" and "Paste"
Another simple yet effective method for separating parts of a model is by using the "Cut" and "Paste" operations. This is useful when you want to move a part of a model from one file to another.
· Cutting a Part: Select the part you want to separate and use the shortcut "Ctrl + X" to cut it.
· Pasting the Part: Open a new SketchUp file and use the shortcut "Ctrl + V" to paste the cut part.
This method is especially helpful when you want to move part of a model to a different file or view, helping you organize elements across multiple files.
3. Using Plugins for Separation
SketchUp’s extension library contains many third-party plugins that can offer more precise and efficient model separation capabilities. For example, some plugins allow you to split a model into multiple parts based on specific rules or conditions, such as size, angle, or face count.
· Installing Plugins: You can download suitable plugins from the SketchUp Extension Warehouse or third-party websites. After installation, these plugins can be used within SketchUp to assist with model separation.
· Using Plugins to Split Models: Select the portion of the model you need to split and use the plugin’s options to automatically divide it. Depending on the plugin, you may be able to split based on proportions, face count, or other parameters.
This method is particularly useful when you need to split the model in a more detailed and automated way, improving both precision and efficiency in modeling.
Separating models is a common and essential operation in SketchUp. Whether you're working on complex design projects or collaborating in a team, properly separating models can significantly improve workflow efficiency and reduce errors. By using "Groups" and "Components" along with the "Hide," "Cut," and "Paste" operations, you can effectively manage and edit various parts of a model. Additionally, plugins can help you perform more detailed separations to meet more advanced design requirements.
Whether you're a beginner or an experienced designer, mastering these separation techniques will make you more proficient in SketchUp. If you need high-quality 3D textures and HDRI for your models and virtual scenes, you can download a wealth of resources for free from Relebook. If you need beautiful 3D models, visit Relebook to find a large selection of high-quality 3D resources to help you complete your projects.
By learning how to separate models effectively, you'll be able to manage, edit, and share your design projects more efficiently, ensuring each part can be independently operated and adjusted, ultimately achieving more precise and detailed designs.

