How to Create Textures in Blender
Creating textures in Blender is a technique that enhances the visual complexity of 3D model rendering through the use of textures and material properties. This process aims to increase the realism of models, aligning them more closely with our creative intentions. In Blender, various methods can be employed to create textures, including texture painting, node editor, importing texture images, procedural texture generators, and more.

Steps and Basic Process for Creating Textures in Blender:
1. Launch Blender: Open the Blender software and enter the workspace for creative work.
2. Select Base Shape: Choose a suitable base shape from Blender's library of basic shapes, serving as the starting point for creating your textures.
3. Create UV Mapping: Generate UV mapping for the selected base shape, a crucial step to ensure accurate mapping of texture images onto the model's surface.
4. Set Material Properties: In Blender's material editor, set the basic properties of the texture, including color, reflectance, transparency, etc., to impart fundamental characteristics to the texture.
5. Import Texture Images: Import pre-prepared texture images, such as photos, illustrations, or other graphic resources, serving as inspiration for creating textures.
6. Paint Textures: Utilize Blender's painting tools to start applying textures to the model's surface. Choose different brush materials and colors to achieve precise detailing on the model's surface.
7. Add Details and Depth: Gradually add details to the texture, adjusting the transparency and intensity of the brush to create a layered and deep texture.
8. Real-Time Preview: Use Blender's real-time preview feature to monitor the texture's effect on the model surface, ensuring it achieves the desired visual outcome.
Common Scenes Using Textures Created in Blender:
1. Simulated Wood Grain Flooring: By painting intricate wood grain details, create a simulated wood texture for the floor model, fostering a cozy home scene.
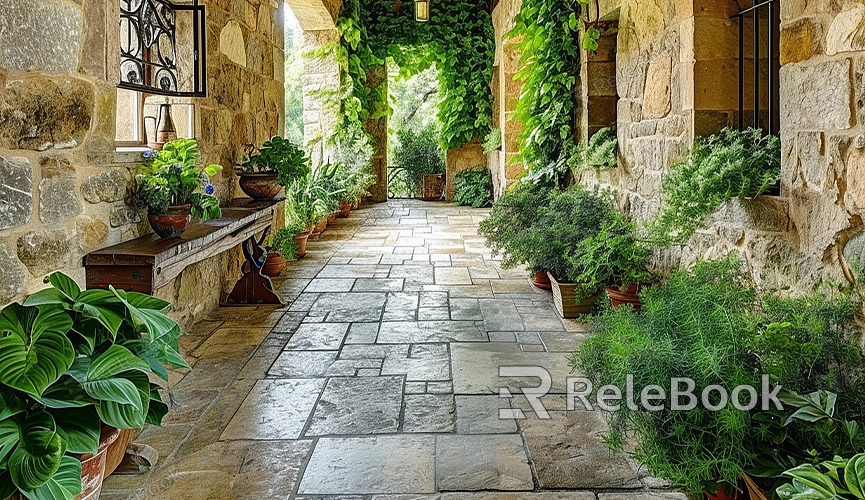
2. Stone Wall Texture: Develop a texture with a rough stone quality, adding a sense of historical wear to the wall, suitable for game or architectural scenes.
3. Metallic Appearance for Tech Devices: Employing specular reflection, create a texture simulating the metallic surface of tech devices, presenting a high-end, sleek appearance.
4. Bathroom Tile Effect: Paint tile details to make bathroom tiles appear realistic, providing a more authentic effect for interior design.
5. Night Sky Nebula: Create a nebula texture on a sphere model, using glow effects to evoke a sparkling night sky, suitable for sci-fi scenes.
6. Plant Leaf Details: Through meticulous strokes, paint texture details on plant leaves to make the plant model more realistic, suitable for outdoor scenes.
7. Water Ripple Effect: Add ripple details to a water model, using texture mapping techniques to simulate the shimmering effect on the water's surface, suitable for natural landscapes.
8. Vintage Artistic Texture: By creating unique textures, imbue an art model with a vintage, artistic quality, suitable for art creation scenes.
Creating textures in Blender involves utilizing various tools and techniques, including texture painting, node editor, importing texture images, procedural texture generators, etc. The choice of tools depends on the desired texture effect and the required level of complexity. If you need high-quality 3D textures, HDRI, or 3D model downloads, you can find them on Relebook. After downloading, simply import the textures and 3D models directly into your project for immediate use.

