how to photograph textures for 3d?
How to photograph textures for 3d? Texture photography is a crucial step in the realm of 3D modeling, providing the foundation for realistic and immersive digital environments. This comprehensive guide will walk you through the intricacies of photographing textures for 3D, covering essential techniques and considerations to elevate your material creation process.
1. Understanding the Importance of Texture Photography:
Texture photography serves as the backbone for 3D models, influencing the realism and visual appeal of rendered scenes. Recognizing the significance of high-quality texture images is the first step in creating compelling and authentic 3D environments.
2. Essential Equipment:
To capture textures effectively, ensure you have the right equipment. A high-resolution camera with manual settings, a sturdy tripod, and adequate lighting are essential. Consider using a macro lens for close-up shots to capture fine details.
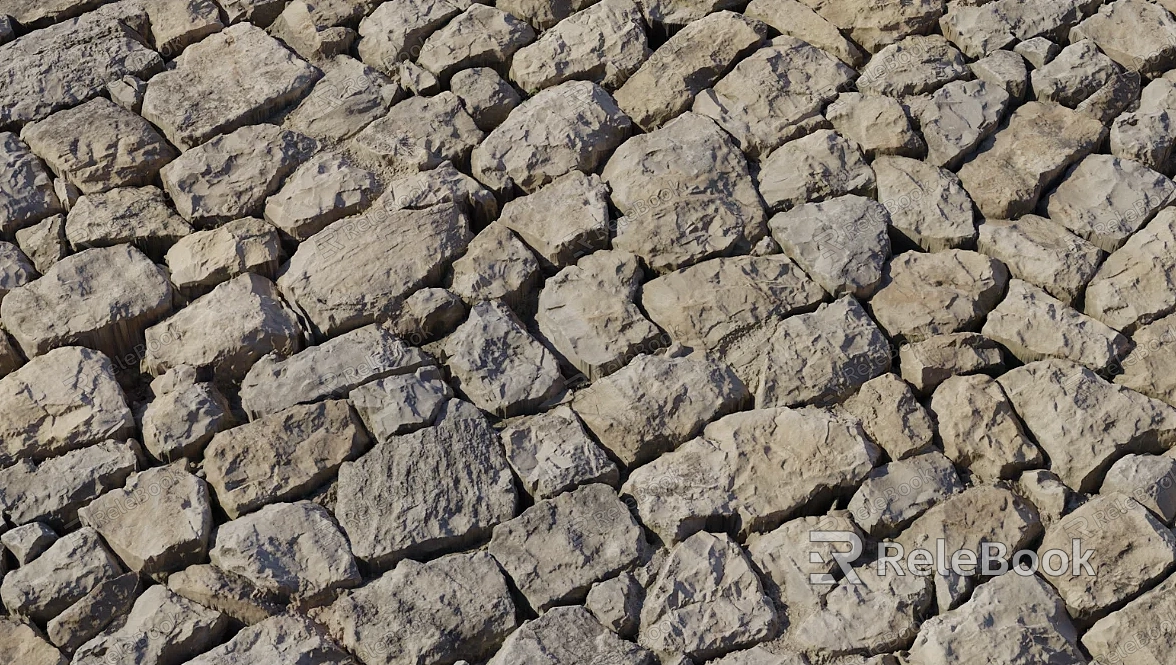
3. Choosing Texture Subjects:
Identify and select texture subjects that align with your 3D modeling project. Whether it's capturing the intricate details of stone, wood grain, or fabric patterns, choose textures that match the surfaces you aim to recreate in your digital models.
4. Lighting Considerations:
Lighting plays a crucial role in texture photography. Opt for diffused natural light or use artificial lighting to minimize harsh shadows. Experiment with lighting angles to highlight texture details and create depth in your photographs.
5. Capture in RAW Format:
Photograph in RAW format to retain maximum detail and flexibility during the post-processing stage. RAW files allow for greater control over exposure, color balance, and other adjustments when refining your texture images.
6. Utilizing Photogrammetry Techniques:
Consider incorporating photogrammetry techniques for capturing 3D information from your texture photographs. Photogrammetry software can transform your 2D images into detailed 3D models, providing an additional layer of realism to your textures.
7. Shooting Textures in Different Conditions:
Experiment with photographing textures in various lighting conditions and environments. Capture textures both in direct sunlight and shaded areas to obtain a diverse range of images. This variety will offer versatility when applying textures to different 3D scenes.
8. Maintaining Consistency:
If photographing multiple textures for a cohesive 3D environment, strive for consistency in lighting, framing, and color balance. This ensures a seamless integration of textures into your digital models, maintaining realism across the entire scene.
9. Post-Processing for Enhancement:
After capturing texture images, engage in post-processing to enhance details and correct any imperfections. Use software like Adobe Photoshop to adjust contrast, brightness, and color balance, ensuring the textures are optimized for 3D modeling.
10. Building a Personal Texture Library:
Create and curate a personal texture library over time. Organize your texture images systematically for easy retrieval, allowing you to build a diverse collection that can be applied across various 3D projects.If you need it, I recommend downloading 3D textures from Relebook. There is no better choice than this.
