how to texture 3d models in blender?
How to texture 3d models in blender? Blender, as a powerful 3D modeling software, offers a plethora of tools and functionalities for digital artists. This article delves into the detailed steps and practical techniques for adding textures to 3D models in Blender.
1. Preparation:
Ensure your 3D model is ready before diving into texture application. Check the UV mapping to guarantee proper mapping of textures onto the model's surface.
2. Gather Texture Resources:
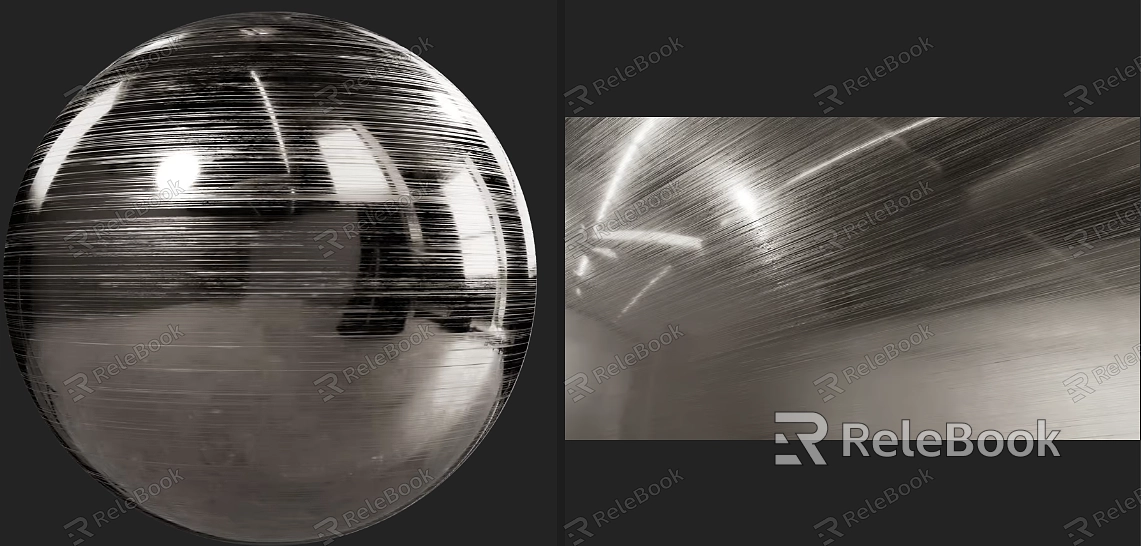
Select high-quality texture resources for a realistic final result. Textures could range from wood grain to metallic textures, depending on the project requirements.If you need it, I recommend downloading 3D textures from Relebook. There is no better choice than this.

3. Use Blender's Material Editor:
Open Blender and navigate to the Material Editor. Create a new material in the node system, making sure to select the appropriate rendering engine (such as Cycles or Eevee) for texture application.
4. Adjust UV Mapping:
Fine-tune UV mapping to ensure textures properly cover the model's surface. Utilize Blender's UV editing tools to adjust UV mapping to the desired state.
5. Add Image Nodes:
In the material node system, add image nodes and import the selected texture images. Connect the image nodes to the Diffuse or Principled BSDF node to make the texture influence the model's appearance.
6. Adjust Texture Scale and Rotation:
Adjust the texture scale and rotation as needed. Use the Mapping node to control texture tiling, rotation, and offset, ensuring a natural effect on the model's surface.
7. Multilayer Textures:
Blender supports using multiple texture layers on the same model. By using Mix Shader or Layer Weight nodes, multiple texture layers can be blended to apply different surface effects to different parts.
8. Real-Time Preview:
Take advantage of Blender's real-time preview feature to instantly see the effects of texture application. This helps in fine-tuning texture parameters to seamlessly integrate them into the model's surface.
9. Consideration of Lighting and Shadows:
Consider the impact of lighting settings on textures. Adjust the position and intensity of lights to highlight texture details, and observe how shadows affect surface effects.
10. Rendering and Exporting:
After completing texture application, use Blender's rendering engine for the final render. Adjust necessary parameters in the rendering settings and export the final rendered images.

