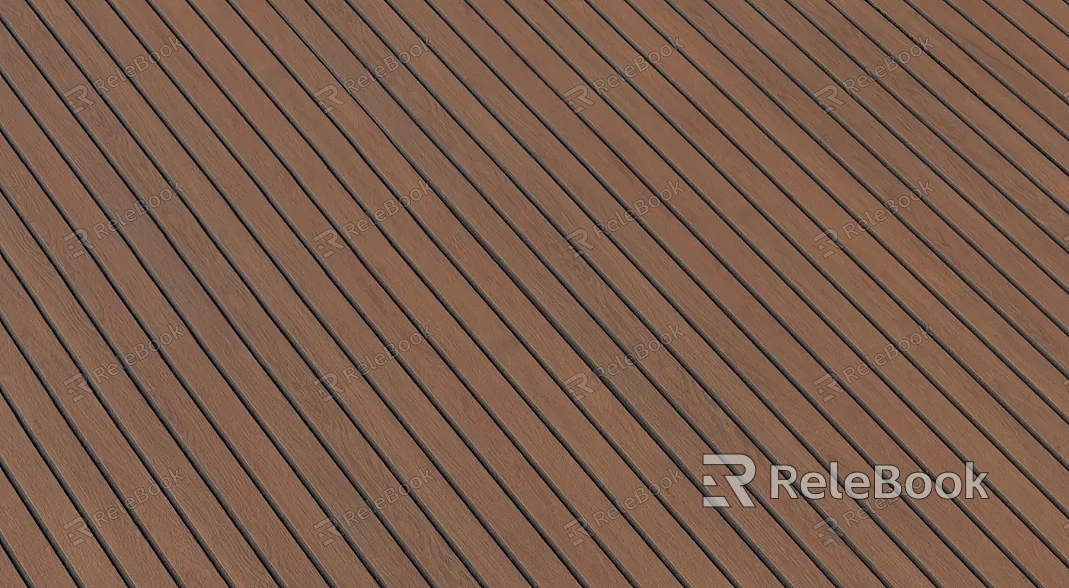
How to use wood texture in Blender?
How to use wood texture in Blender? The application of wood textures in Blender can elevate the realism and captivating appeal of your 3D models. In this detailed guide, we will delve into the intricacies of using wood textures in Blender, enhancing the vibrancy of your digital art creations.If you need it, I recommend downloading 3D textures from Relebook. There is no better choice than this.
1. Preparation:
Ensure your 3D model is prepared, with correct UV mapping for precise texture mapping on the model's surface.

2. Gather Wood Texture Resources:
Explore high-quality wood texture images on websites like Texture Haven or Poliigon, ensuring they align with the requirements of your project.
3. Importing Wood Texture:
Open Blender and navigate to the "Shader Editor" workspace. Import the chosen wood texture image into the "Image Texture" node.
4. Adjust UV Mapping:
In the "UV Editing" workspace, check and adjust UV mapping for accurate texture mapping, ensuring a natural effect on the model.
5. Create a New Material:
In the "Shader Editor," create a new material and connect the "Image Texture" node to the "Base Color" input of the "Principled BSDF" shader.
6. Adjust Scaling and Mapping:
Use the "Mapping" node to adjust the scaling, rotation, and position of the wood texture, ensuring a realistic appearance on the model's surface.
7. Fine-Tune Color and Roughness:
Utilize the "Hue/Saturation" node to fine-tune the color of the wood texture. Adjust roughness to simulate surface characteristics of wood.
8. Add Bump or Normal Mapping (Optional):
For enhanced detail, consider adding a bump or normal map to simulate texture depth. Connect it to the "Normal" input of the "Principled BSDF" shader.
9. Lighting Adjustments:
Consider the impact of lighting, adjusting the position and intensity of light sources to highlight the details and features of the wood texture.
10. Real-Time Preview:
Take advantage of Blender's real-time preview feature to instantly assess the effects of texture application, facilitating adjustments and optimizations.
11. Rendering and Exporting:
After finalizing texture adjustments, use Blender's rendering engine for the ultimate render. Export the model as needed.
By following these steps, you can seamlessly incorporate wood textures in Blender, enhancing the authenticity and visual appeal of your digital art creations.

