How to Turn an Image into a 3D Model
In the realm of 3D art and modeling, converting flat images into 3D models is a common requirement and skill. This transformation expands the possibilities of your design work, allowing you to transform 2D concepts into three-dimensional forms. This article will introduce you to the simple steps of using existing tools and techniques to convert images into 3D models.
1. Select an Appropriate Image
First, you need to choose a suitable image as the object you want to convert. This image can be a hand-drawn sketch, a photo, a sketch, or any other type of image. Ensure that the selected image is clear, simple, and contains the object or shape you want to convert.
2. Prepare the Image in 2D Drawing Software
Before converting the image into a 3D model, you may need to do some preparation work in 2D drawing software. Adjust the image's size, color, contrast, etc., to ensure clarity and quality.
3. Import the Image into 3D Modeling Software
Next, import the prepared image into your preferred 3D modeling software. Blender, Maya, 3ds Max, etc., are common choices. In the software, you can import the image as a background image or texture and adjust its size and position as needed.
4. Create Basic Geometric Shapes
In most cases, converting an image into a 3D model requires using basic geometric shapes for modeling. Depending on the image's content and shape, choose appropriate basic geometric shapes such as cubes, spheres, cylinders, etc., and create these shapes in the software.
5. Model Using Reference Images
During the modeling process, you can use the image as a reference to adjust and deform basic geometric shapes based on the image's contours and features, gradually building a 3D model similar to the image. This process may require some patience and skill, but with practice, you will gradually master the technique.
6. Add Details and Textures
Once the basic shape modeling is complete, you can start adding details and textures to make the 3D model more realistic and refined. Based on the image's details and features, use the software's drawing tools and texture mapping to add color, texture, and surface effects to the model.
7. Adjust and Optimize the Model
After modeling and texturing, you can further adjust and optimize the model to meet your needs and requirements. For example, adjust the model's shape, structure, and proportions, optimize the model's topology and face count to improve rendering efficiency and performance.
8. Export and Render
Finally, export the completed 3D model to the desired format, such as OBJ, FBX, STL, etc., for use in other software or for rendering. Before exporting, ensure that export parameters are set correctly and choose the appropriate file format and options.
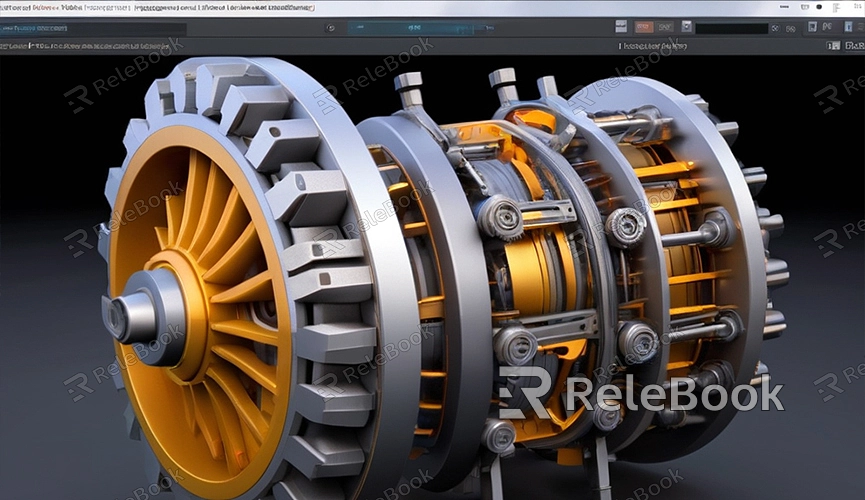
Through these simple steps, you can convert flat images into 3D models, adding more possibilities and creativity to your design work. Although this process may require some skill and practice, with your continued experimentation and practice, you will gradually master this skill and create stunning 3D model works. If you need high-quality 3D textures, HDRI, or downloadable 3D models while creating models and virtual scenes, you can download them from Relebook and import them directly into your models for use.
