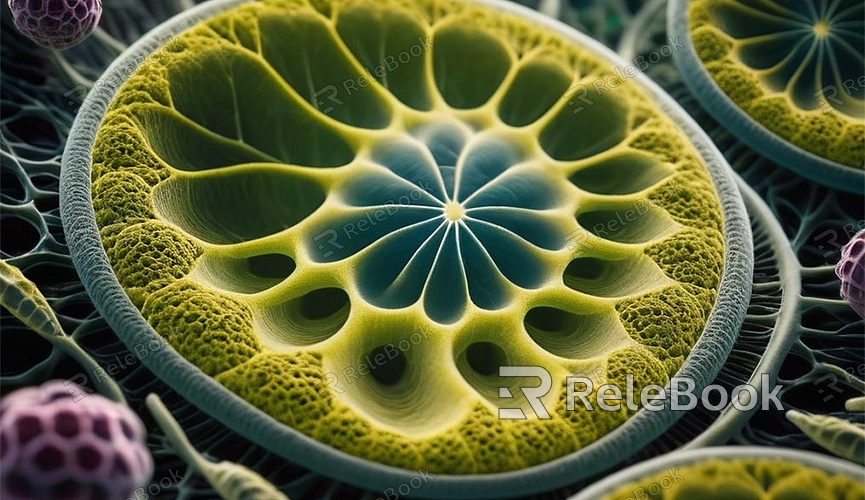
How to Make an Animal Cell 3D Model
Creating a 3D model of an animal cell is not only a fun way to learn biology but also helps you better understand cell structure. Whether you're a student, teacher, or 3D art enthusiast, knowing how to create such a model can be very beneficial. This article will introduce how to use Blender, a powerful 3D modeling software, to make an animal cell 3D model.
Preparation
Before you begin, you'll need to do some preparation:
1. Install Blender: Make sure you have Blender software installed. If not, you can visit the Blender official website to [download](https://www.blender.org/download/) and install it.

2. Familiarize Yourself with Cell Structure: Understand the basic structure of an animal cell, such as the cell membrane, cytoplasm, nucleus, mitochondria, Golgi apparatus, etc.
3. Collect Reference Materials: You can search online for some images and 3D models of animal cells as references, which will help you create the model more accurately.
Steps to Create the Cell Model
1. Open Blender and Set Up the Scene
Launch Blender and create a new project. In the default scene, delete any unnecessary objects, such as the default cube (select object and press X to delete).
2. Create the Cell Membrane
1. Add a Sphere: Press Shift + A, select "Mesh" -> "UV Sphere" to add a sphere. This sphere will serve as the cell membrane.
2. Adjust Size: Press S to scale the sphere to make it look like a cell membrane.
3. Create the Cytoplasm
1. Duplicate the Sphere: Select the cell membrane sphere, press Shift + D to duplicate a new sphere, and press Enter to confirm.
2. Scale Down the Sphere: Press S to scale down the duplicated sphere slightly smaller than the cell membrane. This sphere will represent the cytoplasm.
4. Create the Nucleus
1. Add Another Sphere: Again, press Shift + A, select "Mesh" -> "UV Sphere" to add a new sphere. This sphere will serve as the nucleus.
2. Adjust Size and Position: Press S to scale down the sphere to be smaller than the cytoplasm. Then press G to move the sphere and place it in the center of the cytoplasm.
5. Add Other Organelles
You can create other organelles using similar methods, such as mitochondria, Golgi apparatus, endoplasmic reticulum, etc. Here's an example:
1. Create Mitochondria:
Press Shift + A, select "Mesh" -> "UV Sphere".
Press S to scale down the sphere and G to move it to the appropriate position within the cytoplasm.
To make it look more like mitochondria, you can use proportional editing (O key) in edit mode (Tab key) to stretch and adjust its shape.
2. Create Golgi Apparatus:
Press Shift + A, select "Mesh" -> "Cube".
Press S to scale down the cube and G to move it, placing it within the cytoplasm.
In edit mode, select vertices and use the extrude tool (E key) to create the unique shape of the Golgi apparatus.
6. Apply Materials and Textures
1. Add Material to the Cell Membrane:
Select the cell membrane, go to the material panel (the small sphere icon in the right properties panel).
Click the "New" button to create a new material. You can adjust the "Base Color" to set the color of the cell membrane.
2. Add Materials to Other Organelles:
Follow the above method to add materials to the cytoplasm, nucleus, and other organelles, setting different colors and glossiness to distinguish each part.
7. Set Up Lights and Camera
1. Add Lights:
Press Shift + A, select "Light" -> "Point" to add a point light source.
Move and adjust the position and intensity of the light to ensure the model is well illuminated.
2. Set Up Camera:
Select the default camera, press G to move the camera and R to rotate it to find a suitable view.
Press 0 to switch to camera view and confirm if the camera position is appropriate.
8. Render the Model
1. Choose Rendering Engine:
In the right properties panel, select the "Render Properties" tab (the small camera icon), and set the rendering engine to "Cycles" or "Eevee".
2. Adjust Rendering Settings:
Set sampling numbers, ray tracing, and other rendering parameters to ensure the quality of the final image.
3. Start Rendering:
Press F12 to start rendering. After rendering is complete, you can view and save the image in the image editor (Image -> Save).
By following these steps, you can create a detailed animal cell 3D model in Blender. This is not only a fun project but also helps you better understand the structure and function of cells. If you need high-quality 3D textures, HDRI, or 3D model downloads while creating models and virtual scenes, you can download them directly from Relebook and import textures and 3D models into your project for use.

