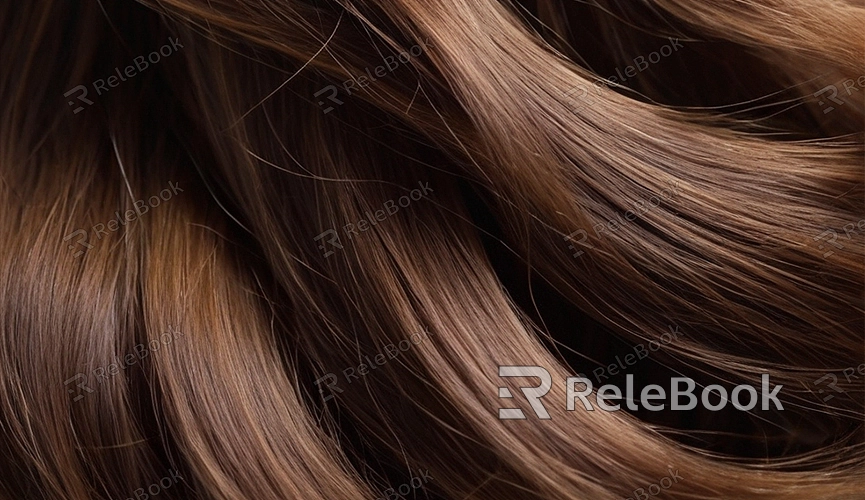
C4D How to Change Your Hair Texture
In 3D modeling and animation, hair texture is one of the significant factors affecting the appearance and overall effect of a character. Cinema 4D (referred to as C4D), as a powerful 3D software, offers a variety of features to create and edit hair textures. In this article, we will provide a detailed explanation of how to change hair textures in C4D to make your characters more vivid and realistic.
What is Hair Texture?
Hair texture refers to the images or materials used to simulate the appearance of a character's hair. In C4D, hair textures can include multiple attributes such as color, glossiness, and transparency, and adjusting these attributes can achieve different visual effects.

Steps to Change Hair Texture
Step One: Create or Import Hair Object
The prerequisite for changing hair texture in C4D is to have a hair object created or imported. If you don't have a hair object, you can create one with the following steps:
1. Open the C4D software and select your character object.
2. In the menu bar, click "Simulate" > "Hair Objects" > "Add Hair."
3. The system will automatically generate a set of default hair.
Step Two: Open the Material Editor
After the hair object is created, you need to open the Material Editor to adjust the hair texture:
1. Select the hair object and open the "Material Manager."
2. Double-click the hair material sphere to open the "Material Editor."
Step Three: Adjust Hair Color
In the Material Editor, you can adjust the basic color of the hair:
1. On the left side of the Material Editor, find the "Color" tab.
2. Click the color box, choose the color you need, or import a color texture.
Step Four: Add Textural Details
To make the hair look more realistic, you can add some detailed textures, such as glossiness, transparency, and roughness:
1. Specular: In the Material Editor, find the "Specular" tab. Adjusting the glossiness and highlight intensity can make the hair look more textured under lighting.
2. Transparency: Find the "Transparency" tab and adjust the transparency parameters to make the hair appear more natural and light.
3. Roughness: In the "Reflectance" tab, adjust the roughness parameters to make the hair surface look more realistic.
Step Five: Use Textures
Using textures can greatly enhance the realism of the hair. You can import various textures in the Material Editor, such as color maps, normal maps, and bump maps:
1. Color Map: In the "Color" tab, click the "Texture" button, select "Load Image," and import your prepared color map.
2. Normal Map: In the "Normal" tab, import a normal map to add detail and depth to the hair.
3. Bump Map: In the "Bump" tab, import a bump map to make the hair surface more realistic.
Step Six: Render Preview
After completing all adjustments, you can perform a render preview to check the effect of the hair texture:
1. Set up the lighting and camera position.
2. Click the "Render View" button to preview.
3. If the effect is not satisfactory, you can return to the Material Editor and continue adjusting.
Tips
- Use high-quality textures: High-quality textures can significantly enhance the visual effect of the hair.
- Adjust lighting settings: Proper lighting settings can enhance the texture and layering of the hair.
- Fine-tune parameters: Fine-tuning various parameters can achieve a more satisfactory result.
By following the above steps, you can easily change hair textures in C4D, thereby enhancing the realism and appeal of the character. Remember, experimenting with different parameter settings and texture combinations can help you find the best effect. If you need many high-quality 3D textures and HDRIs, or 3D model downloads when creating models and virtual scenes, you can download them from Relebook. After downloading, simply import the textures and 3D models directly into your model for use.

