How to Render in Blender Video Editing
Blender is a robust open-source 3D modeling and video editing software widely used in animation, game development, and visual effects. When using Blender for video editing, understanding how to render correctly is crucial. This article will guide you through the steps and techniques for video editing and rendering in Blender, helping you efficiently complete your video productions.
Blender Video Editing Basics
Blender isn't just a powerful 3D modeling tool; it also features a powerful built-in Video Sequence Editor (VSE) suitable for basic video editing tasks. Through the VSE, you can edit videos, add audio, and apply effects.
1. Open the Video Sequence Editor
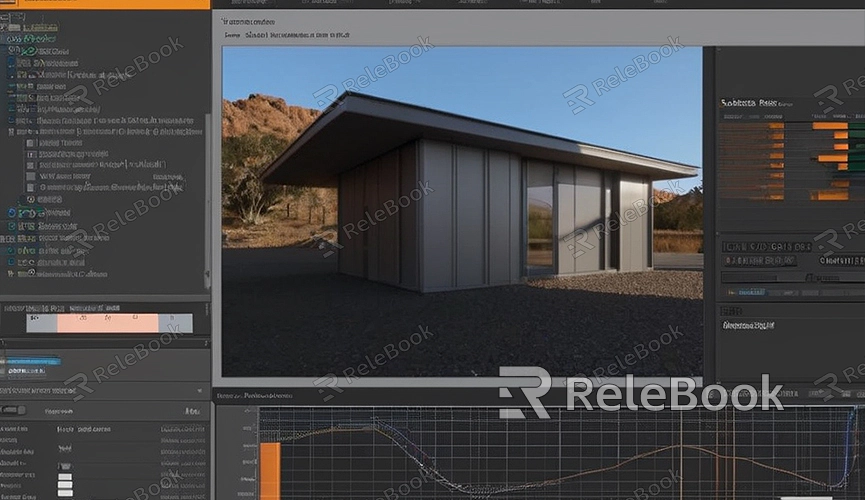
Upon launching Blender, the default interface is the 3D view. You need to switch to the Video Sequence Editor:
1. From the top menu bar, select the "Video Editing" layout.
2. The interface will switch to video editing mode, featuring a timeline, preview window, and properties panel.
2. Import Video and Audio Assets
Before you start editing, import your video and audio assets:
1. Right-click in the timeline area, select "Add" -> "Movie" or "Audio."
2. Browse your file system and select the media you want to import.
3. Edit the Video
Once assets are imported, you can begin editing your video:
1. Cut and trim: Select clips, use the "K" key to cut, and drag edges to adjust clip lengths.
2. Add transitions: Right-click between clips, select "Add" -> "Effect Strip" -> "Cross" or other transitions.
3. Adjust audio: After importing audio, adjust volume and effects in the properties panel.
Rendering in Blender
After editing, the next step is rendering. Blender offers various rendering settings to ensure you can output high-quality video files.
1. Set Render Output
Before rendering, configure output parameters:
1. Click on the "Output Properties" icon in the top menu bar.
2. In the "Output" tab, set the output path and file format (e.g., FFmpeg video).
3. In the "Encoding" tab, choose a video codec (e.g., H.264), and set bitrate and quality parameters.
2. Configure Render Settings
Next, configure render settings:
1. In the "Render Properties" panel, select the rendering engine (usually "Eevee" or "Cycles").
2. Set resolution, frame rate, and sampling.
3. Ensure "Video Sequence Editor" option is enabled to include all video editing content.
3. Start Rendering
Once everything is set up, you can start rendering:
1. From the top menu bar, select "Render" -> "Render Animation."
2. Blender will begin rendering the video; progress will display in the window. Once rendering is complete, the video file will be saved to your specified output path.
Tips for Enhancing Rendering Efficiency
Rendering is computationally intensive, and improving efficiency can save significant time. Here are some practical tips:
1. Use GPU Acceleration
If your computer has a high-performance GPU, enable GPU acceleration in Blender:
1. In the "Render Properties" panel, select the "Cycles" rendering engine.
2. Under the "Device" options, choose "GPU Compute."
3. Ensure your GPU is enabled in "Preferences" -> "System."
2. Reduce Sampling
Appropriately lowering sampling can significantly reduce rendering time, though it may impact quality. Adjust sampling based on your needs to find a balance between performance and quality.
3. Optimize Scene and Materials
Reduce unnecessary high-polygon models and complex materials. Use low-polygon models and simpler materials to decrease rendering load and increase speed.
Blender is a powerful tool for video editing and rendering. By correctly setting up and optimizing your project, you can efficiently create high-quality video productions. We hope the steps and techniques provided in this article help you smoothly navigate video editing and rendering in Blender. If you have any questions or experiences to share, feel free to leave a comment for further discussion and learning.
