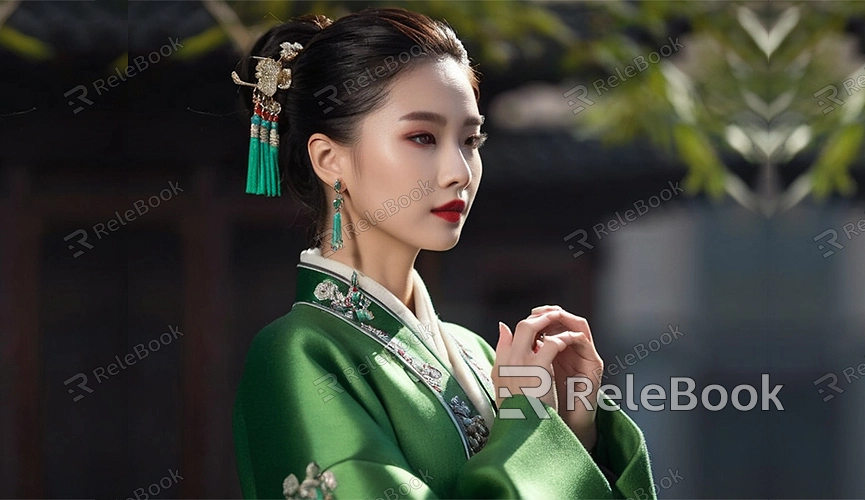
How to Add Clothes to a 3D Model
In the world of 3D modeling, adding clothes is an important and exciting process. Whether you're a game developer, an animator, or simply a 3D modeling enthusiast, dressing your model in appropriate clothing can greatly enhance the quality and realism of your work. This article provides a detailed guide on how to add clothes to a 3D model, helping you to better realize your creative vision.
1. Preparation
Before adding clothes to a 3D model, there are some preparations to be made. First, ensure your 3D modeling software is installed and running smoothly. Common software options include Blender, Maya, and 3ds Max. Secondly, make sure you have a ready-made 3D model. If not, you can download a model from online repositories.

2. Choose the Right Tools
Choosing the right tools is key to success. Blender, a free and powerful 3D modeling software, offers numerous plugins and tools to easily add clothes to models. Maya and 3ds Max are also excellent choices, widely used in the film and gaming industries with rich resources and support.
3. Create the Base Clothing Model
Before creating clothing, it's essential to understand the basic structure of the 3D model. Most 3D models are composed of polygons, allowing you to add, delete, or modify polygons to create clothing.
In Blender, use the "Mesh Modeling" tools to create a basic clothing model. First, select the part of the model where you want to add clothing. Then, use the "Extrude" tool to create a new polygonal face that will form part of the clothing. Next, use the "Scale" tool to adjust the size and shape of the clothing, ensuring it fits well with the model.
4. Detailing
After creating the basic clothing model, it's time to add details. This step is crucial as it defines the final look. You can use Blender's "Sculpting" tools to finely adjust the clothing, adding folds and details to make it look more realistic.
During detailing, pay attention to collision issues between the clothing and the model. Use the "Collision Detection" tool to identify and correct these issues, ensuring the clothing naturally conforms to the model.
5. Texturing and Materials
Once the clothing's shape and detailing are complete, you can add textures and materials to enhance realism and visual appeal. You can download high-quality 3D textures and materials online or create your own.
Blender provides robust material editing tools. Use the "Node Editor" to create complex material effects. First, select your clothing model, then add a new material in the material panel. In the "Node Editor," add different nodes to control properties like color, reflectivity, and transparency.
6. Rendering and Exporting
After all design and adjustments are complete, render and export your model. Rendering transforms the 3D model into a 2D image, allowing you to see the final result more intuitively. In Blender, you can use the "Cycles" or "Eevee" renderers to render your model.
During rendering, adjust lighting and rendering parameters for the best results. Once rendered, export your model in common 3D file formats such as OBJ or FBX for use in other software.
7. Utilizing Relebook Resources
During the process of creating clothing, if you need high-quality 3D textures, HDRI, or downloadable 3D models for creating models and virtual scenes, you can download them from Relebook. Relebook offers a wealth of resources to greatly enhance your work efficiency and quality of your creations.
Adding clothes to a 3D model requires patience and skill, but once you master the basics, you can easily dress your models in beautiful outfits. I hope this article helps you on your journey of 3D modeling, and wish you success in creating stunning works. If you need high-quality 3D textures, HDRI, or downloadable 3D models, you can download them from Relebook for use in your projects.

