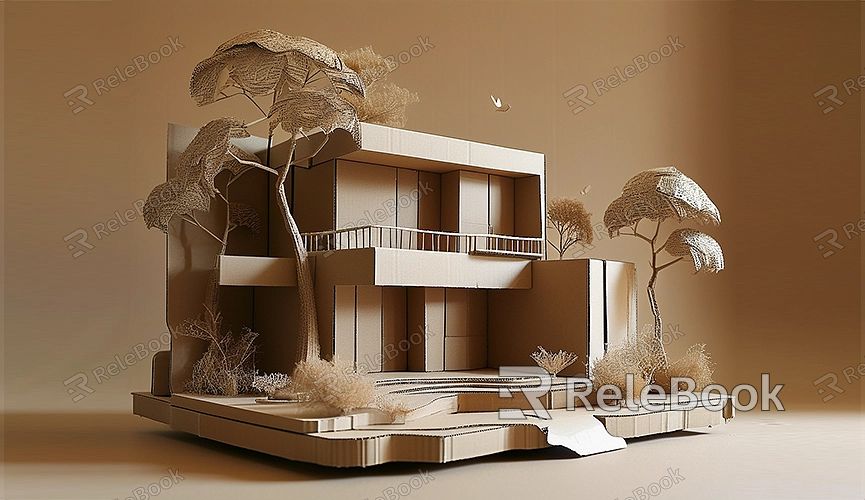
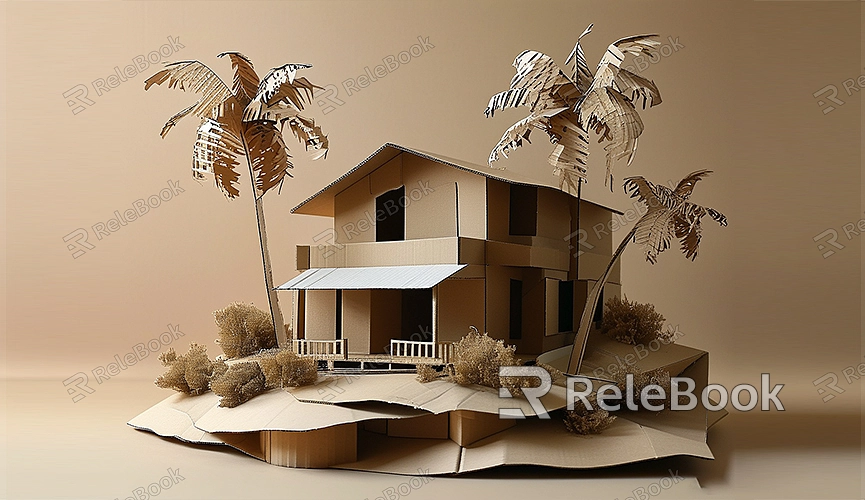
How to Make 3D Models with Cardboard
There are many ways to create 3D models, and using cardboard is a fun and cost-effective method. Whether you’re a model enthusiast, an artist, or a DIY hobbyist looking to bring your ideas to life, cardboard can be an ideal material for your projects. This article will guide you through the process of making 3D models with cardboard, helping you easily realize your creative visions.

Choosing the Right Cardboard
The first step in creating a 3D model is selecting the appropriate cardboard material. Generally, the following types of cardboard are well-suited for model making:
1. Corrugated Cardboard: This type of cardboard is durable and strong, making it suitable for larger and more complex models.
2. Thick Cardboard: Thick cardboard is ideal for small or detailed models because it is relatively rigid and helps maintain shape.
3. Foam Board: This lightweight and easy-to-cut cardboard is perfect for lighter models and detailed carving.
Designing and Planning Your Model
Before you start building, designing and planning your model is crucial. You can sketch your ideas on paper or use computer drawing software for design. Here are some key points for designing and planning:
1. Determine Model Dimensions: Based on the actual size of the model you want to create, decide on the size of the cardboard and cutting methods.
2. Draw Detailed Plans: Create detailed drawings of each part of the model to ensure accurate dimensions and shapes.
3. Decompose the Model: Break down the model into several manageable parts and build them one by one.

Cutting and Assembling the Cardboard
The process of making a cardboard model mainly involves cutting and assembling. Here’s how to do it:
1. Prepare Tools: You’ll need basic tools like scissors, a craft knife, a ruler, and a pencil. For more precise cuts, you can use a cutting mat.
2. Mark and Cut: Mark the cutting lines on the cardboard according to your design plans. Use the craft knife to cut along these lines, ensuring clean and even edges.
3. Assemble the Model: Put together the cut cardboard pieces according to your design. You can use glue, tape, or hot glue to secure the parts. Make sure each part is firmly connected during assembly.
Reinforcing and Adding Details
After completing the basic cardboard model, you can reinforce and add details to enhance durability and appearance:
1. Reinforce the Structure: For parts of the model that need to withstand pressure, add extra layers of cardboard inside to strengthen them.
2. Fill Gaps: Use paper tape or papier-mâché to fill in gaps and uneven areas on the model.
3. Surface Treatment: Paint the model with acrylic paints or spray paint to improve its visual appeal. For better painting results, apply a primer before painting.
Finishing and Displaying the Model
Once your model is complete, you can refine details and prepare it for display:
1. Add Decorations: Enhance the model with small accessories or decorative items, such as plastic pieces, fabric, or other embellishments.
2. Create a Display Stand: To showcase your model, make a display stand or base to keep it securely in place.
3. Protect the Model: If the model needs to be preserved for a long time, use a clear protective cover or packaging materials to protect it from dust and damage.
Making cardboard 3D models is not only an enjoyable creative process but also helps develop your hands-on skills and creative thinking. If you need high-quality 3D textures, HDRIs, or 3D model downloads for creating models and virtual scenes, you can download them from Relebook and import the textures and models directly into your projects. These tips will help you enhance the quality of your cardboard models and create impressive 3D works!

