How to Add HDR in Blender
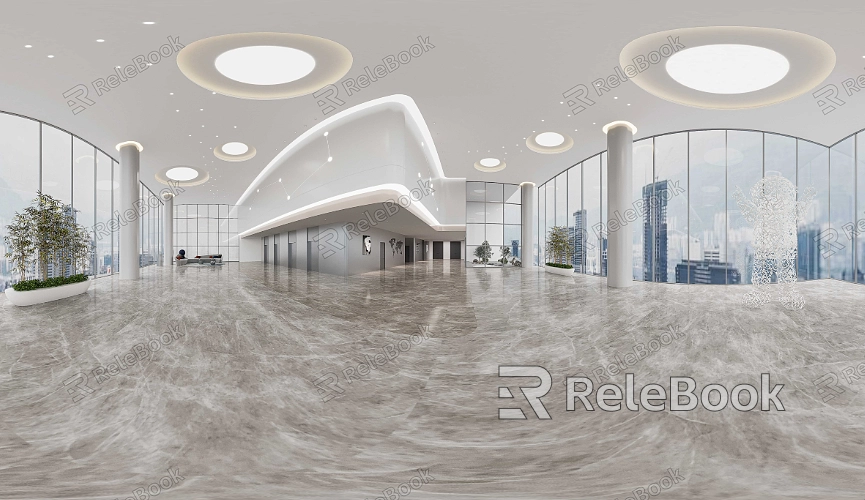
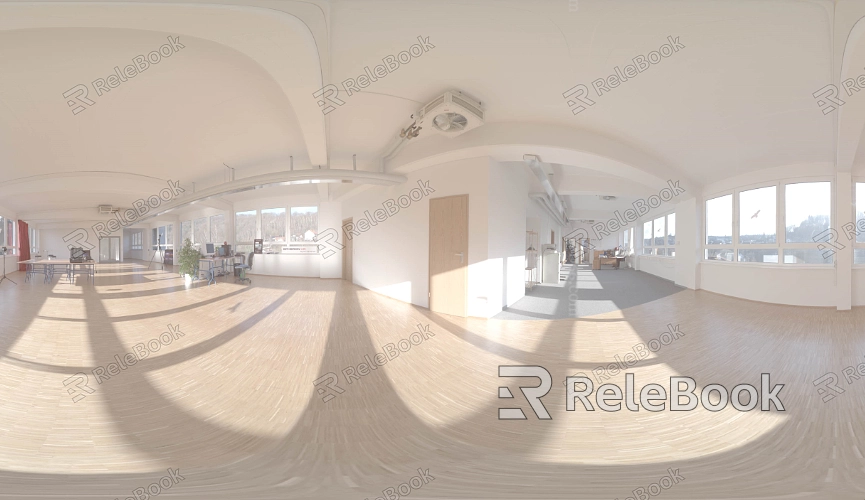
Using HDR in Blender is common for interior, object, and model rendering because it enhances lighting realism, adds detail richness, and provides natural environmental lighting, making the renderings more realistic and vibrant.This guide will walk you through the steps and techniques for incorporating HDR into your Blender projects, helping you elevate the quality of your designs.
1. Choosing the Right HDR Image
The first step in adding HDR to Blender is selecting an appropriate HDR image. This image is fundamental to achieving the desired lighting effects, and its quality and characteristics will significantly impact the final render.
Image Source: High-quality HDR images can be obtained from professional resources such as HDRI Haven. When choosing an image, ensure it offers a broad range of lighting and captures detailed aspects of the scene.
Image Format: Blender supports various HDR formats, with EXR and HDR being the most common. Select the format that best fits your workflow and project requirements, ensuring smooth integration and application in Blender.
2. Adding HDR Environment Mapping in Blender
Once you’ve selected the HDR image, you can apply it within Blender’s environment to achieve a panoramic lighting effect.
Open Shader Editor: In Blender, navigate to the Shader Editor. In the World Material section, add an “Environment Texture” node.
Load HDR Image: Load your chosen HDR image into the Environment Texture node and connect it to the Background node. This step applies the HDR image as the environmental light source across the entire scene.
Preview the Effect: Use Blender’s render preview to view the impact of the HDR image on the lighting, ensuring it meets the needs of your scene.
3. Adjusting HDR Brightness and Intensity
After applying the HDR image, fine-tuning its brightness and intensity is crucial to achieve the optimal lighting effect.
Intensity Adjustment: In Blender’s World Properties panel, adjust the Strength slider to control the intensity of the HDR lighting. Different scenes may require varying intensity settings to maintain a natural and balanced light distribution.
Exposure Settings: If the lighting appears too bright or too dark, tweak the Exposure settings to balance the overall brightness. This adjustment ensures that shadows and highlights in your scene are harmoniously aligned.
4. Integrating HDR with Blender’s Lighting and Shadow Settings
In Blender, HDR effects are not solely dependent on environment maps; they can be combined with other lighting and shadow settings to further refine the render.
Adding Additional Light Sources: While HDR images provide comprehensive lighting, you might need to add extra lights to emphasize certain areas or create more dramatic shadows in specific regions.
Shadow Settings: In the Render Settings, fine-tune the softness and strength of shadows to match the HDR lighting effect. This step is crucial for enhancing the depth and realism of the scene.
5. Optimizing Render Settings
Once the HDR effect has been applied and adjusted, the final step is to optimize the render settings to ensure high-quality output.
Resolution and Sampling: Choose an appropriate resolution and sampling rate in Blender’s Render Settings to balance render time and output quality. Higher resolution and sampling rates will capture more lighting details but may increase rendering time.
Color Management: In the Color Management settings, select the appropriate color space and contrast curve to ensure that the final render meets the project’s color standards and visual style.
Understanding how to add HDR in Blender and make precise adjustments is a critical step in enhancing the rendering quality of your 3D modeling projects. By selecting the right HDR images, fine-tuning lighting and shadow settings, and optimizing your render settings, you can easily create more vibrant and realistic virtual scenes. If you’re looking for high-quality HDR images, 3D textures, SketchUp models, or 3ds Max models to enrich your projects, Relebook offers a vast selection to help you achieve outstanding visual effects in your work.
