How to Add 3D Texture in Blender
Adding 3D textures in Blender is a crucial step in 3D modeling and rendering, significantly enhancing the detail and realism of your models. This article will walk you through the effective process of adding 3D textures in Blender, helping you streamline your workflow and achieve higher-quality renders.
1. Preparation
Before you start adding 3D textures, ensure that your model is fully created and that the UV mapping is complete. These steps are essential for the correct application of textures.
UV Mapping: Make sure your model’s UVs are properly unwrapped so that the textures can be accurately mapped onto the surface. Blender provides various UV unwrapping tools, so it's important to choose the method that best suits the shape of your model.
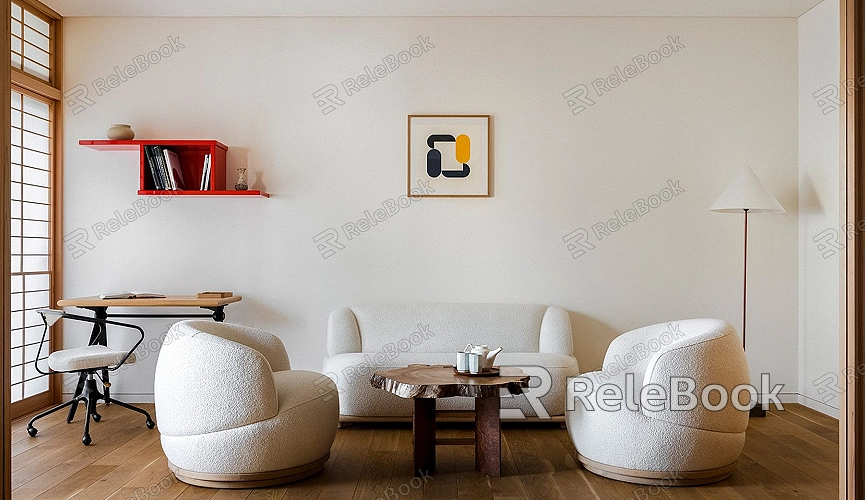
Choosing the Right Texture: Select the appropriate texture file based on your model’s requirements. Textures can be in common formats like JPEG or PNG, or more advanced PBR (Physically Based Rendering) materials for finer detail.
2. Importing Textures
Importing 3D textures is a vital step in applying materials to your model. Blender offers an intuitive interface for handling texture imports.
Creating a Material: In the materials panel, create a new material and add a base color map. The base color map is the core of the 3D texture, determining the overall appearance of the model.
Adding Additional Texture Maps: Beyond the base color map, you can add normal maps, displacement maps, and metallic maps. These maps work together to define the model’s details, surface relief, and reflectivity.
3. Setting Up the Node System
Blender uses a node-based system to control the appearance of materials. By tweaking the node settings, you can better manage how textures are applied to your model.
Basic Node Setup: Add an "Image Texture" node to your material and connect it to the "BSDF" shader’s input. This step applies the texture to the surface of your model.
Normal Map Node: To enhance the detail on your model, add a "Normal Map" node and connect it to the BSDF shader’s normal input. Normal maps simulate depth and texture without increasing the polygon count of your model.
Adjusting UV Coordinates: Sometimes, you may need to fine-tune the UV coordinates to ensure the texture fits perfectly on your model's surface. Blender's node system allows you to adjust the UV coordinates flexibly.
4. Texture Adjustments and Optimization
After applying the textures, further adjustments and optimizations are necessary to ensure the final result is detailed and realistic.
Adjusting Scale and Tiling: Depending on the size and detail requirements of your model, adjust the scale and tiling of the texture. A texture that’s too large might lose detail, while one that’s too small could appear repetitive.
Optimizing Texture Resolution: Optimize the texture resolution to enhance rendering performance without compromising detail. While higher resolutions offer more detail, they also increase render time and resource usage.
5. Rendering and Post-Processing
Once the 3D texture is applied and adjusted, perform a test render and necessary post-processing to ensure the final result meets your expectations.
Test Rendering: Perform a small-scale test render to check the texture application. Pay special attention to how light interacts with the texture and the detail in the shadows.
Post-Processing: After rendering, use post-processing software to fine-tune the image’s contrast, brightness, and other parameters to optimize the final outcome. Blender’s "Compositor" feature can help you apply some basic post-processing directly during rendering.
Adding 3D textures in Blender requires skill and attention to detail, but by following these steps, you can ensure that textures are applied accurately and realistically to your models. Mastering these techniques not only enhances your design capabilities but also brings a stronger visual impact to your work. If you’re looking for high-quality 3D textures, HDRIs, or 3D models, Relebook is an excellent resource. Downloading materials from Relebook and importing them into Blender can significantly improve your project’s quality.
