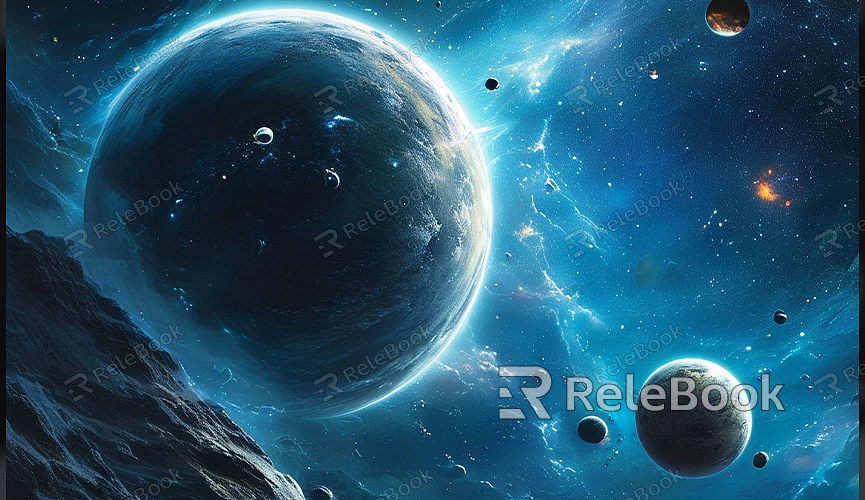
How to Render a Planet in Blender
Rendering a realistic planet model in Blender is an exciting and challenging task. Whether you are creating a sci-fi animation, designing virtual scenes, or practicing your skills, mastering how to render a planet effectively can enhance your 3D modeling and rendering capabilities. This guide will walk you through the entire process of creating and rendering a planet in Blender, from model creation to the final render.
Creating the Planet Model
The first step in making a planet model is to establish the basic shape. Blender provides a wealth of tools to help you accomplish this.
1. Create the Base Model: Open Blender and add a base sphere as your planet model. From the menu bar, select "Add" > "Mesh" > "UV Sphere." This is a great starting point. You can adjust the details and smoothness of the sphere by modifying the subdivision levels.
2. Refine Model Details: Enter "Edit Mode" where you can use the "Select Tool" for further adjustments. Add segments and edge loops to enhance detail. For more complex shapes, such as planetary rings or mountains, use the "Extrude" and "Scale" tools.
3. Apply Deformations: To make the planet look more realistic, use the "Deform Tool" to simulate terrain variations. For example, use the "Displacement Modifier" to create mountains and craters, adding more depth to the planet's surface.
Adding Textures and Materials
The setup of textures and materials is crucial for achieving a realistic look. Blender allows you to create and apply complex materials for the desired visual effect.
1. Create Materials: Go to the "Materials Panel" and click "New" to create a new material. Adjust the color, glossiness, and reflectance to simulate the planet's surface characteristics.
2. Apply Textures: In the Materials Panel, you can add texture maps to your material. Typically, a planet's surface requires multiple layers of texture, including color maps, normal maps, and specular maps. Use the "Image Texture" node to import these maps and apply them through the "Shader Editor."
3. Set Up UV Mapping: To ensure the textures properly cover the model, you'll need to perform UV mapping. In "Edit Mode," open the UV Editor and adjust the UV coordinates to make sure the textures display naturally on the model.
Rendering Settings
After setting up the model and materials, the next step is to configure the rendering settings. Blender provides multiple rendering engines and options that you can choose from based on your needs.
1. Set Up the Scene: Add a camera to the scene and adjust its position and angle to capture the entire planet. Use the "Camera View" mode to preview the render effect.
2. Adjust Lighting: Add appropriate light sources to illuminate the planet. Use "Point Light" or "Sun Light" to simulate realistic lighting effects. Adjust the intensity and direction of the light to ensure natural and convincing shadows and highlights on the planet's surface.
3. Choose Rendering Engine: Blender offers several rendering engines, including "Eevee" and "Cycles." "Eevee" is suitable for real-time rendering and is faster, while "Cycles" provides higher quality renderings. Choose the appropriate engine based on your needs and adjust the output resolution and sample count in the "Render Settings."
4. Render Settings: Go to the "Render" panel and select "Render Image" to start rendering. You can adjust settings such as ray tracing, anti-aliasing, and more to optimize the final effect. Once rendering is complete, you can review the result and make any necessary post-processing adjustments.
Rendering a planet model in Blender requires starting with basic modeling, gradually adding textures and materials, and finally configuring the render settings. Mastering these steps will enable you to create high-quality, realistic planetary effects.
If you need high-quality 3D textures and HDRIs or 3D model downloads for creating models and virtual scenes, you can download them from Relebook. After downloading, you can directly import the textures and 3D models into your projects for use.
