How to Make a 3D Flower Model with Parts
Creating a 3D flower model is both a fun and creative task. Whether for games, animations, or virtual reality projects, designing a detailed and realistic flower model can greatly enhance the quality of your work. This article will guide you through the process of making a beautiful 3D flower model using Blender or other 3D modeling software by breaking it down into parts.
Choose the Type of Flower
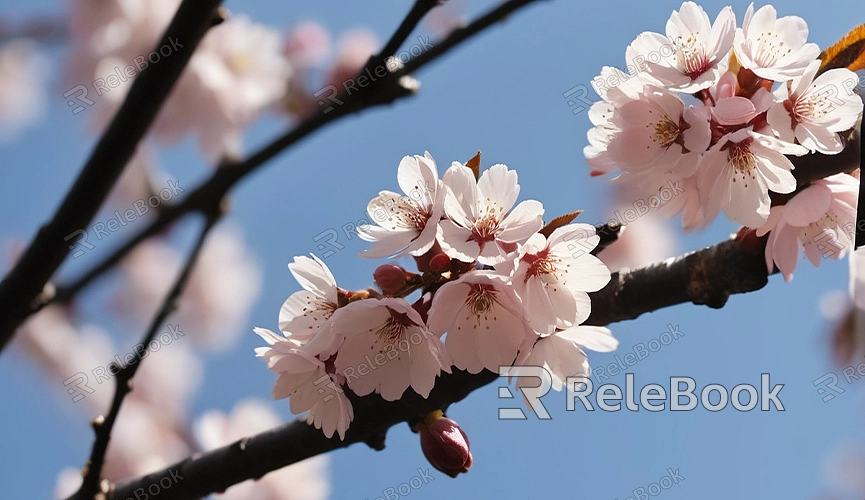
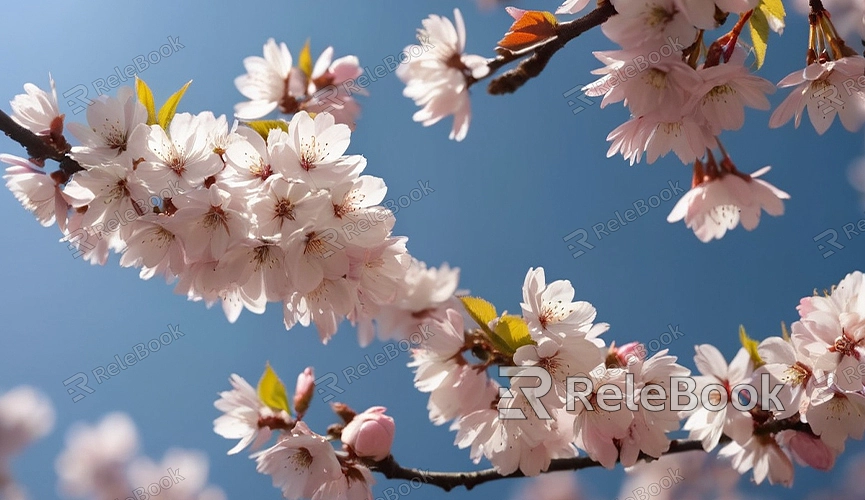
Before starting the modeling process, decide on the type of flower you want to create. Different flowers have distinct structures and details, such as roses, sunflowers, or lilies. Choose a flower type that suits your project needs and gather reference images to have a clear goal while modeling.

Create the Basic Shape of the Flower
1. Model the Petals: Open Blender and add a basic shape, such as a plane or cylinder. Enter Edit Mode and use the "Extrude" tool to create the basic outline of the petal. Adjust the vertices according to the shape and curvature of the petal to match a real flower's appearance.
2. Make the Stamen: The stamen is the core part of the flower, usually consisting of the filament and anther. Create a base model using a cylinder or sphere, and adjust its size and shape as needed. Use the "Subdivision" tool to add detail, making the stamen look more realistic.
3. Build the Leaves: Create simple planes for the leaves and use the "Extrude" tool to give them thickness. Adjust the shape and texture of the leaves to make them look more like real leaves.
Refine the Flower Details
1. Add Textures and Materials: Go to the Material Panel and add appropriate textures and materials to each part. Petals can use soft colors and semi-transparent materials, while the stamen can use brighter colors. Utilize Blender's "Node Editor" to create complex material effects and enhance the realism of the flower.
2. Adjust Petal Curvature: The natural curvature of petals is crucial for a realistic flower. In Edit Mode, select the edges of the petals and use the "Deform" tool to simulate natural bending. Use the "Sculpting" tool for further adjustments to make the petals look more lifelike.
3. Create Fine Details: To make the flower more realistic, add fine textures to the petals and leaves, such as veins or small textures. Use "Normal Maps" or "Bump Maps" to simulate these details, giving the flower a more three-dimensional appearance.
Assemble the Flower Model
1. Combine Parts: Assemble all the created parts—petals, stamen, leaves—into a complete flower model. In Object Mode, use the "Move," "Rotate," and "Scale" tools to position each part correctly, forming a natural flower shape.
2. Check and Adjust: After assembling the model, check the connections and details of each part. If adjustments are needed, return to Edit Mode to make corrections. Ensure seamless connections and a natural overall appearance.

Render and Showcase
1. Set Up Camera and Lighting: To showcase your 3D flower model, set up a camera and lighting. Choose a suitable camera angle to present the flower at its best. Add light sources to illuminate the flower, adjusting the light position and intensity to simulate natural lighting effects.
2. Render the Model: In Blender, choose an appropriate rendering engine (such as "Cycles" or "Eevee") and configure the rendering parameters. Adjust the resolution and quality as needed to generate high-quality render images of the flower.
3. Post-Processing: After rendering, use image editing software for post-processing. Adjust brightness, contrast, and color to further enhance the visual appeal of the flower model.
Creating a 3D flower model involves multiple steps, from creating the basic shape to adding details and rendering. By building and refining parts step by step, you can create a realistic and beautiful flower model. Mastering these techniques will help you achieve better results in 3D modeling and rendering.
If you need high-quality 3D textures, HDRIs, or 3D model downloads for creating models and virtual scenes, you can download them from Relebook. After downloading, you can directly import the textures and 3D models into your projects for use.

