How to Use HDR in Blender
In Blender, HDR images are commonly used for simulating environmental lighting, reflections, and refractions, all of which help to realistically capture the complexities of light. This significantly enhances the overall quality of your work. This article will delve into how to use HDR images in Blender and outline the key steps involved.
1. Understanding the Role and Benefits of HDR Images
HDR images provide more realistic lighting effects in Blender scenes. Unlike standard LDR (Low Dynamic Range) images, HDR images contain a broader range of brightness information, preserving more details in both shadows and highlights. This results in richer and more vibrant rendered images.
Enhanced Environmental Lighting: HDR images can be used as environment lighting maps, providing natural light across the entire scene, making the transitions between light and shadow smoother.
Realistic Reflections and Refractions: When applied to materials like glass or metal, HDR images significantly enhance the complexity of light effects, bringing them closer to real-world behavior.
2. Preparation: Choosing the Right HDR Image
The first step in using HDR images in Blender is selecting an appropriate HDR image. These images are typically stored in .exr or .hdr formats, containing a wide range of brightness levels suitable for various lighting needs.If finding such HDR images seems too complicated or time-consuming, or if you're unsure where to start, consider visiting Relebook. At https://textures.relebook.com/, you can easily download high-quality 3D resources to help you complete your projects more efficiently.
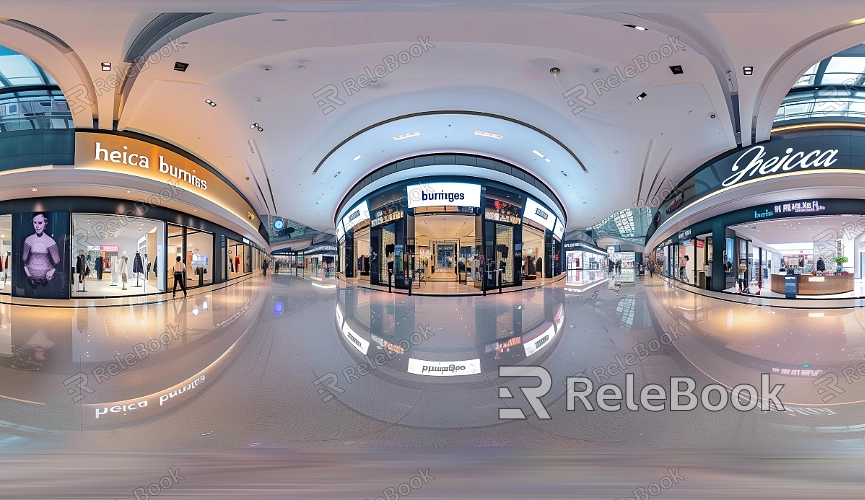
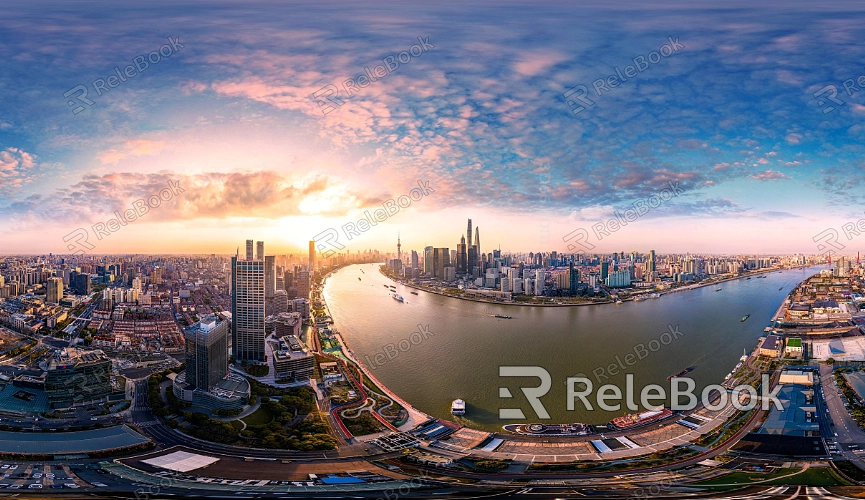
Selecting the Appropriate HDR Image for Your Scene: Different scenes require different types of HDR images. For instance, outdoor scenes might benefit from HDR images featuring daylight or skies, while indoor scenes might require more complex indoor lighting.
Determining the Resolution of the HDR Image: Higher-resolution HDR images provide more detailed lighting effects but also increase the computational load during rendering. Choose the resolution that best fits your project’s needs.
3. Importing HDR Images into Blender
After selecting a suitable HDR image, the next step is to import it into Blender and apply it to your scene. Blender allows you to directly load HDR images into the scene’s world settings and use them as an environmental light source.
Setting Up the World Environment: In Blender's "World Properties" panel, find the "Surface" option, then select "Background" as the light source type. Click on the dot next to Color, choose "Environment Texture," and load the HDR image file.
Adjusting the Rotation and Intensity of the HDR Image: After loading the HDR image, you can adjust its position and rotation within the scene using the "Texture Coordinate" node, ensuring that the lighting direction aligns with your scene design. Additionally, use the "Strength" slider to control the brightness of the HDR image, fitting the overall lighting needs of your scene.
4. Fine-Tuning HDR Lighting Effects
Once the HDR image is imported and basic parameters are set, further adjustments to the lighting effects are necessary to achieve the best rendering results. Blender provides several tools and nodes to help designers optimize the use of HDR images.
Optimizing with Tone Mapping: Tone mapping adjusts the overall tone and contrast of the HDR image, making the image look more natural across different brightness ranges. By adding a "Tone Map" node in the Shader Editor, you can further refine the lighting effects.
Post-Processing with the Compositor: Blender's Compositor nodes can be used for post-processing after rendering. For example, the "Exposure" node can adjust the brightness of the final image, or the "Color Balance" node can tweak the color tones to match the designer's artistic vision.
5. Combining HDR Images with Materials
In Blender, HDR images can not only serve as environmental light sources but also be combined with materials to enhance reflections and refractions. By fine-tuning material settings, HDR images can further improve the realism of the scene.
Adjusting Material Reflectivity: By combining a material's reflectivity with an HDR image, you can simulate complex light effects. For example, in the Shader Editor, add a "Reflection" node and connect it to the HDR image to enhance the realism of metal materials.
Enhancing Refraction Effects with HDR Images: For transparent materials like glass or water, using HDR images to simulate refraction effects can significantly improve the transparency and complexity of light refraction.
6. Rendering and Evaluation
After completing all the settings, the final step is to render and evaluate the results. During rendering, the impact of the HDR image will be fully displayed in aspects such as lighting, reflections, and refractions.
Test Rendering: Before the final render, conduct some low-resolution test renders to check if the lighting effects meet your expectations, and fine-tune parameters like brightness and contrast of the HDR image as needed.
Final Rendering and Output: Once all parameters are adjusted to your satisfaction, proceed with the high-resolution final render and export the result as an image or video file.
Understanding and mastering the process of using HDR images in Blender can significantly enhance the visual quality of your work, enabling you to create more realistic scenes. If you need high-quality HDR image resources, 3D textures, SketchUp models, or 3ds Max models, Relebook is an excellent choice. By downloading the necessary resources from Relebook and importing them into Blender, you can effectively elevate the quality of your projects.
