How to Set HDR Images in Blender
HDR images are widely used in various 3D software applications to create more realistic lighting effects, making virtual scenes appear more natural. Blender, a powerful open-source 3D modeling software, fully supports the use and customization of HDR images, offering users greater creative flexibility. This article will provide a detailed guide on how to set up HDR images in Blender, helping 3D modeling and rendering designers make the most of this technology.

1. Understanding HDR Images and Their Applications
What is an HDR Image?
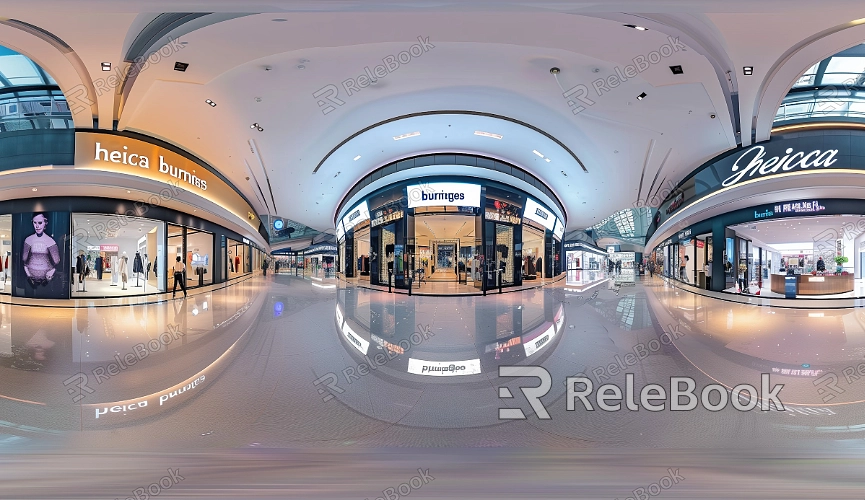
A High Dynamic Range (HDR) image is a type of image that contains a wider range of lighting information compared to standard images. It captures both extremely bright and dark areas within a scene, resulting in more natural and realistic rendering effects.
Common Uses of HDR Images
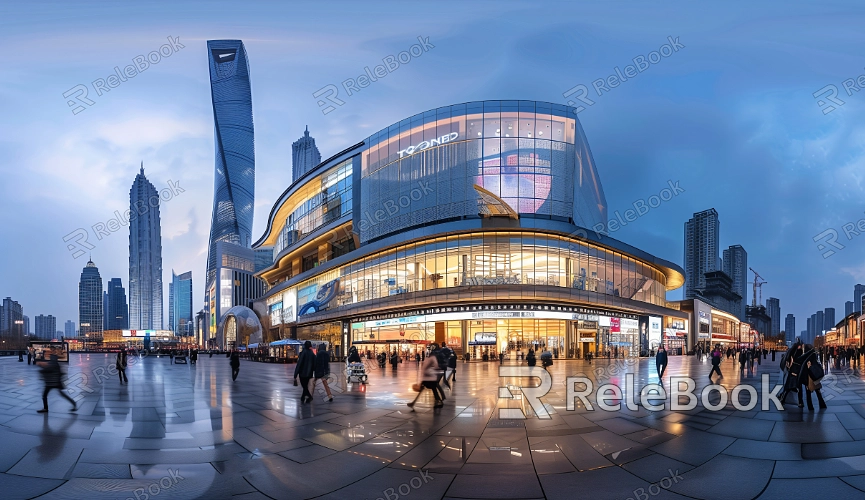
In 3D modeling, HDR images are frequently used for environment lighting and reflections. They can simulate natural lighting conditions, such as outdoor sunlight or indoor artificial light, helping to create more convincing visual effects.
Application in Blender
In Blender, HDR images are typically used for environment textures and world lighting, significantly influencing the overall lighting and reflections in a scene.
2. Importing HDR Images into Blender
Downloading HDR Images
First, you need to download suitable HDR images. These can be obtained from various resource websites or creation tools, such as HDRI Haven.
Creating or Opening a Scene
Open Blender and either create a new scene or load an existing one that you are working on.
Accessing Render Settings
In Blender’s main interface, navigate to the "World Properties" tab. This is where environment lighting settings are configured.
Adding the HDR Image
Within the "World Properties" panel, locate the "Color" section. Click the small dot next to the color option and select "Environment Texture." Then, click "Open," browse for the HDR image file you downloaded, and select it.
3. Configuring HDR Image Settings
Adjusting the Image Intensity
In the "Environment Texture" settings, you can adjust the image’s intensity. By modifying the "Strength" slider, you control the brightness of the lighting, which affects the overall illumination in the render.
Setting HDR Image Rotation
Sometimes, the HDR image may need to be rotated to ensure the lighting direction is correct. In the "Mapping" section of the "Environment Texture" settings, you can adjust the rotation to align the image as needed.
Choosing the Right Render Engine
Blender supports different rendering engines, such as Cycles and Eevee. Ensure that you select a render engine compatible with HDR images in the render engine settings. For high-quality renders, Cycles is often recommended.
Previewing HDR Effects
Switch to "Rendered View" in Blender’s viewport to preview the effects of the HDR image on your scene in real-time. Make sure the result meets your expectations, and make any necessary adjustments.

4. Optimizing and Fine-Tuning HDR Images
Enhancing Image Quality
Ensure that the HDR image resolution is high enough to avoid blurriness or distortion during rendering. If the image quality is insufficient, you may need a higher-resolution HDR image to achieve better results.
Adjusting Environment Lighting
Based on the needs of your scene, tweak the environment lighting settings. If the lighting is too intense or too dim, experiment with different strength values to find the optimal balance.
Handling Color Space
In Blender, HDR images typically use linear color space. If you notice color inaccuracies, check the "Color Management" settings to ensure they are appropriately configured for processing HDR images.
Saving and Exporting Rendered Results
After completing the setup, save your Blender project and export the high-quality rendered images. If necessary, you can also perform post-processing on the results to further enhance the image quality.
By following these steps, you can successfully set and apply HDR images in Blender, enhancing the lighting and reflection effects in your scenes. Mastering these techniques will not only improve your render quality but also add more realism and detail to your projects. We hope this guide helps you make better use of HDR images and boost your workflow efficiency. If you're looking for high-quality HDR images, 3D textures, SketchUp models, or 3ds Max models, consider exploring Relebook to help you advance further in your design journey.

