How to Use HDRs as Background Images in Blender
HDR images capture a wide range of light information, enhancing the realism of lighting and reflections in your scene and significantly improving rendering quality. This technique is widely used in various 3D software, especially in Blender, an open-source 3D modeling tool that offers robust support for HDR images. In this article, we’ll explore how to use HDR images as background images in Blender, helping 3D modeling and rendering designers elevate the quality of their work.

1. Understanding the Role of HDR Images
The Importance of HDR Images in 3D Design
HDR images capture both the brightest and darkest areas of a scene, providing more detailed lighting information than standard images. They play a crucial role in environmental lighting and reflections, particularly when simulating natural light or complex reflections. HDR images help achieve more realistic effects in these scenarios.
Common Use Cases in Blender
In Blender, HDR images are typically used to create environmental textures or background lighting, offering a more natural distribution of light across the scene. Whether you’re simulating the bright sunlight of an outdoor scene or the soft lighting of an indoor environment, HDR images can add a high level of realism to your visuals.
Why Use HDRs as Background Images?
Using HDR images as background images not only provides rich lighting information for your scene but also directly influences the visual appeal of the background, making it more vivid and lifelike. For projects that require high-quality renders, incorporating HDRs as background images is essential for achieving a professional outcome.
2. Importing and Setting Up HDR Images as Backgrounds
Preparing and Importing HDR Images
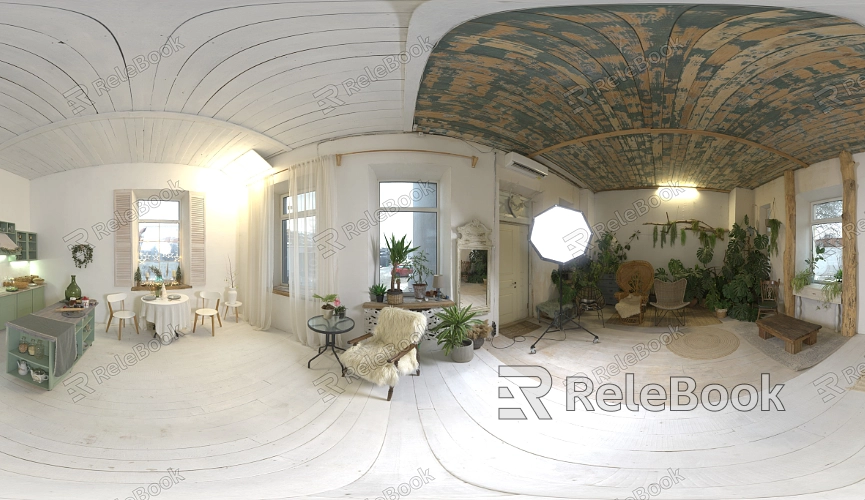
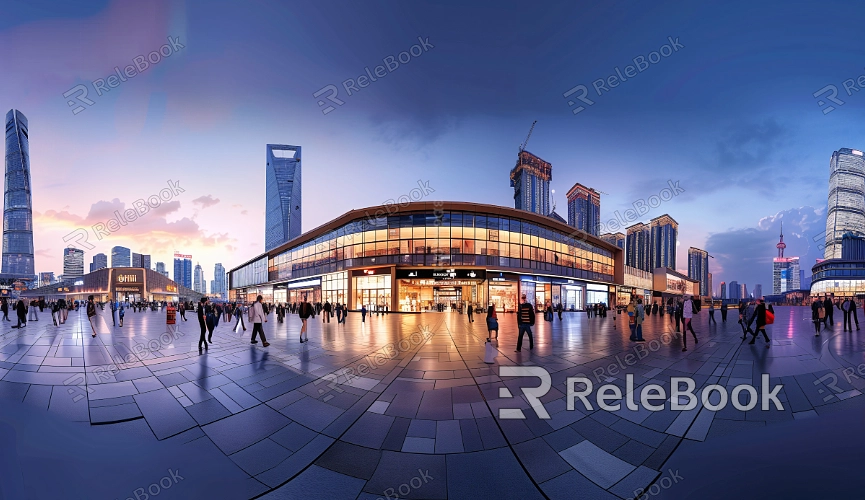
First, you’ll need to download high-quality HDR images. If you find searching for high-quality HDR images too complicated or time-consuming, or if you're unsure how to create them, you can simply visit Relebook and download stunning HDR image resources from https://textures.relebook.com/. After opening Blender, you can start importing these HDR images. Go to the “World Properties” panel, select “Environment Texture” under the “Color” section, and then import your HDR image.
Adjusting Environment Settings
Once you’ve imported the HDR image, you’ll need to configure the environment settings in Blender to ensure compatibility with your scene. In the “World Properties” panel, you can control the brightness of the HDR image using the “Strength” slider, ensuring that the background lighting matches the overall lighting of the scene.
Choosing the Right Rendering Engine
Different rendering engines handle HDR images differently. In Blender, it’s recommended to use the Cycles rendering engine, as it can fully utilize the lighting information from HDR images, delivering more realistic rendering results. While you can also use Eevee, be aware that it may have certain limitations in handling HDRs.

3. Optimizing HDR Background Images
Rotating and Positioning the Image
Sometimes the orientation of the HDR image may not align with your scene’s requirements. In Blender, you can use the “Mapping” options to adjust the rotation and positioning of the HDR image. By rotating the image, you can ensure that the direction of the light source matches the intended effect in your scene.
Adjusting the Color Space of the HDR Image
Blender typically processes HDR images in a linear color space by default, but in some cases, you may need to adjust the color management settings to avoid color distortion or inaccuracies.
Optimizing the Image Resolution
The resolution of your HDR image is crucial for ensuring a sharp and clear background. Choosing a high-resolution HDR image can prevent background blurring, thereby enhancing the overall visual quality of the scene.
Previewing the Effects in Real-Time
Switching to “Rendered View” in Blender allows you to preview the impact of the HDR background image on your scene in real-time. This feature enables you to make necessary adjustments before the final render, ensuring the outcome aligns with your expectations.
4. Rendering Settings and Output
Configuring Render Parameters
After setting up the HDR background, you can proceed to the render settings panel. Make sure to select the resolution and sampling rate that suit your project’s needs to achieve the best rendering results. For high-quality output, it’s advisable to increase the sampling values, but keep in mind that this will also increase render times.
Final Rendering and Post-Processing
Once you’ve configured the render settings, you can proceed with the final render. If you’re not satisfied with the rendered output, you can perform post-processing in image editing software to further enhance the appearance of the background image.
By following these steps, you can effectively use HDR images as backgrounds in Blender, enhancing the realism and professionalism of your scenes. Mastering these techniques will not only help you achieve better results in your projects but also make your designs more engaging and visually appealing. If you’re looking for high-quality HDR image resources or other 3D design materials, consider visiting Relebook to further enhance your creative journey.

